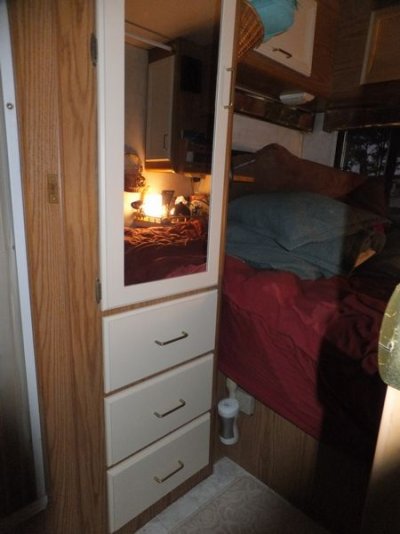
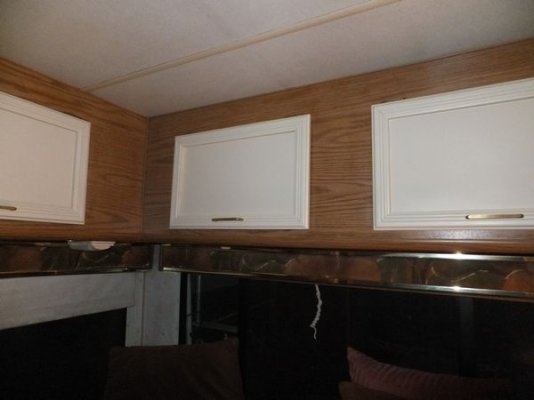
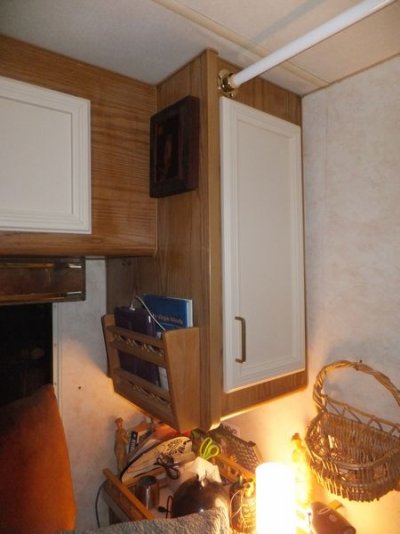
I realize this is an older post, but for those of you who are looking for advise on the same subject I'm more than happy to share my experience.
If you want quality results that will look great as well as be durable you need to do some quality preparation, especially if we're talking about the kitchen or bathroom areas and it's not difficult at all. Even though you may wash and keep your cabinets, walls etc. perceptively clean, even the oils from your hands can prevent paint from adhering properly not to mention the oils flying around in the air from cooking and so on, so you're going to need to properly clean everything your going to paint as all surfaces must be clean, dry, free of dust, dirt, chalk, oil, grease, wax, polish, mold and mildew stains, and all other foreign substances for good results, and for this I would strongly recommend using a product called TSP. TSP stands for Trisodium Phosphate, is commonly used by professionals to prepare surfaces to be painted and is available at most home improvement outlets. It's relatively inexpensive and comes in both powdered and liquid form and mixes with ordinary warm tap water. I would recommend the liquid form as it's just plain easier to deal with, just follow the mixing instructions on the bottle/package.
Now to hand-wash the surface, use a sponge to apply the warm solution. Dip the sponge in the TSP (Trisodium Phosphate solution), wring it out until the sponge is just damp and always wash the wall, cabinets etc. from the bottom up. It reduces streaking which can sometimes show through to the surface of the paint you apply later. You don't need to scrub or anything like that, just make sure you wipe the areas down thoroughly and completely then allow them to dry for at least a couple of hours to make sure all moisture is gone completely from any areas such as in crevices, around molding etc. then you're ready to paint.
Now for paint I highly recommend Behr Direct To Metal paint or DTM. I prefer it to any other paint I've ever used for it's ease of application and quality finish. It really is outstanding paint and it comes in gloss or semi gloss finishes. I know, it's a bit misleading. "My cabinets walls etc. are wood, or some other material, not metal," but while this paint is primarily designed to be used on metal it adhesion properties to most other materials you'll find in an RV is outstanding and results in a beautiful durable professional smooth looking finish.
Now for the part most won't find so appealing. This paint can be brushed or rolled on, but for even the experienced painter this can result in brush or roller marks and these of course are less than appealing. You want a smooth flawless look don't you? So use either a compressed air spray rig or better yet an airless to apply it. This is going to require a fair amount of masking including tape, paper and so on because of overspray, but it only sounds difficult. It's really quite easy and inexpensive to accomplish as larger areas, counter tops or any other areas not to be painted, can be covered with thin plastic sheeting designed for and readily available at the same place you purchase your tape and masking paper and comes in varying widths. Remove drawers and cabinet doors and paint them separately outside or in a well ventilated area then reinstall after everything is thoroughly dry. Covering floors whether linoleum, tile or carpet can be accomplished with some old sheets, plastic or cloth drop cloths and if you're afraid of spills you can put down some of that plastic sheeting I mentioned first then the sheet or drop cloth on top of that.
Now if you're not experienced with using a spray rig it's not as difficult as it sounds. If you rent it (home depot or Lowe's rents them as well as most rental yards) have the employee helping you go over it's operation, adjustments etc. Watch a video on YOUtube concerning spray rig operation and technique. There are plenty of them, then once you have it loaded up with paint and you're ready, before actually going inside and starting on your cabinets, walls or whatever get a big piece of cardboard, stand it up vertical then begin with a low setting and start spraying. Don't hold it in one spot, keep the spray gun moving from side to side or up and down and right away you'll know if you need to increase or decrease the settings (more or less paint). You don't want so much that you'll get runs, but you don't want it too light either. I usually spray two or even three lighter coats with a twenty or thirty minute flash time (drying time in between coats) instead of one heavy coat to accomplish complete coverage as this is where most people can get into trouble with runs, and you don't want those. They can be cleaned up, but it's difficult and you're trying to avoid any difficulties, right? Right. If you're not too confident you can do it (operate the spray gun) get a friend with at least some experience to help you. Throw them a few bucks, cook em dinner or offer to buy the beer afterwards. It'll be well worth having someone who knows what they're doing and the results will reflect it.
Once you're done and you've allowed the paint to dry, (DTM dries pretty quick) for at least thirty minutes to an hour (depending on temperature and humidity) carefully remove all of the masking tape, paper and plastic sheeting. It's easier to do before the paint dries too long and any on the masking will be less likely to flake off making your clean up more difficult, then remove the drop cloths on the floors, get out and let it dry for at least several hours. A day or two is best and putting a fan inside to move the air around and aid in drying wouldn't hurt.
Once dry you can now go back in and reinstall the drawers and cabinet doors, but be carefull. The paint is still vulnerable to being damaged so don't push drawers or close doors all the way for a few more days so they make contact with the cabinets because the two painted surfaces could stick together and that of course is not good.
Once everything has dried for a few more days just be careful. I know this sounds like a real hassle, but again it's easier than it sounds and for just a few days of your labor can result in a job you won't regret looking at, but can enjoy and be proud of for the next few years and painting all of those dark walls and cabinets with lighter colors will brighten up your RV so much you'll wonder why they weren't done that way in the first place. It really makes a huge difference and you don't need nearly as many lights on to light up the place.
I know I'm a bit long winded, but I hope this helps anyone contemplating painting the inside of their RV to come to a decision. Just remember, whatever product, paint, cleaner etc. that you choose to use always, "ALWAYS" follow the manufacturers directions for the best results. Regards and best of luck with your project.


