SCVJeff
Well-known member
- Joined
- Jan 20, 2007
- Posts
- 1,304
I tried to post this here last night and the forum got stupid and froze, so I was able to get it into iRV, but trying here again:
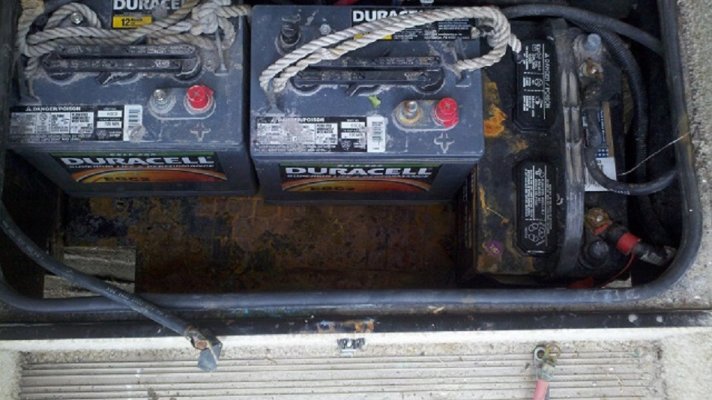
Asking for a friend that has a 2003 Brave.
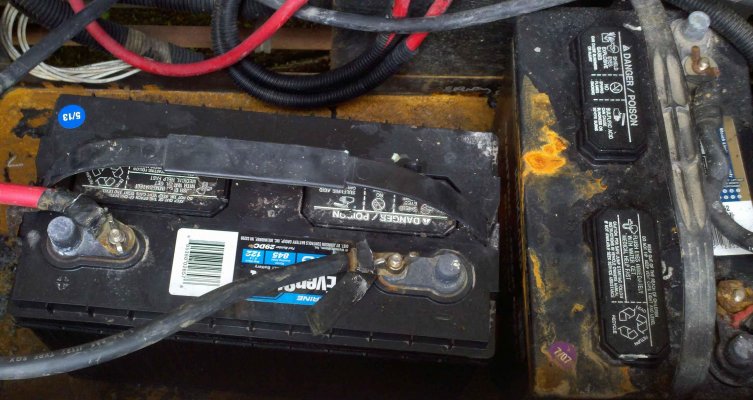
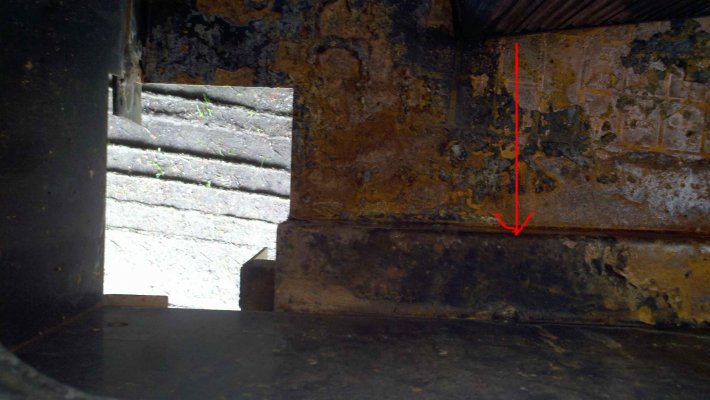
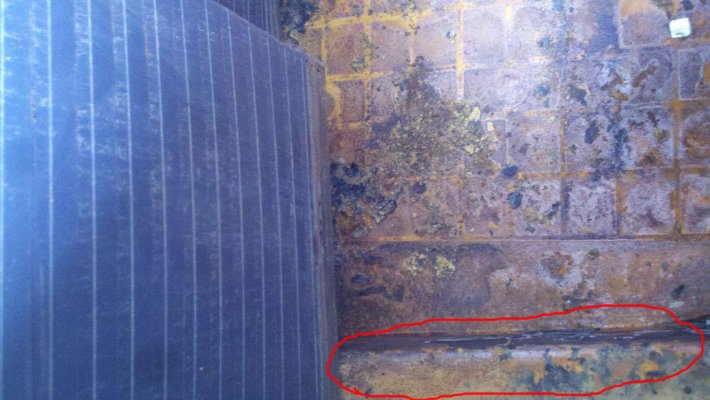
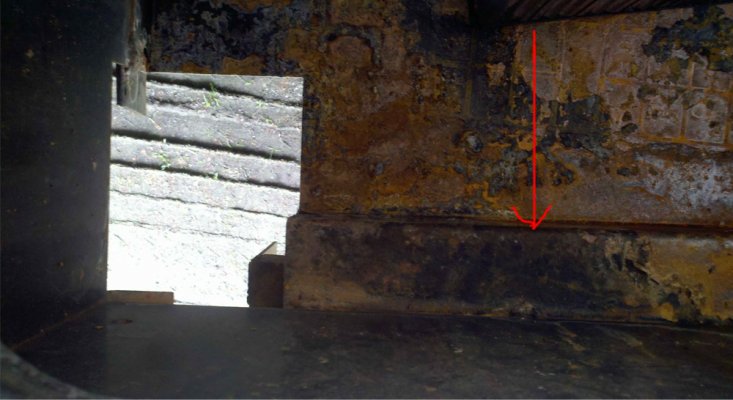
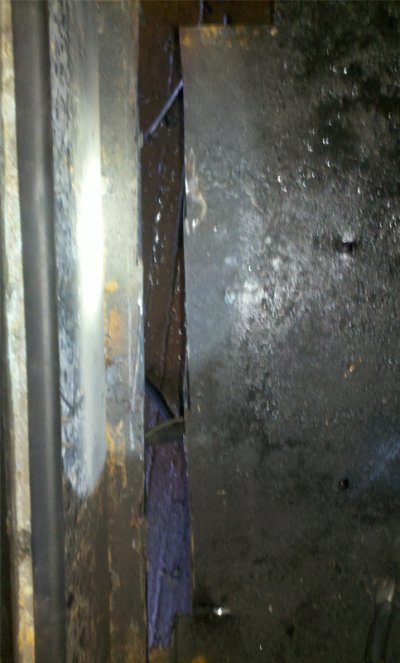
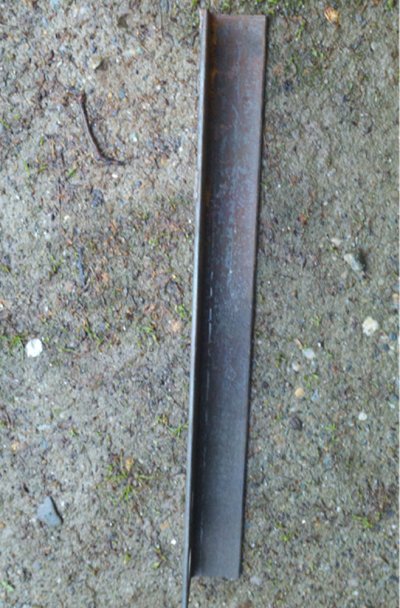
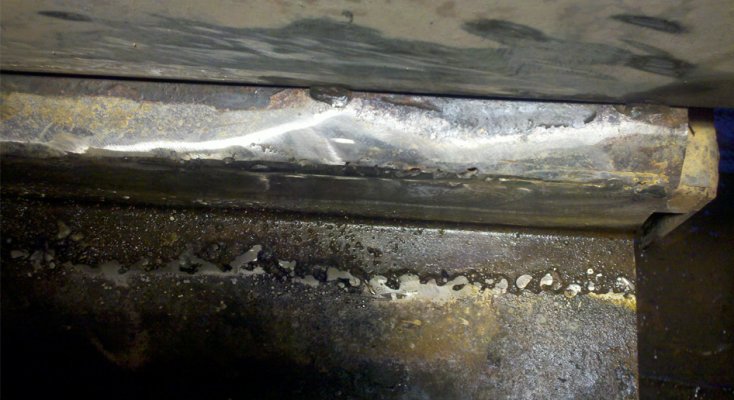
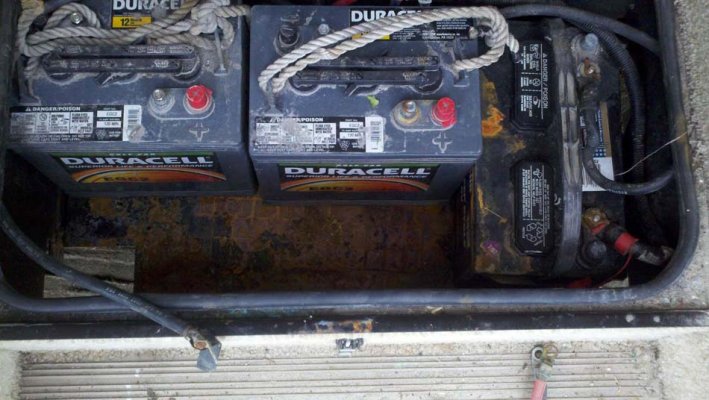
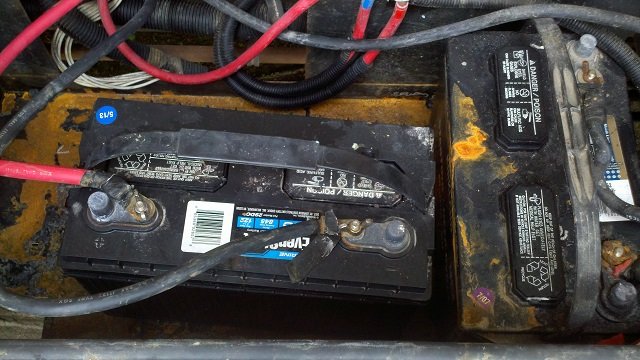
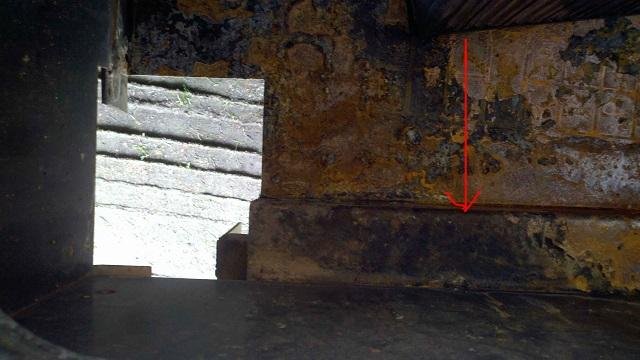
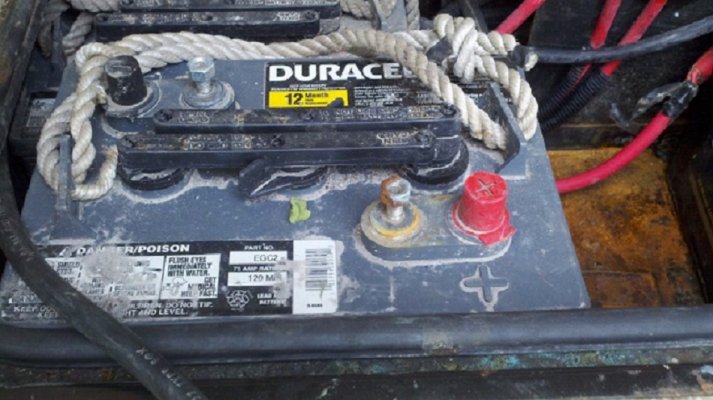
1st, what are the options to expand the battery capacity? He tells me there are currently 2ea. 12V GP(?) under the step and it's fairly tight. Looking at some of the drawings it appears there is/was room for three batteries.. Was there an option for a larger box? Has anyone tried to fit a pair of 6V GC's in there? What about other mounting locations? Maybe this is a candidate for the Trojan 12V Deep Cycle line, but obviously 6V would be preferable.
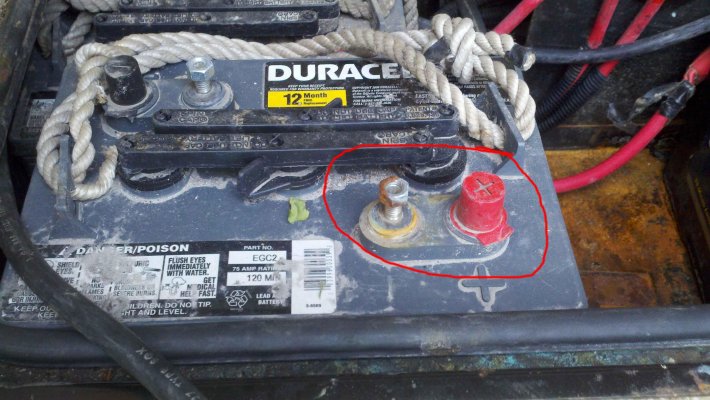
Also he will be installing a 300W PSW inverter. Currently there is nothing there, but I see the 2003 brochure shows it as an option. I wonder if there is any factory wiring existing... does anyone know where the factory installed it?
More to come.. I should have looked at it closer in the 4 days we were camping together
__________________
_______________________________
Asking for a friend that has a 2003 Brave.
1st, what are the options to expand the battery capacity? He tells me there are currently 2ea. 12V GP(?) under the step and it's fairly tight. Looking at some of the drawings it appears there is/was room for three batteries.. Was there an option for a larger box? Has anyone tried to fit a pair of 6V GC's in there? What about other mounting locations? Maybe this is a candidate for the Trojan 12V Deep Cycle line, but obviously 6V would be preferable.
Also he will be installing a 300W PSW inverter. Currently there is nothing there, but I see the 2003 brochure shows it as an option. I wonder if there is any factory wiring existing... does anyone know where the factory installed it?
More to come.. I should have looked at it closer in the 4 days we were camping together
__________________
_______________________________