OP
OP
SargeW
Site Team
Bus build continued:
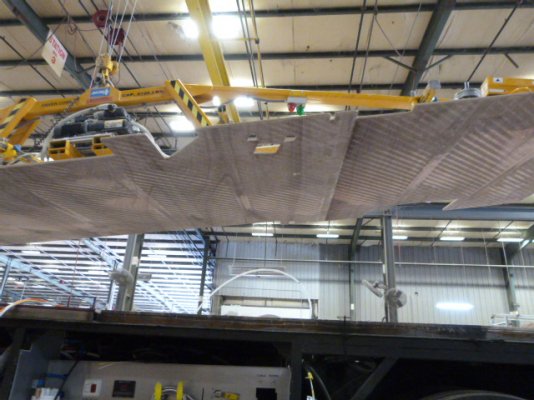
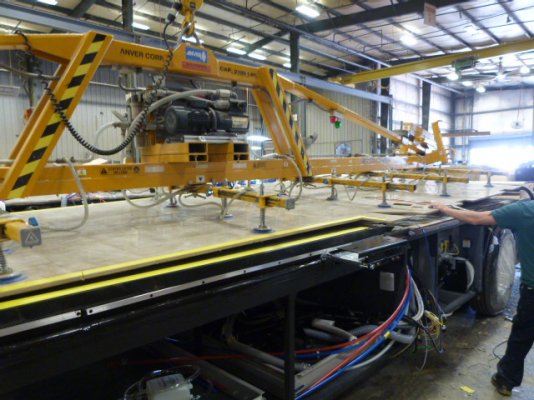
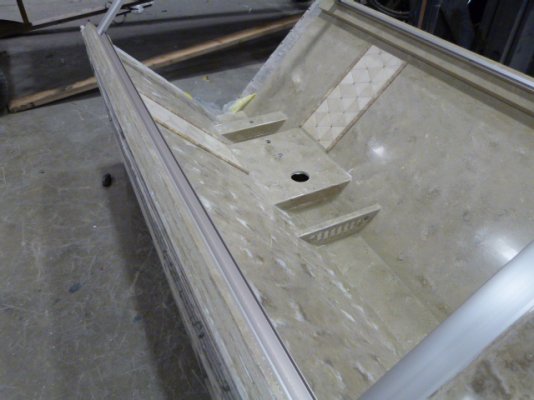
#1 & 2 With the mastic applied, the crane lifts the huge sheet of tile into the air and with the help of a few workers is placed onto the mastic.
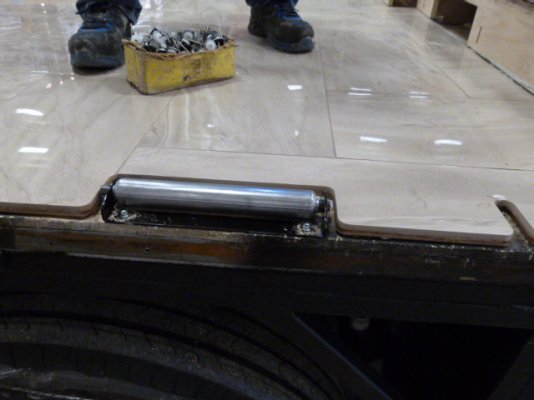
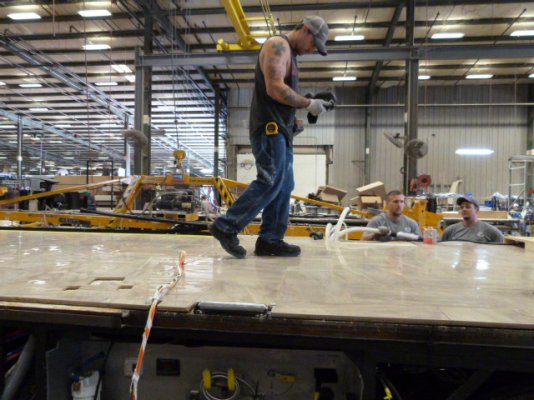
#3 & 4 Screws with large fender washers are placed all around the perimeter and in known non-heated areas of the floor to secure the tile sheet to the sub floor. For securing the tile in the center section, the floor is energized causing it to heat up. The worker then walks the floor with a FLIR camera to place the middle hold downs. The box that energizes the floor also has an alarm. If any heat wire is broken, then a loud alarm goes off alerting the worker to the problem.
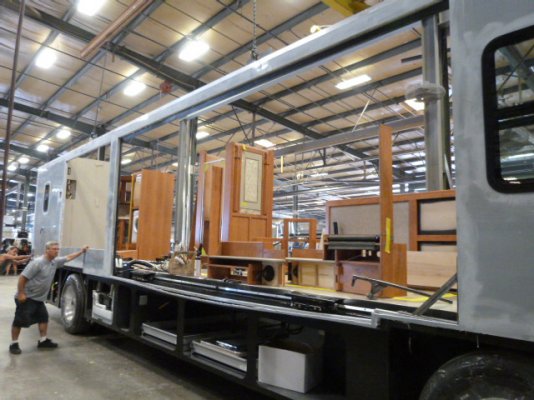
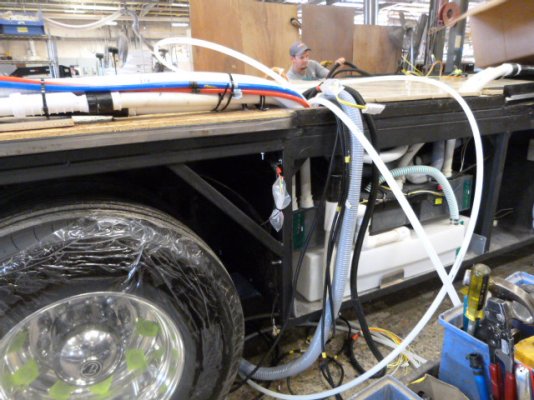
#5 With the floor in place, all of the plumbing and electrical wiring is pulled through the openings in the tile in preparation of setting the fixtures and appliances.
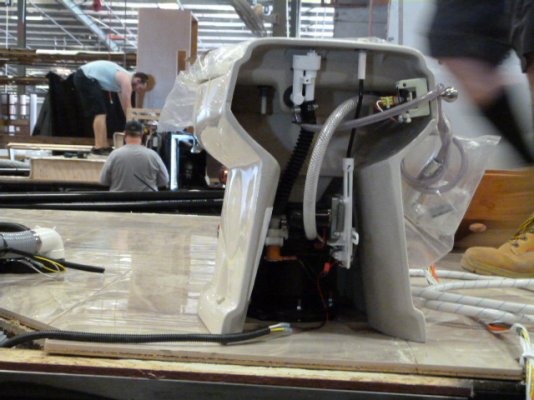
#6 The shower stall is laid flat and filled with water to test the unit for water tightness.
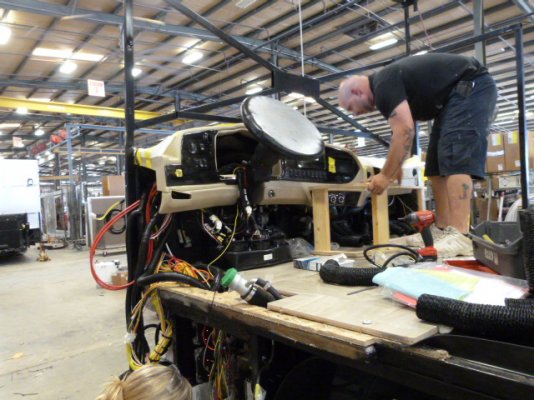
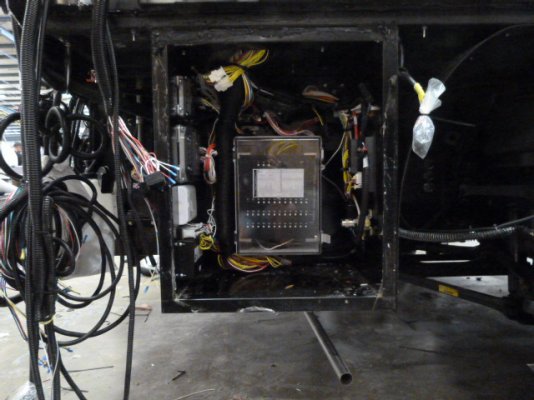
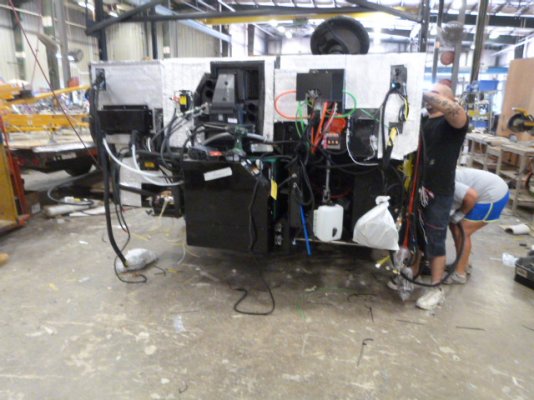
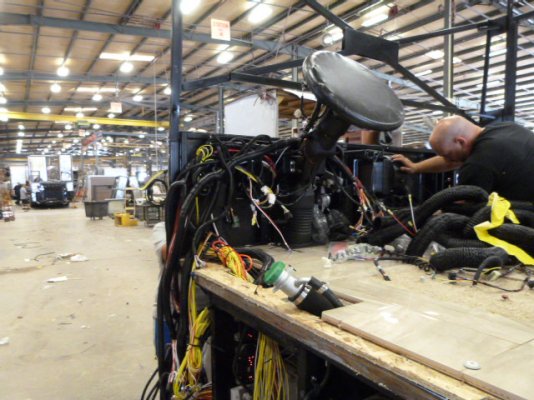
#7 & 8 Another massive amount of wires to route is at the firewall of the dash board area. Pic 7 is the behind the firewall pic and 8 is the drivers side. I can't imagine keeping all that wiring straight and hooking it up to the correct place!
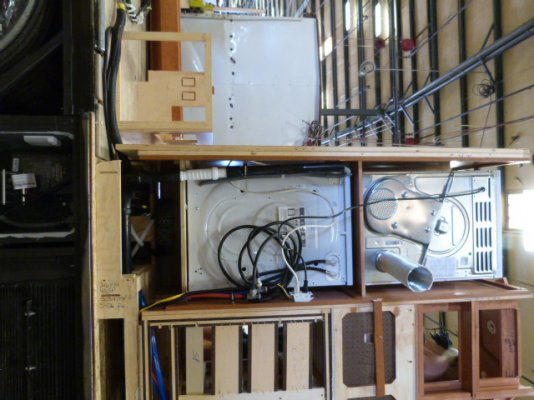
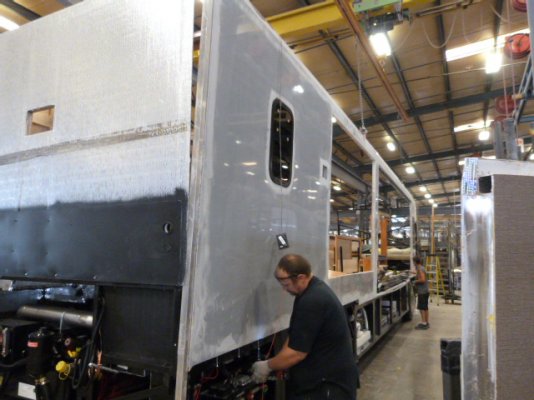
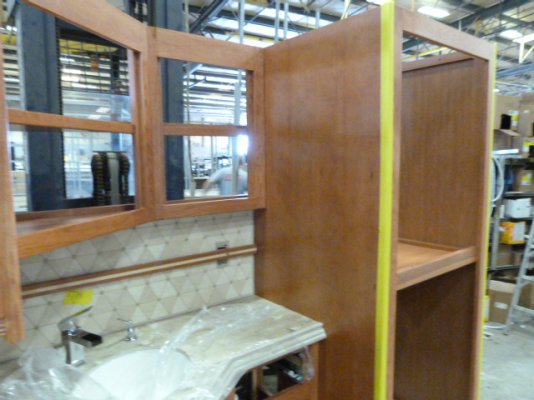
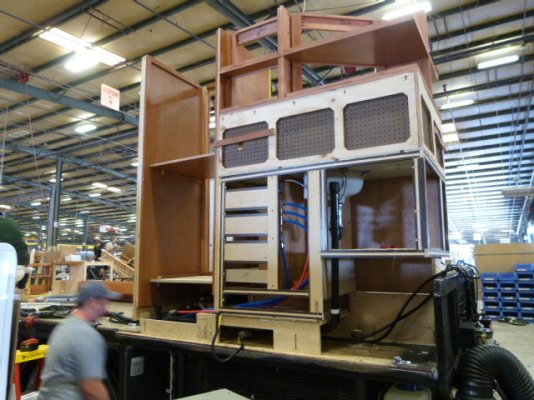
#9 & 10 The preassembled cabinet sections are bought over and set in place on the floor. Workers secure the sections to the floor, and route the necessary wires and plumbing lines to the appropriate fixture.
Stay tuned! More to follow as this was still day one!
#1 & 2 With the mastic applied, the crane lifts the huge sheet of tile into the air and with the help of a few workers is placed onto the mastic.
#3 & 4 Screws with large fender washers are placed all around the perimeter and in known non-heated areas of the floor to secure the tile sheet to the sub floor. For securing the tile in the center section, the floor is energized causing it to heat up. The worker then walks the floor with a FLIR camera to place the middle hold downs. The box that energizes the floor also has an alarm. If any heat wire is broken, then a loud alarm goes off alerting the worker to the problem.
#5 With the floor in place, all of the plumbing and electrical wiring is pulled through the openings in the tile in preparation of setting the fixtures and appliances.
#6 The shower stall is laid flat and filled with water to test the unit for water tightness.
#7 & 8 Another massive amount of wires to route is at the firewall of the dash board area. Pic 7 is the behind the firewall pic and 8 is the drivers side. I can't imagine keeping all that wiring straight and hooking it up to the correct place!
#9 & 10 The preassembled cabinet sections are bought over and set in place on the floor. Workers secure the sections to the floor, and route the necessary wires and plumbing lines to the appropriate fixture.
Stay tuned! More to follow as this was still day one!
Attachments
-
 P1090341.JPG147.5 KB · Views: 152
 -
 P1090344.JPG160 KB · Views: 139
 -
 P1090345.JPG151.5 KB · Views: 139
 -
 P1090346.JPG154.5 KB · Views: 150
 -
 P1090357.JPG156.5 KB · Views: 141
 -
 P1090361.JPG149 KB · Views: 139
 -
 P1090362.JPG148 KB · Views: 144
 -
 P1090368.JPG152 KB · Views: 137
 -
 P1090370.JPG141.5 KB · Views: 138
 -
 P1090374.JPG158.5 KB · Views: 175
")