Frank B
Well-known member
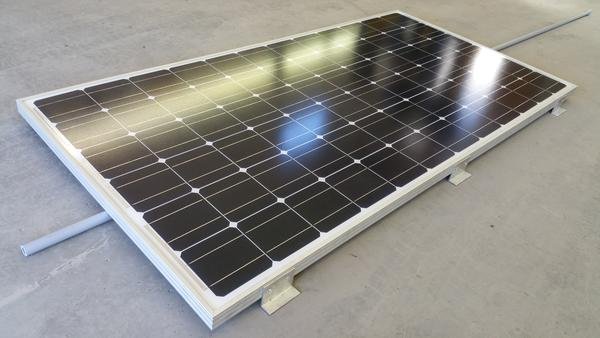
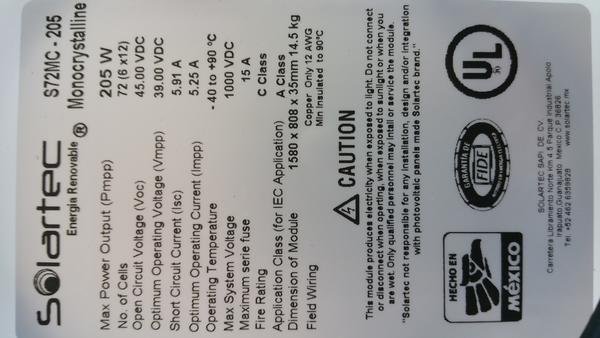
The price of residential solar panels is coming down as the popularity of home solar goes up. Residential panels are often 72 cell operating near 40VDC. The more common ones use 6" ingots to produce the panel, making them about 39" wide. A few use 5" ingots, giving a panel that is about 32" wide. I couldn't make the 39" panels work on my unit, so I bought 6 of the 32" ones. Whether I bought 4 or 6 made little difference in price, as the cost of the panels is somewhat minor compared to international shipping, brokerage fees, (I live in Canada) and the price of the solar controller. I could fit 6 panels comfortably on the roof of our 2010 Arctic Fox 30U travel trailer. I already had a battery bank of 6 GC-2 cart batteries, and a 2500 watt inverter.
As some kind folks here have pointed out, shading of the panels can be an issue. Even a little shade from vents or air conditioners pretty much removes the panel, and anything connected in series with it, from the array. The panels I chose have 3 bypass diodes, which, IIUC, means the panel is divided into 3 areas. Shading will remove only the portion of the panel that is shaded from the array. As I chose 'high voltage' panels, I did not need to put them in series to provide the optimum input voltage to the Outback FM80 MPPT solar controller, which likes about 40V input to do its job. If one panel is shaded, only it is removed from the array, and then only if the whole thing is shaded.
I chose this arrangement because of what happened to us last year. We were under cloud cover most of the winter in Southern Arizona and SoCal. I wanted enough array to provide usable charge even on a cloudy day. We'll see if my theory works out.")
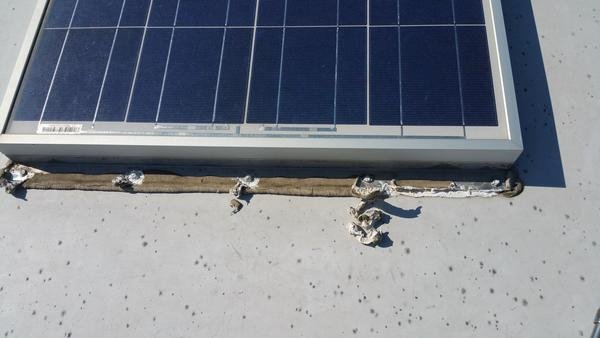
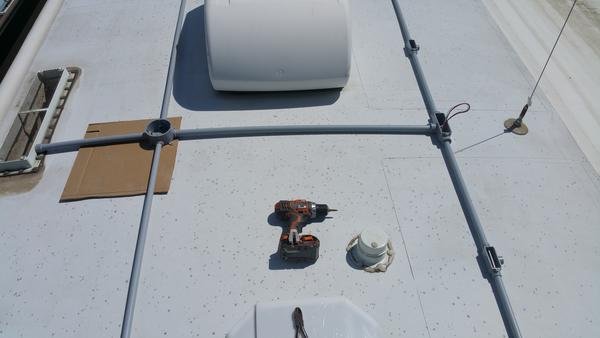
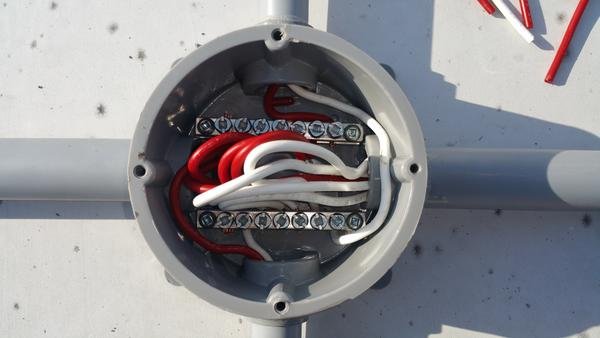
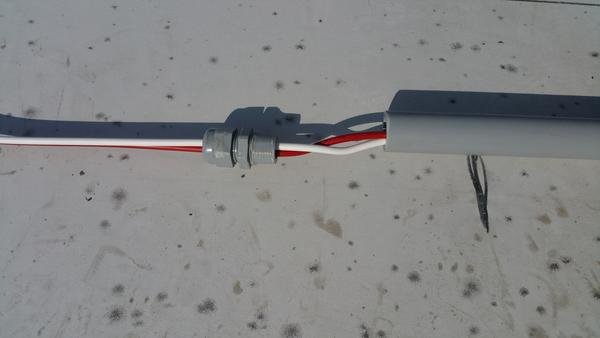
Again, the kind folks here have told me that wiring on the roof in a typical solar installation needs to be UV resistant, or the insulation breaks down in time. It occurred to me that outside electrical conduit is UV resistant, and then I can use any wire I want. It also allows me to create a waterproof environment for the wiring, and a good mechanical attachment to the roof. That is what I am working with.
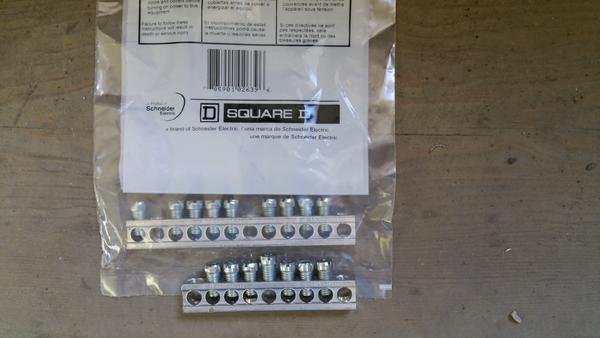
It was also suggested that I wire all the panels into a junction box on the roof before going down into the trailer, as this will allow some flexibility in the future should panels be added, removed, or whatever. Why not?
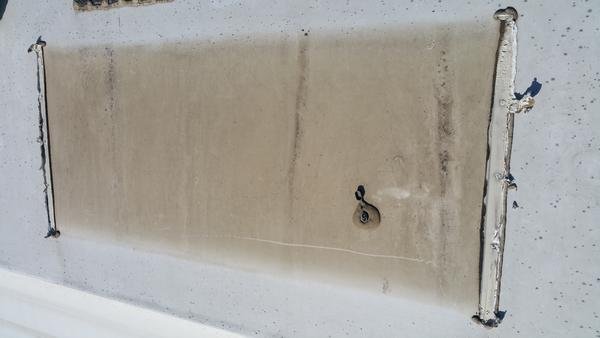
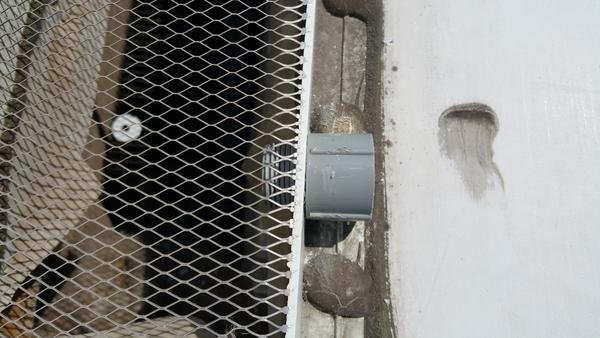
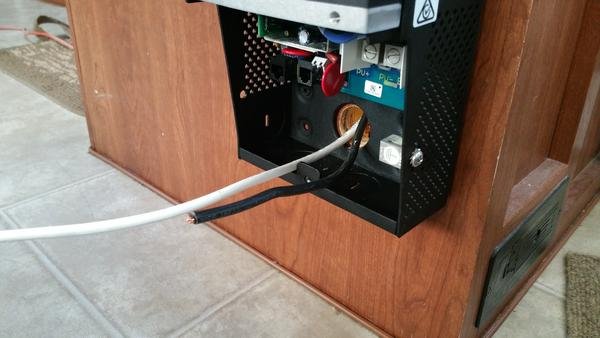
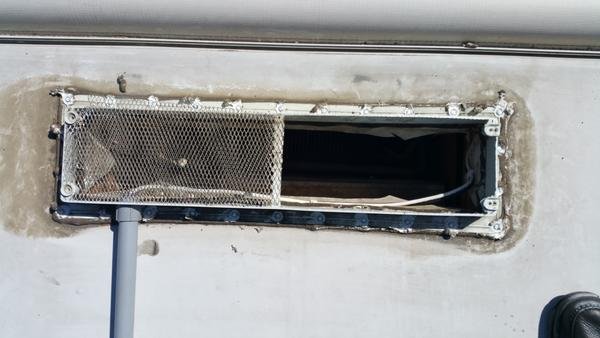
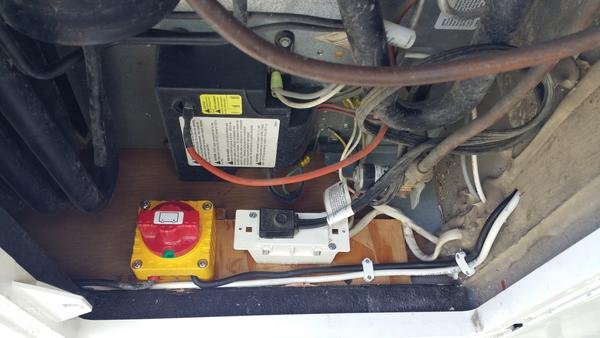
Another trick is to use the hole already in the roof for the fridge vent, and pass the wiring down there. For me, this looked like a good idea, as the wiring can go to the bottom of the fridge cavity, THEN into one of the lower cupboards in our coach, and on to the controller which will likely get installed beside the shore power coverter in the same cavity.
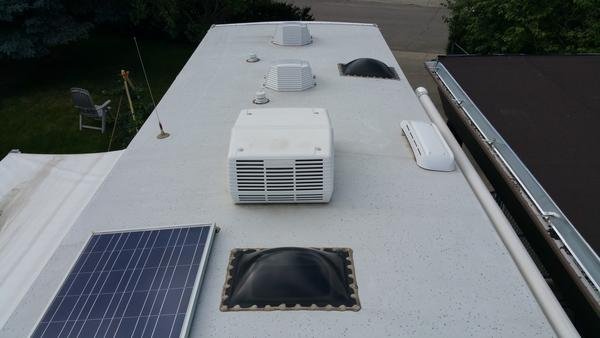
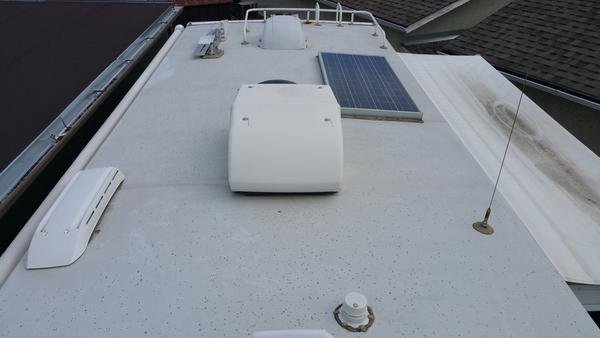
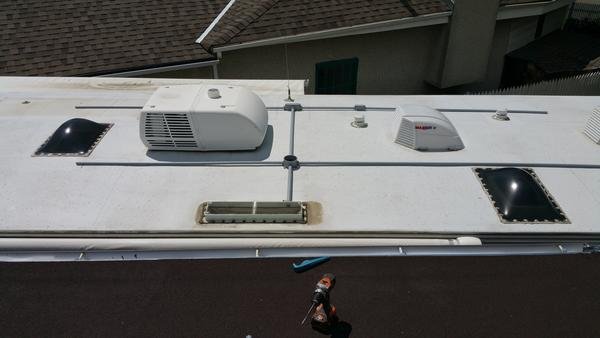
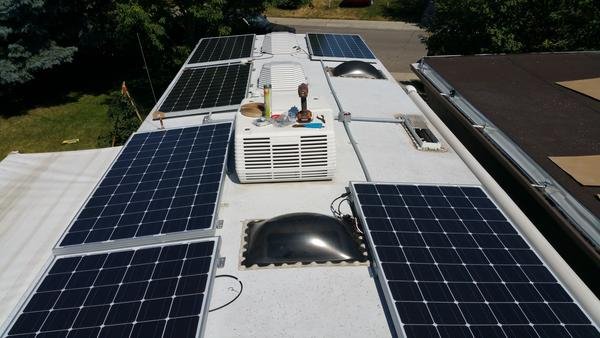
So here is my installation thus far using 6 x 205 watt Mexican panels. I will add to this thread as installation continues.
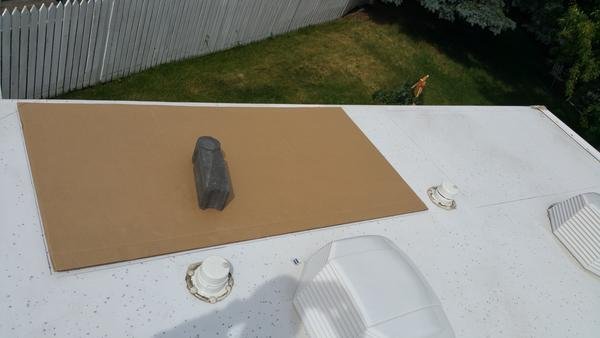
First two pictures is the roof before I started doing anything.
As some kind folks here have pointed out, shading of the panels can be an issue. Even a little shade from vents or air conditioners pretty much removes the panel, and anything connected in series with it, from the array. The panels I chose have 3 bypass diodes, which, IIUC, means the panel is divided into 3 areas. Shading will remove only the portion of the panel that is shaded from the array. As I chose 'high voltage' panels, I did not need to put them in series to provide the optimum input voltage to the Outback FM80 MPPT solar controller, which likes about 40V input to do its job. If one panel is shaded, only it is removed from the array, and then only if the whole thing is shaded.
I chose this arrangement because of what happened to us last year. We were under cloud cover most of the winter in Southern Arizona and SoCal. I wanted enough array to provide usable charge even on a cloudy day. We'll see if my theory works out.
Again, the kind folks here have told me that wiring on the roof in a typical solar installation needs to be UV resistant, or the insulation breaks down in time. It occurred to me that outside electrical conduit is UV resistant, and then I can use any wire I want. It also allows me to create a waterproof environment for the wiring, and a good mechanical attachment to the roof. That is what I am working with.
It was also suggested that I wire all the panels into a junction box on the roof before going down into the trailer, as this will allow some flexibility in the future should panels be added, removed, or whatever. Why not?
Another trick is to use the hole already in the roof for the fridge vent, and pass the wiring down there. For me, this looked like a good idea, as the wiring can go to the bottom of the fridge cavity, THEN into one of the lower cupboards in our coach, and on to the controller which will likely get installed beside the shore power coverter in the same cavity.
So here is my installation thus far using 6 x 205 watt Mexican panels. I will add to this thread as installation continues.
First two pictures is the roof before I started doing anything.