ClickHill
Well-known member
Wow, I don't know what else to say. I am looking forward to following the progress as you put her back together.
Stephen S. said:hmmm...
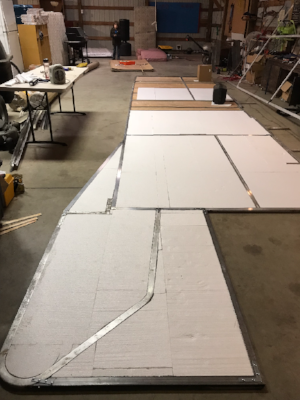
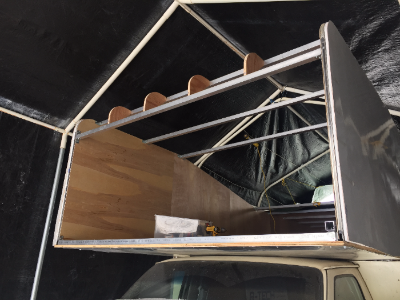
Wondering about your decision to bend the sheet up. You now basically have a pan. Any leaks in the plumbing will stay in the pan.
")
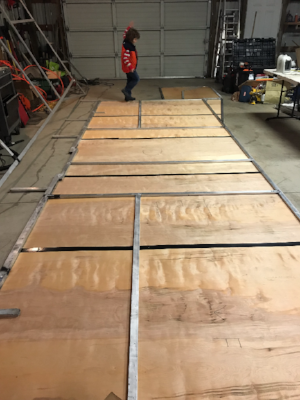
QZ said:WOW. Honey get the curtains! You are doing fantastic.
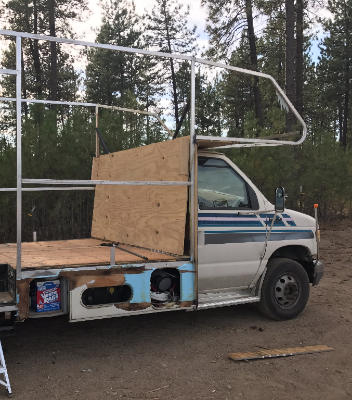

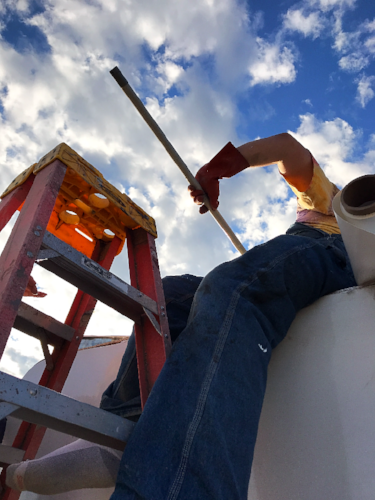
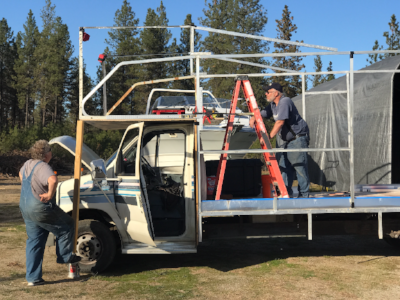
Stephen S. said:I noticed in a previous post you were changing the roofline to go up in front, more like a 5th wheel layout, with a rise in roof height above the bed area.
If I rework my current class C, I'd like to do that. Raise it up as much as the height of the AC unit without changing my bridge clearance. That would give anyone up in front a LOT more room to move around in.
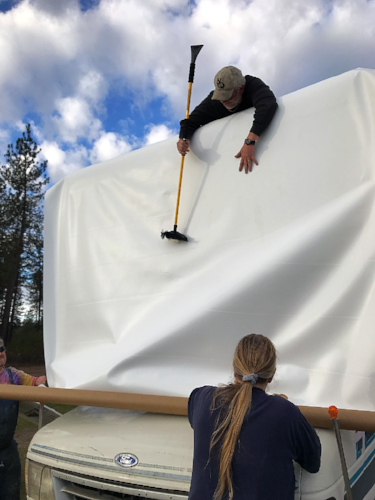
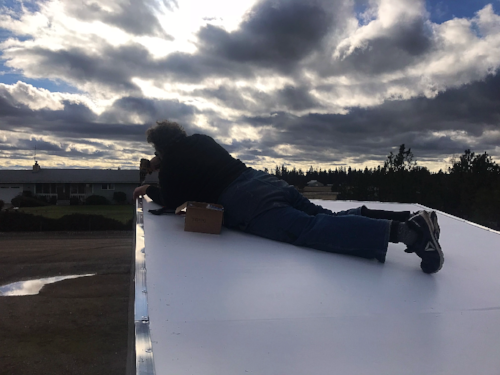
DanielRandall said:Today we installed the "xtrm ply" PVC roofing membrane; we started the adhesive application at Noon to take advantage of a high temp of 48 degrees Fahrenheit that occurred here Today. The instructions contained no mention of a minimum operating temp, other than a "do not freeze" label on the can. The VOC quotient was very low; it was no more stinky than a typical latex paint. It is now below freezing out there; hoping that the bond cure will not be affected (it was very sticky and gluing my gloves to the pole on the paint roller).