Summitbeerowl
Active member
- Joined
- Oct 20, 2017
- Posts
- 27
grashley said:EXCELLENT REVIEW! Thanks for posting this! Good Job!
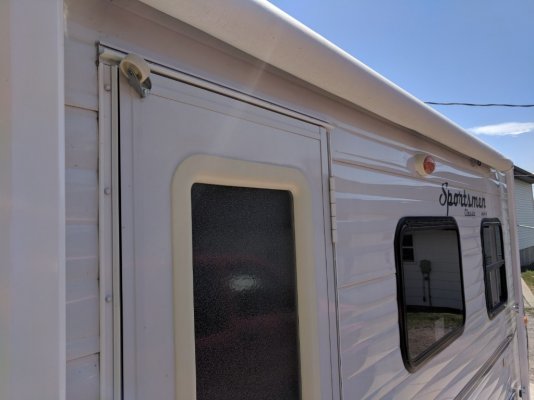
One question - in Pic 5, I believe, there is a wheel mounted to the top of your door. Certainly you do not roll it over on its side often enough to need this!
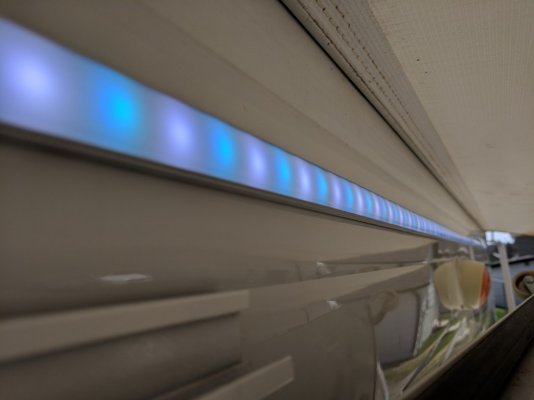
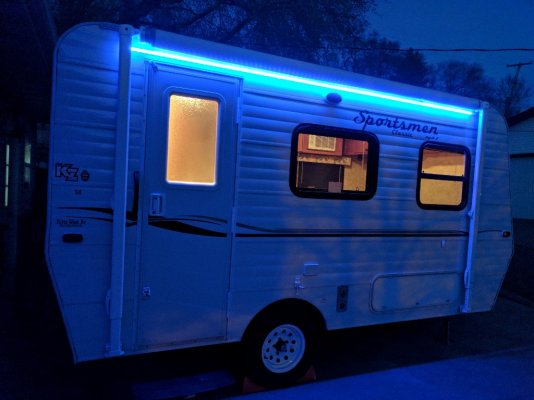
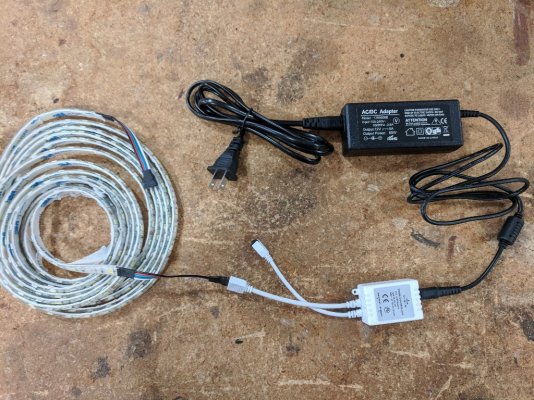
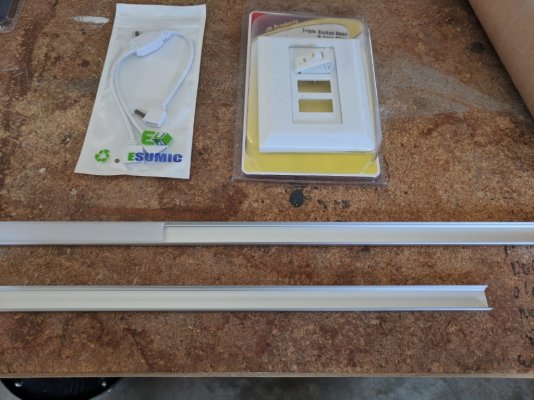
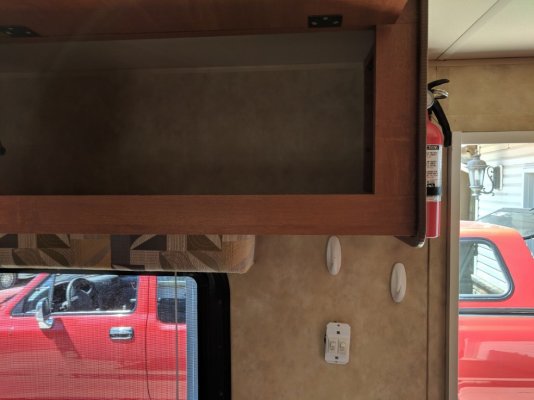
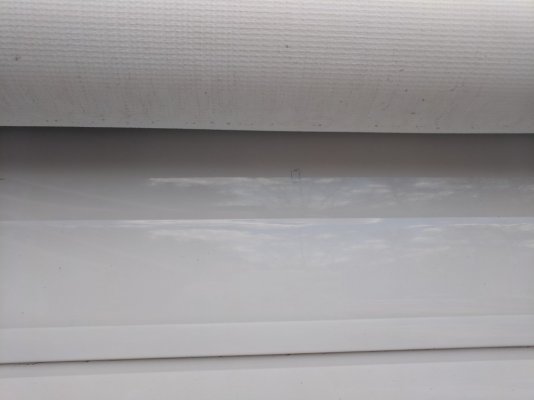
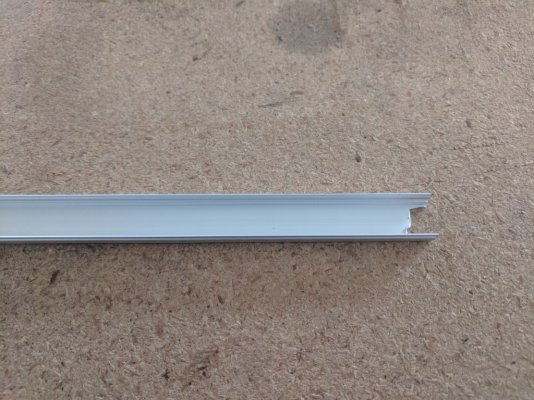
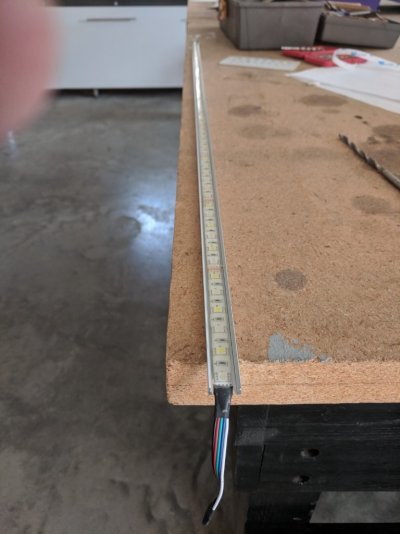
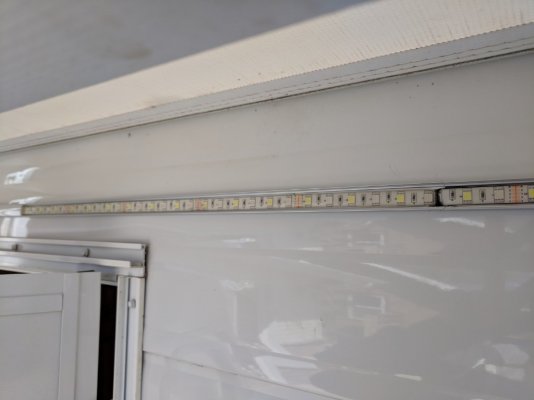
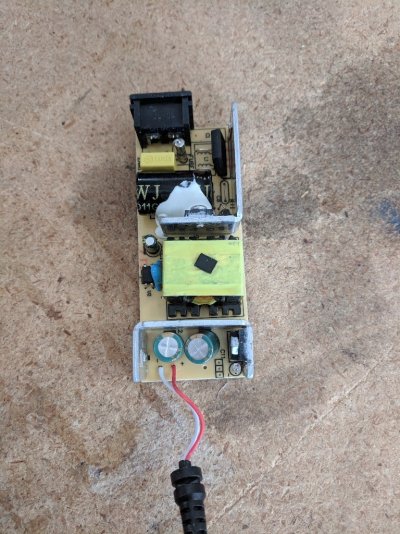
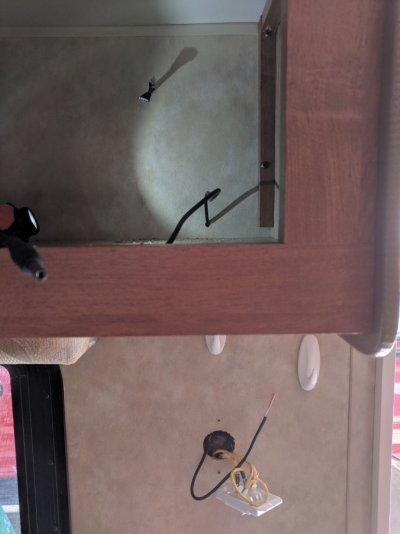
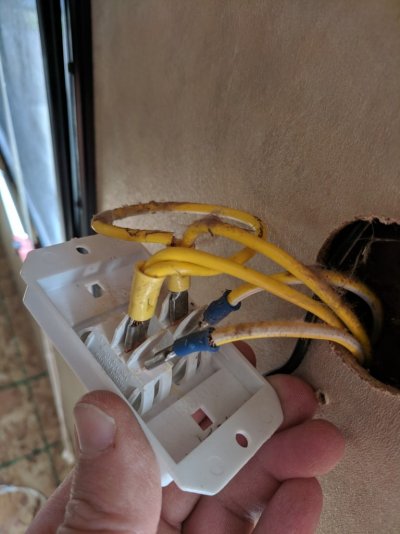
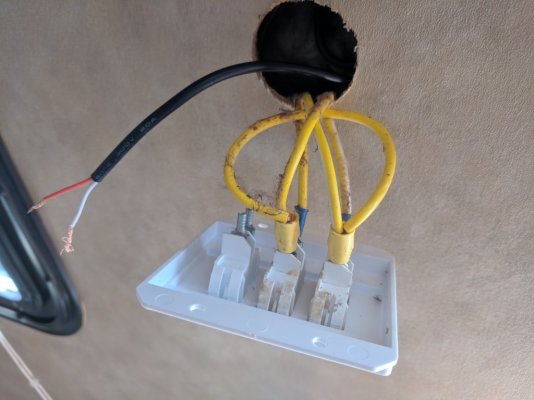
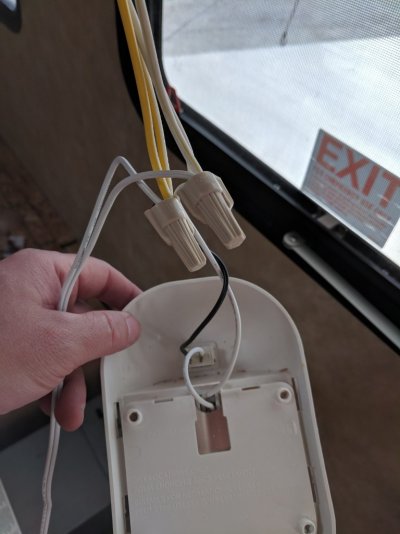
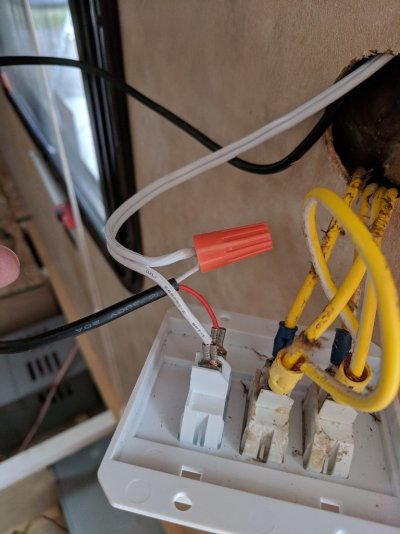
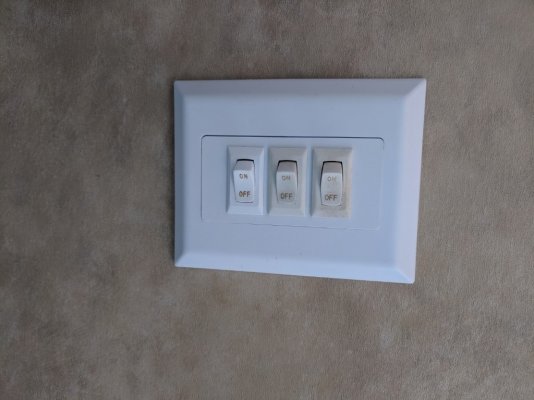
gravesdiesel said:I mounted those exact type LED lights under my awning, but I used their adhesive and stuck them directly under the "gutter" so they fire more down than out. I also ditched the 120v AC to 12v DC converter and wired the lights right into a switch, using the TT's 12v DC house power. It works great!
")