2003 Minnie Awning Rail Separation

The friendliest place on the web for anyone with an RV or an interest in RVing!
If you have answers, please help by responding to the unanswered posts.
flydude92 said:
I never heard that procedure referred to as fairing before.

Thanks

Very commonly used on the underwater side of sailboats, especially racing sailboats!!!
 
Very common term when repairing fiberglass or new construction with fiberglass. Right you are Stu - we use to race sailboats as crew and our own boat.
 
Does this mean I'm qualified to fix boats now?

I can tow it with the RV. 

 
I had to take a break from the repairs due to family obligations (kids and their activities), computer
monitor problems and of course weather related delays.

        I needed to find a way to hold a flat piece of wood against the RV to keep the side wall flat until the epoxy
hardened. I searched online and found many ways to do it but I wasn?t too comfortable with them. The best way
is to do it against a building wall but I don?t have any buildings that I can use so I decided to build my own ?wall?
using material I had lying around which consisted of 4x4?s & 2x4?s and I purchased two 4x8x3/4 sheets of plywood.
I started building the ?all? by bolting a couple 4x4?s to the tree stump and working up.

I included a picture of the RV with the plywood fitted to it and positioned in front of the ?wall?.

I also included a picture of the galvanized plate used for one of the repairs that caused the leak and
ultimately the wall delamination.


Attachments

  • Galvanized Plate that caused problem.JPG
    Galvanized Plate that caused problem.JPG
    119.1 KB · Views: 11
  • Wall bolted to tree stump.JPG
    Wall bolted to tree stump.JPG
    138 KB · Views: 14
  • Wall & RV.JPG
    Wall & RV.JPG
    146.3 KB · Views: 15
  • Wall with plywood attached.JPG
    Wall with plywood attached.JPG
    143.1 KB · Views: 15
  • RV with board fitted & positioned by wall.JPG
    RV with board fitted & positioned by wall.JPG
    215.7 KB · Views: 16
Great idea you have there - very creative  :))

Consider extending the bottom rails a few more feet out for more resistance to lateral movement when you apply force to the plywood. Maybe add a couple more lag screws in the rails at the tree trunk. That will be the pivot point of the assembly.

Are you going to use a few scissor jacks when you press the sidewall in? Too bad there's no way to vacuum bag that part of the sidewall.
 
John Canfield said:
Great idea you have there - very creative  :))

Thanks, I have my moments  :)

I didn't think lateral movement would be a concern but I installed a brace and you are right it helps a lot. Thanks

I cut some 2 x 2's to length that I had and used them for a test run and they worked out very well. I included a picture of the test run.

I left it out all night and they stayed were I put them. I will probably add a few more but this looks like it will work to hold the plywood against the RV.
 

Attachments

  • Test run.jpg
    Test run.jpg
    242.7 KB · Views: 14
  • with side brace.jpg
    with side brace.jpg
    226.9 KB · Views: 11
That looks really great, I like the 2x4s pressing against the sidewall idea  :)). Consider a plywood pad (maybe 8"x8"?) under the sidewall end of the 2x4s to evenly distribute the force.
 
I went with 3/4" sheets of plywood to avoid using pads mostly to make it easier and quicker to put the 2x2's up.

I was able to find very straight/flat sheets at Home Depot.

When you have about 30 minutes before the epoxy starts to harden every minute counts.
 
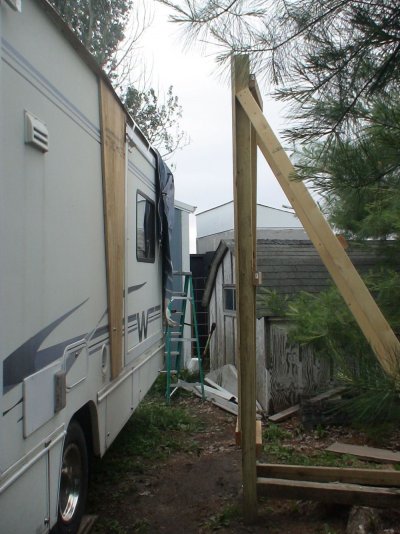
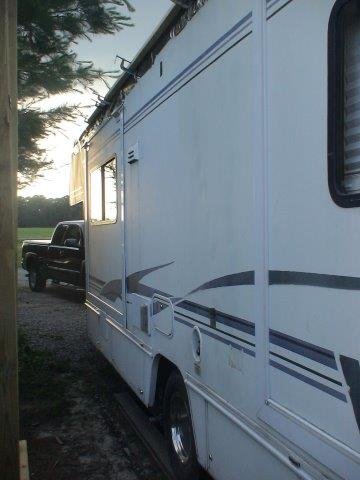
Sorry it took so long to update my progress. The kids are in 4H at our local fair so I had to get the RV finished so I could bring it here thru the week.

        I repaired the wall delamination using the system from delamrepair.com. The product works as advertised when
installed per the instructions and advice from Andy.

        The biggest problem with my delamination is there is no way for excess resin to drain out. All the repairs I saw had
excess resin leak out the bottom. Andy advised me to drill a hole at the bottom of the repaired area to allow excess resin
to escape. I didn?t feel that was necessary since I would keep an accurate detail of how much resin I applied. He also said
that the resin would go ANYWHERE thru cracks, small holes or any other openings that may lead into the RV.

        As suggested I made sure I was completely ready to begin, including a flat board to press up against the RV, all
mixing tools, chemicals and a few dry runs since once you mix the resin it will start hardening in about 30 minutes and
there is no way to stop it. NO PRESSURE.

        I needed to get the resin to the bottom of the damaged area and I decided to use ?? soft copper water line that?s
used for refrigerator ice makers. Unfortunately, the only way I could get it straight down behind the wall was to drill a
hole in the roof near where I just repaired it. Another small patch job.  :-[

        The videos I watched of people using this product showed it somewhat thick when poured. I found it to be thin,
flows easy and easy to push thru my tubing using their supplied syringes. I talked to Andy the night before regarding
working temperatures. I calculated how much resin I needed to apply to the wall. The next morning my wife and I
started the process when the RV?s temperature was 65 and the air temperature was 70. I was surprised how quickly
the stress level increased after we mixed our first batch of resin.

        The process was going very well until I asked her how much we applied.
She said ?I thought you were keeping track?. Oh crap. The simplest, easiest and most important little bit of information
we needed was never tracked. What a #%%#^$ idiot. (self-censored  ;D)
(I feel I?m now qualified to work with the idiot that originally repaired the roof. I feel like we are related.  ;))

        We didn?t know for sure how much was applied. We would have to hope for the best, install the flat board
and see what it looks like after the overnight hardening period. 
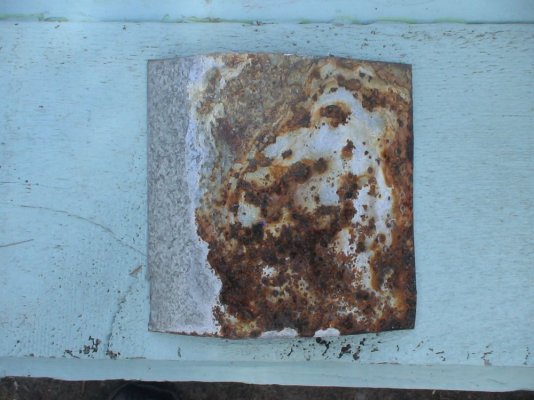
Well as you may have guessed. We put too much in.

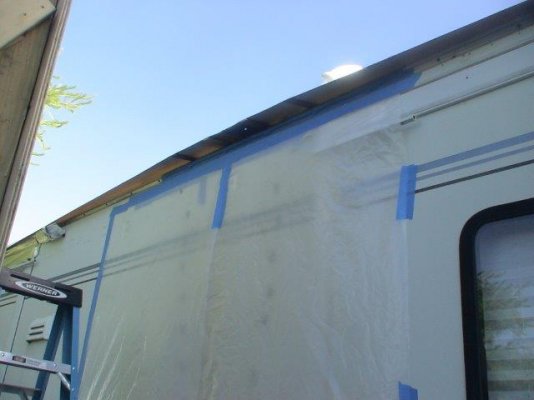
        The repair looks better than when it was delaminated because it is nice and flat and doesn?t stick out as far. At the
top portion of the wall were we didn?t have excess resin it is flush with the rest of the wall. Andy mentioned that
the resin will go anywhere it can. Well it went further down the wall into an area I didn?t know needed repairing. (and it fixed it) It drained behind the wall onto the ground and went down along the top of a storage door preventing me from getting to the black & grey tanks. I had to take it apart to remove the resin.

I attached two pictures of the repair:
1.)    Worst case picture so no one here thinks I?m perfect  :)
2.)    Better picture since it makes me feel better

So the product works very well but it has to be done correctly and it helps to have some experience.

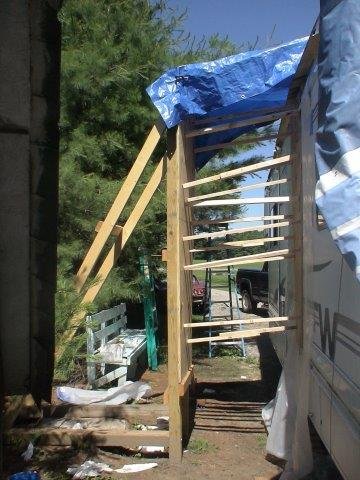
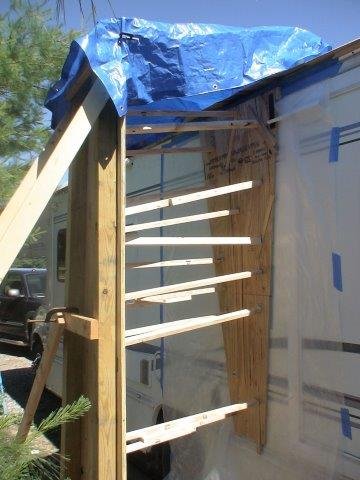
I put everything back together including new slide toppers and awning from Stone Vos and am currently spending
time at the fair with the family as the kids show their animals.


Attachments

  • Bad View 1.jpg
    Bad View 1.jpg
    29.3 KB · Views: 11
  • Good View 2.jpg
    Good View 2.jpg
    25.8 KB · Views: 11
  • Small hole for fill tube in roof.jpg
    Small hole for fill tube in roof.jpg
    29.8 KB · Views: 7
  • Waiting for resin to harden 1.jpg
    Waiting for resin to harden 1.jpg
    41.2 KB · Views: 11
  • Waiting for resin to harden 2.jpg
    Waiting for resin to harden 2.jpg
    33.1 KB · Views: 9
Very impressive Brian!  :)) :)) :)) You saved yourself at least $10k - Winnebago would have replaced the entire sidewall.

I'm going to put a link to this thread in our Winnebago and Chassis Resources thread.
 
Hopefully it will be of use to someone in the future.

It really wasn't a difficult job it just took time.

Even lifting the roof out of the awning rail and replacing the screws wasn't difficult.


Latest posts

Forum statistics

Threads
131,929
Posts
1,387,679
Members
137,677
Latest member
automedicmobile
Back
Top Bottom