Updated kitchen backsplash

The friendliest place on the web for anyone with an RV or an interest in RVing!
If you have answers, please help by responding to the unanswered posts.

Tundra2084

New member
Joined
May 19, 2019
Posts
4
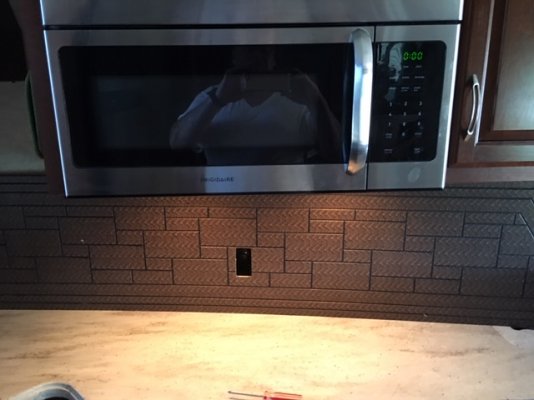
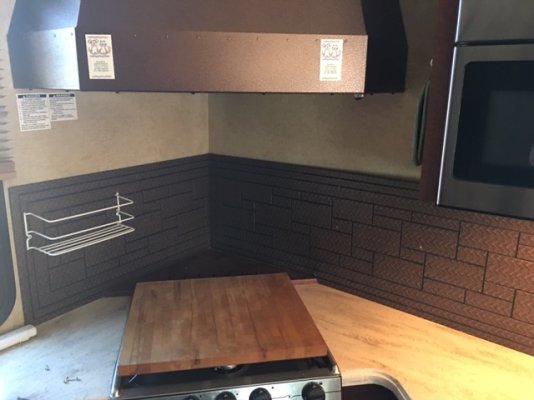
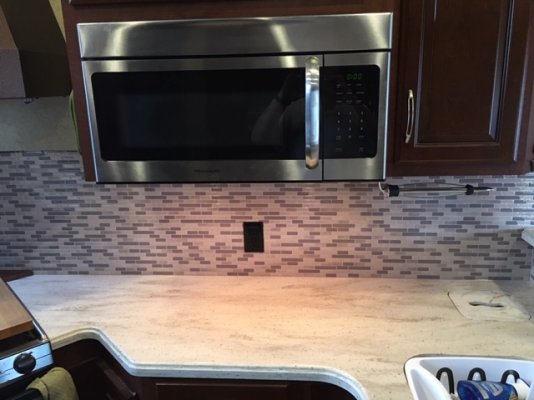
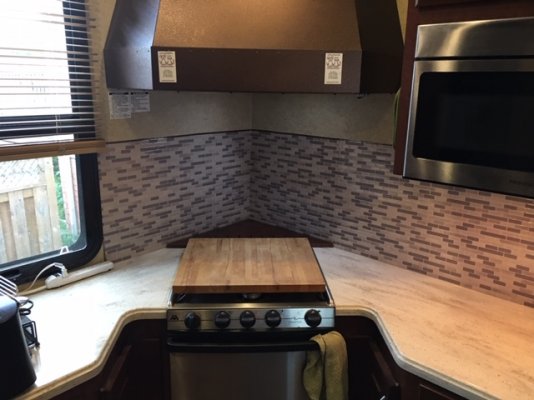
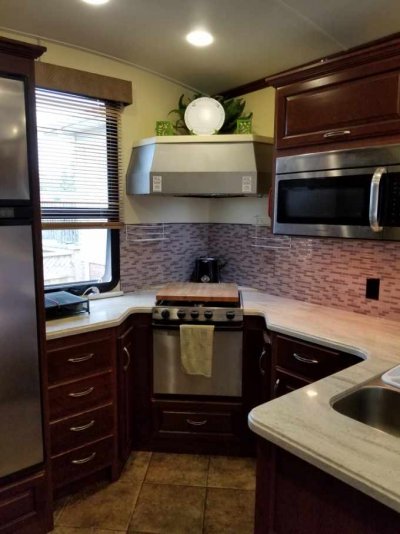
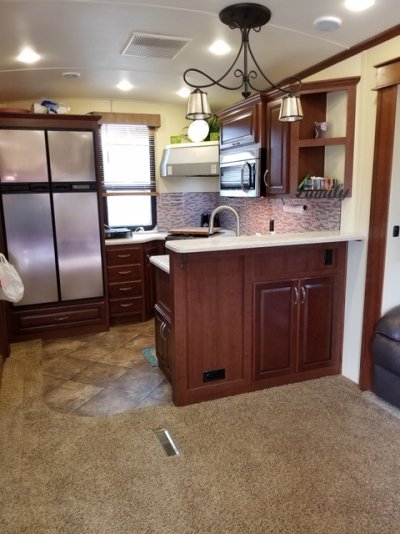
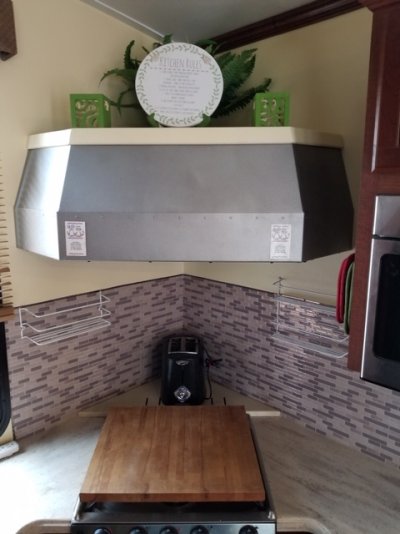
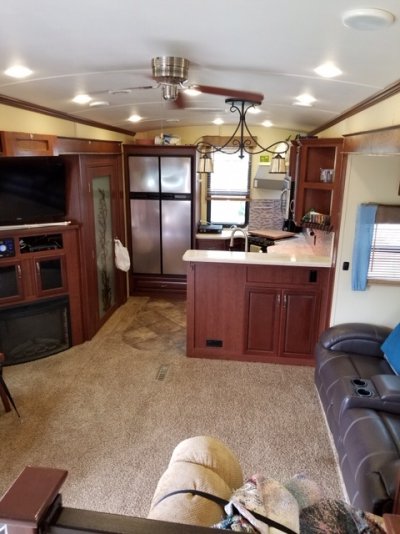
Not sure if the pictures will post but because our kitchen was so dark we upgraded the backsplash to smart tiles. Sure does open the dark area up. The dark backsplash was glued and nailed to the walls, so patching was in order as well as sanding for a smooth surface. Got the backsplash for a bargain $2.99 per tile from the company with free shipping as well. Was looking in the big box stores and nothing less than $8.99 per tile. Now to add the remaining tiles to the wall around the bathroom sink.
 

Attachments

  • image2(8).jpeg
    image2(8).jpeg
    95.2 KB · Views: 98
  • image1(11).jpeg
    image1(11).jpeg
    94 KB · Views: 82
  • image1(10).jpeg
    image1(10).jpeg
    104.1 KB · Views: 84
  • image3(3).jpeg
    image3(3).jpeg
    105.8 KB · Views: 92
Welcome to the RV Forum Tundra2084

X's 2 on the nice upgrade
 
Welcome to the Forum!

Love what you did!  We have a similar desire to do in our kitchen.  Where did you get the tile!!!  At $2.99 / tile, this project may move up the list!
 
Purchased the tiles from www.thesmarttiles.com  They ship to the US as well as Canada.  Once on their site go to the DEALS section and you will find different styles as well as prices.  The one we installed is Muretto Beige, first row, third from left on the deals page.  After looking around even their regularly price is less than big box stores.
 
Well here is the finished results. We removed that big range hood cover and had it cut down to half its size then painted it a mat metal color instead of the copper color it was. Now it at least is similar color to the stainless steel appliances. Also by removing it, it opens up that corner.
The walls in the kitchen area and living room were painted in a sandy tan color with the livingroom being a few shades darker than the kitchen. Now we have seperation between the two areas. Replaced the side curtains with light blue color, replacing the brown color ones that came stock.
Also made gray covers for the back of the theater seating to cover the peeling faux leather.
 

Attachments

  • image2(3).jpeg
    image2(3).jpeg
    53.7 KB · Views: 39
  • image1(3).jpeg
    image1(3).jpeg
    129.4 KB · Views: 35
  • image1.jpeg
    image1.jpeg
    96.5 KB · Views: 35
  • image4.jpeg
    image4.jpeg
    123.5 KB · Views: 31
  • image4(1).jpeg
    image4(1).jpeg
    30.1 KB · Views: 31
  • image3.jpeg
    image3.jpeg
    29.5 KB · Views: 32
You said you cut down the range hood. Was it taller than it is now?
Overall, you did a super job. Thanks for sharing.
 
The vent hood cover went from the bottom of the vent all the way up to the ceiling and was from one wall to the other wide. It was huge, and dark and took up the whole back corner over the stove.
 
Tundra2084 said:
The vent hood cover went from the bottom of the vent all the way up to the ceiling and was from one wall to the other wide. It was huge, and dark and took up the whole back corner over the stove.

You did a great job modifying it.
 
Back
Top Bottom