djw2112
Well-known member
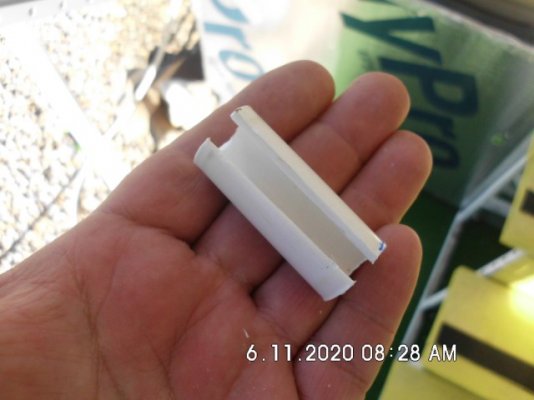
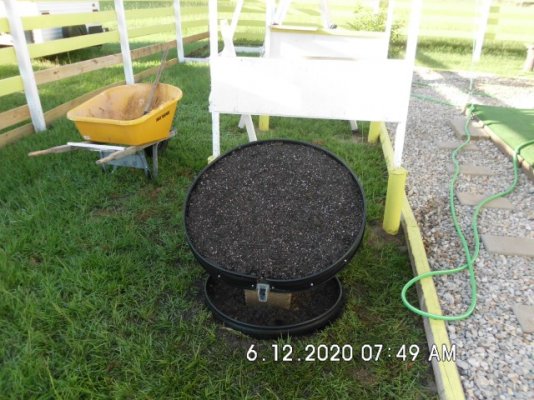
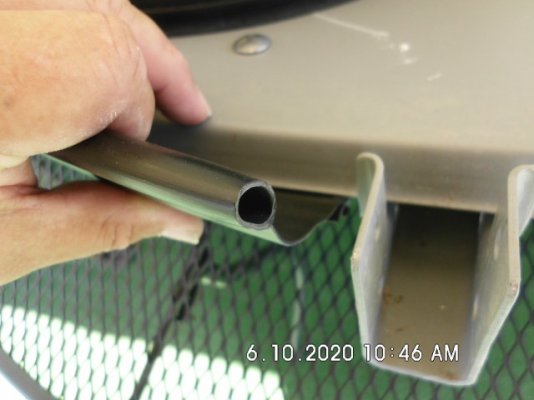
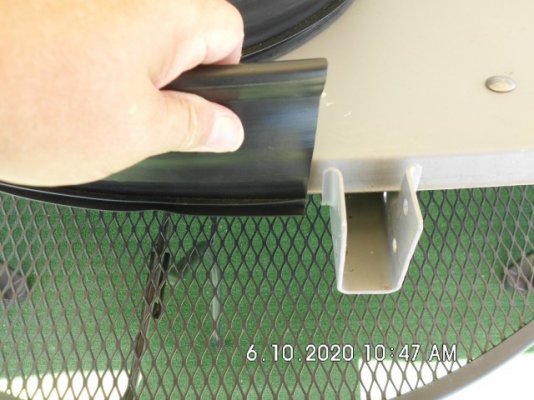
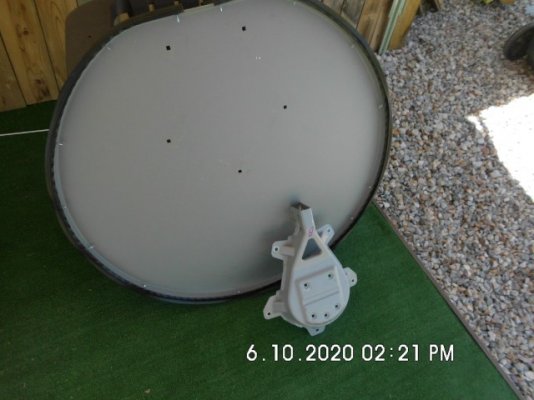
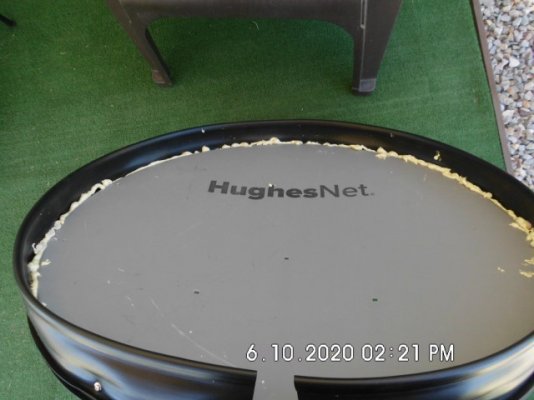
Hi, i am wanting to make a planter out of my old satellite dish. Since i will have to have some kind of border to hold in the dirt, i was considering using this stuff for the edging around the dish.
https://www.walmart.com/ip/Polyethylene-Lawn-Edging-Black-4-In-x-20-Ft/46651349
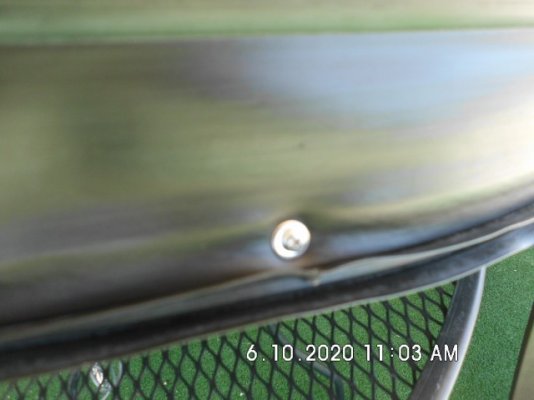
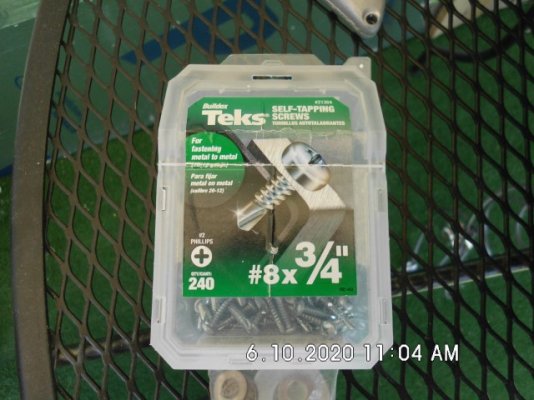
Basically the idea is to either glue or screw (or both) the edging around the circumference of the dish then fill it with dirt and insert the plants.
I have read that polyethylene cannot be glued, but im not sure if what they are referring to is the same grade as this edging stuff.
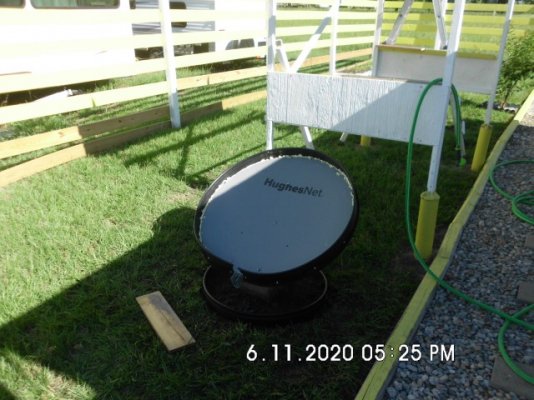
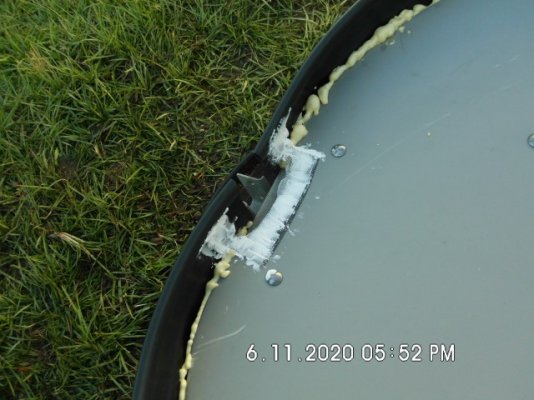
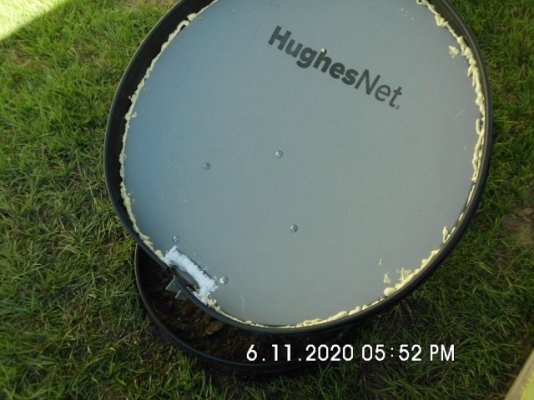
Im not sure what satellite dishes are made of but i think its just some kind of pressed cheap medal thats primed and painted, although i guess it could be aluminum. Its an old hughesnet dish.
I dont think normal liquid nails will work, anyone know what i might use to bond the two surfaces? Maybe some really good double sided mounting tape like the clear gorilla two sided tape will work.
https://www.walmart.com/ip/Polyethylene-Lawn-Edging-Black-4-In-x-20-Ft/46651349
Basically the idea is to either glue or screw (or both) the edging around the circumference of the dish then fill it with dirt and insert the plants.
I have read that polyethylene cannot be glued, but im not sure if what they are referring to is the same grade as this edging stuff.
Im not sure what satellite dishes are made of but i think its just some kind of pressed cheap medal thats primed and painted, although i guess it could be aluminum. Its an old hughesnet dish.
I dont think normal liquid nails will work, anyone know what i might use to bond the two surfaces? Maybe some really good double sided mounting tape like the clear gorilla two sided tape will work.
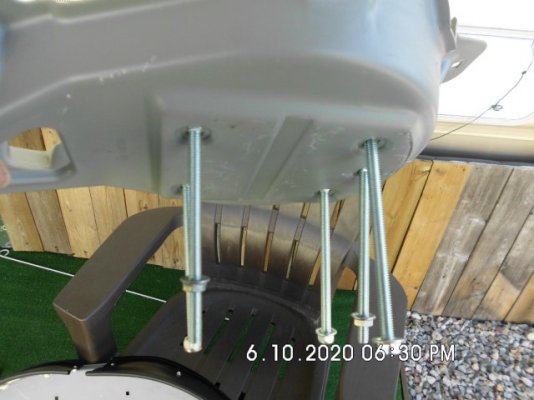
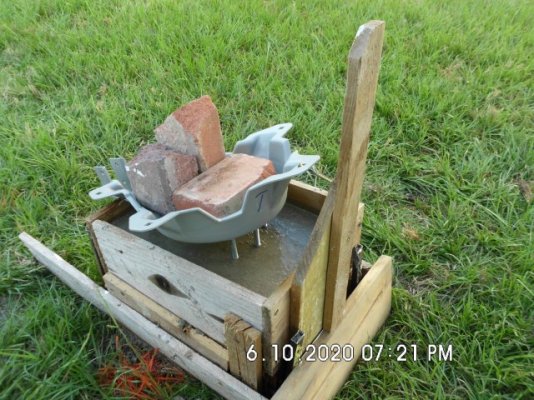
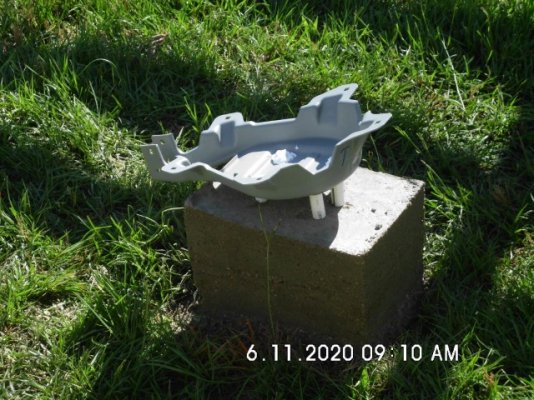
 The nuts and washers i had on there i used down inside the concrete to keep the bolts secured so those were on the ends of the bolts.