2006 Honda Element Dinghy Set-up

The friendliest place on the web for anyone with an RV or an interest in RVing!
If you have answers, please help by responding to the unanswered posts.

BNTorsney

Well-known member
Joined
Dec 24, 2006
Posts
219
Location
San Antonio, Florida
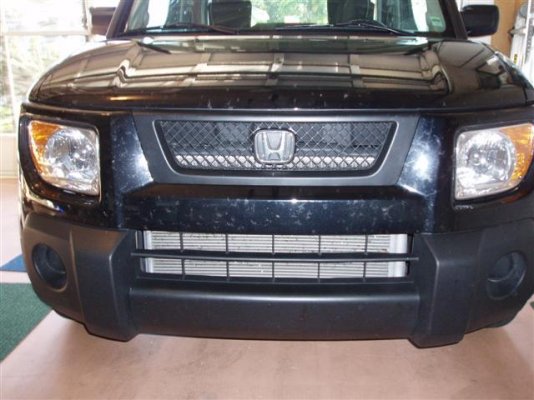
We purchased our first Motorhome, a 2008 Tiffin Allegro FRED 32LA. We traded in our Sunnybrook fifth-wheel and have our 2006 GMC diesel up for sale. This switch over necessitated the conversion of our 2006 Honda Element into a tow-able Dinghy. In this thread I will install Roadmaster's 1541-3 base plates and install a 6 way female socket for the lights.
I chose Roadmaster over Blue Ox for one very simple reason, the installation of the base plates doesn't require any modification to the frame. When I first researched Blue Ox's installation instructions, they wanted me to modify the Honda frame by removing certain rivets. This modification would mean that I could never restore the Honda to orignal, if I so desired.
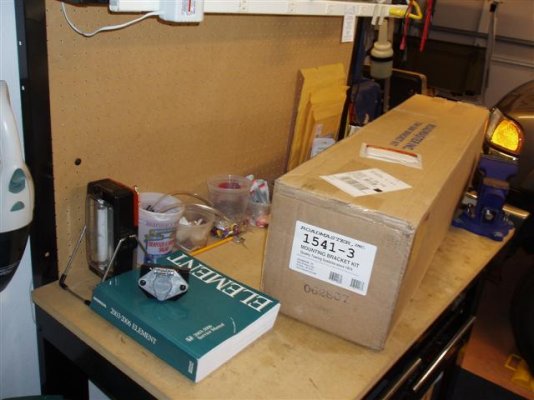
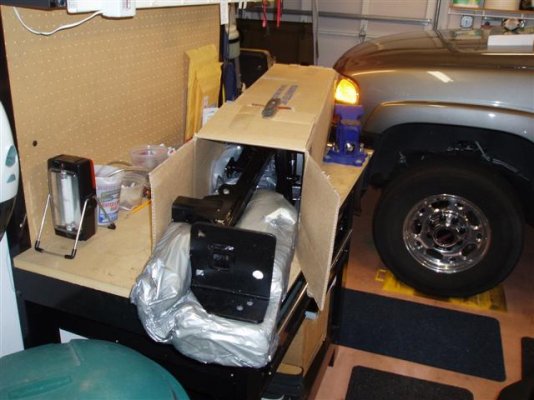
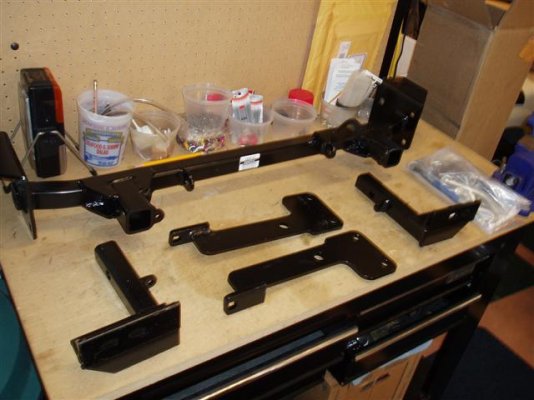
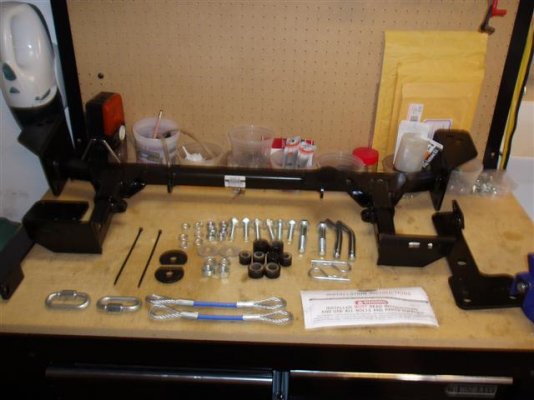
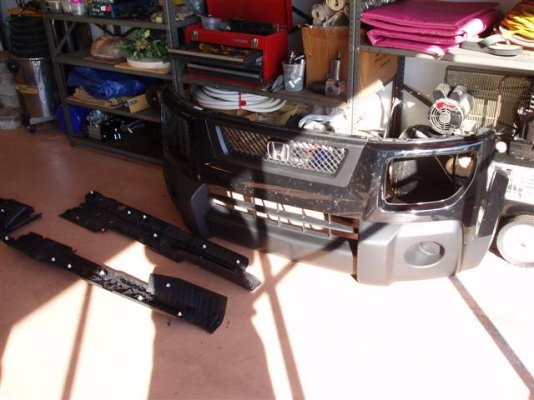
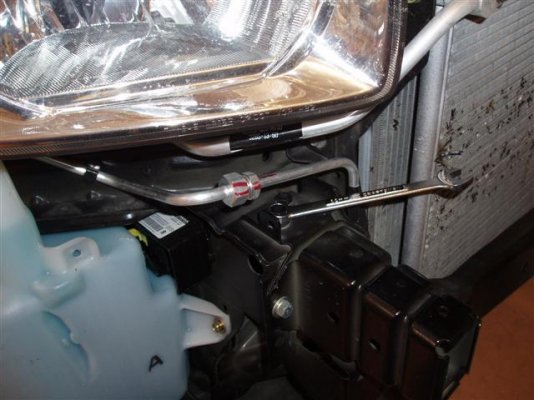
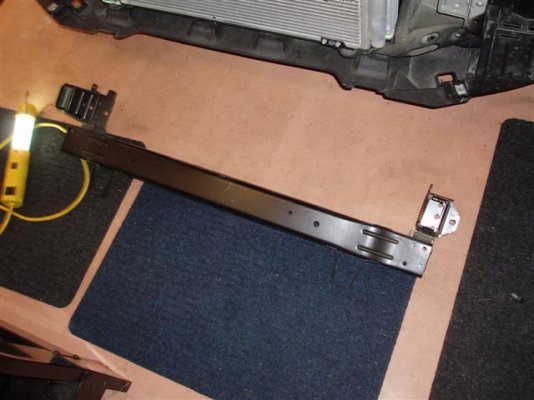
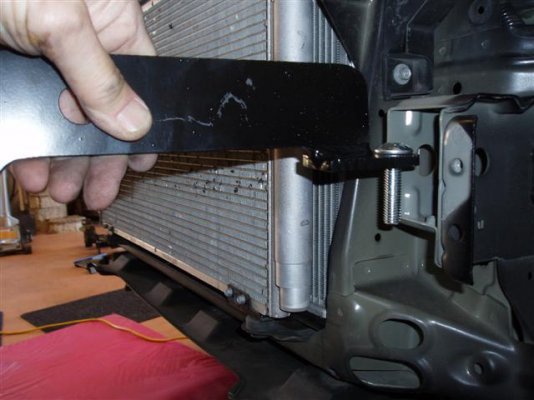
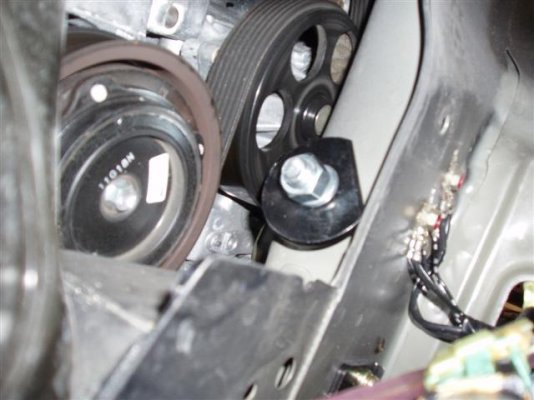
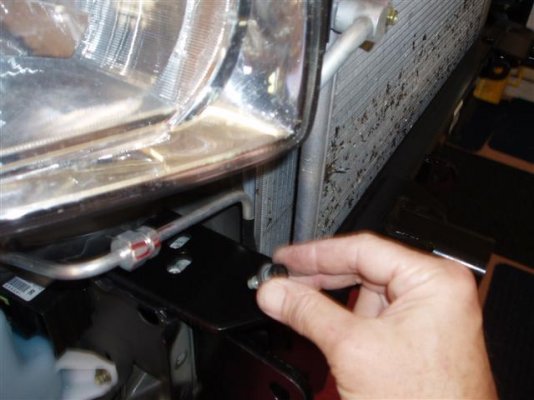
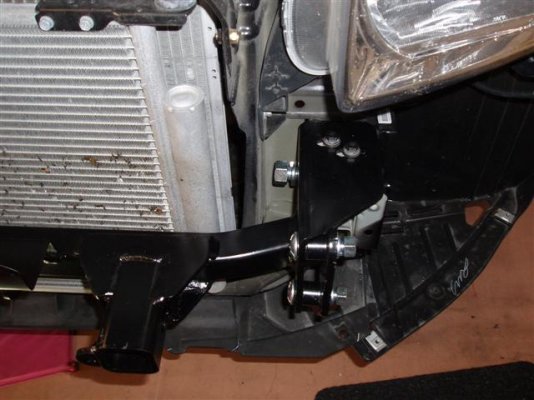
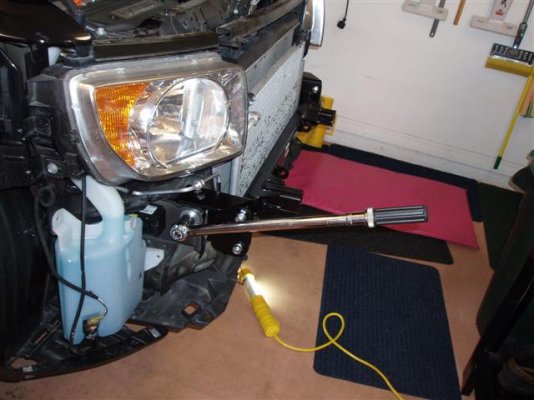
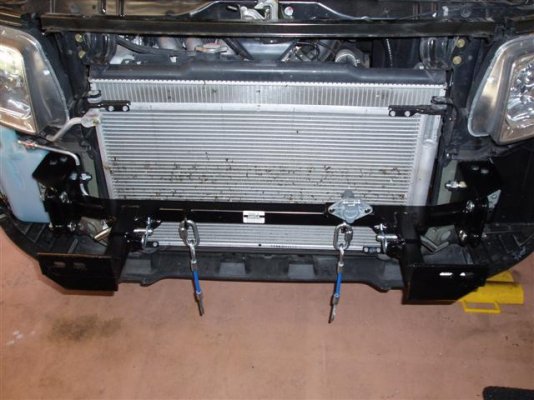
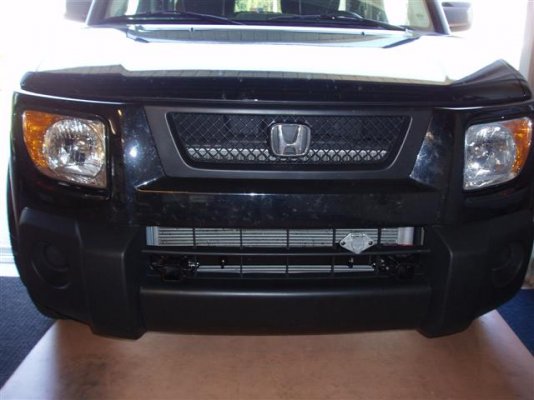
The first 4 photos are of the Roadmaster base plates. I purchased mine at www.ontheball.com, they saved me close to $100.00 on the parts.
 

Attachments

  • Roadmaster 1541-3 001 (Small).jpg
    Roadmaster 1541-3 001 (Small).jpg
    52 KB · Views: 100
  • Roadmaster 1541-3 002 (Small).jpg
    Roadmaster 1541-3 002 (Small).jpg
    55.6 KB · Views: 68
  • Roadmaster 1541-3 003 (Small).jpg
    Roadmaster 1541-3 003 (Small).jpg
    53.6 KB · Views: 81
  • Roadmaster 1541-3 005 (Small).jpg
    Roadmaster 1541-3 005 (Small).jpg
    48.4 KB · Views: 86
I used Roadmaster base plate with Blue Ox tow Bar.,  Don't tell me it won't work  It does.  Took my 20 minutes to modify without harming either unit.  Just have to look at it and put the 3 divisions into 2  Simple as pie.  OH  I used a couple of hand made bushings and 2 case hardened  #8 Bolts.
 
I'll be interested in the install photos.  I added the Roadmaster base plates to my Jeep Liberty.  I used the base plate with the EZ tabs.  You can hardly tell there is anything there when the tabs are removed.  If I could just find a good place for my break away switch I would be a happy camper.

John
 
Congratulations on your brand new Tiffin Allegro.  Personally I trhink you made and excellent choice going with the Roadmaster,  Hope you use a Roadmaster towbar with it.  I agree with your concerns about drilling out rivits I sure wouldn't do it either.
 
Shayne said:
I used Roadmaster base plate with Blue Ox tow Bar.,  Don't tell me it won't work  It does.  Took my 20 minutes to modify without harming either unit.  Just have to look at it and put the 3 divisions into 2  Simple as pie.  OH  I used a couple of hand made bushings and 2 case hardened  #8 Bolts.
May I suggest you reread my thread, I haven't got a clue what your talking about? I stated Blue Ox base plate instructions were to modify the FRAME of the Honda.
 
They certainly aren't that complicated.    If you look at them they slow together.
 
Ron said:
Congratulations on your brand new Tiffin Allegro.  Personally I trhink you made and excellent choice going with the Roadmaster,  Hope you use a Roadmaster towbar with it.   I agree with your concerns about drilling out rivits I sure wouldn't do it either.
Thank you, I would not have installed Roadmaster brackets, if I wasn't go to buy a Roadmaster tow-bar; I'm leaning toward the Sterling All-Terrain model.
 
BNTorsney said:
Thank you, I would not have installed Roadmaster brackets, if I wasn't go to buy a Roadmaster tow-bar; I leaning toward the Sterling All-Terrain model.

Excellent choice.  Even though we are using the Roadmaster Falcon II I have been very impressed with the Sterling All-Terrain.  Those that we know that have them are very satisfied with the Sterling.
 
I have used the RoadMaster system, including the Sterling All-Terrain tow bar for a year, now. Not a long time, but quite satisfactory for the time I've had it. Easy to hook and unhook.

Ray D  ;D

By the way, I think it's very nice of you to include the photos and journal about your install. People will appreciate that for some time to come.
 
Roadmaster 1541-3 Mounting Bracket Installation

I started by removing the "top plastic grill," there are 6 pins holding it in place, photo 3. The next step is to remove 19 total - pins, 10mm bolts and screws, photo 4. When all 19 are removed the front fascia pulls out, photo 6 & 7. The next step is to remove a factory bumper, photos  9 & 10. Next install the two "side mounting braces," photos 12 & 15. Next is to install the "receiver brace," photos 13 & 14. Up to this point, all nuts, bolts and spacers are installed and loose. The last step is to torque all the bolts to the specs on the last page of the installation instructions, photo 16. Photo 17 is the final installation. Now all that is left to do is reinstall the front fascia with the 19 total - pins, 10mm bolts and screws.
I not going to install the front fascia yet, as I want to wire the lighting circuit. When I am finished I will reinstall the front fascia and post "before and after" photos.


Attachments

  • Roadmaster 1541-3 Installation 003 (Small).jpg
    Roadmaster 1541-3 Installation 003 (Small).jpg
    54.7 KB · Views: 71
  • Roadmaster 1541-3 Installation 004 (Small).jpg
    Roadmaster 1541-3 Installation 004 (Small).jpg
    60 KB · Views: 49
  • Roadmaster 1541-3 Installation 006 (Small).jpg
    Roadmaster 1541-3 Installation 006 (Small).jpg
    47.5 KB · Views: 64
  • Roadmaster 1541-3 Installation 007 (Small).jpg
    Roadmaster 1541-3 Installation 007 (Small).jpg
    58.5 KB · Views: 54
  • Roadmaster 1541-3 Installation 009 (Small).jpg
    Roadmaster 1541-3 Installation 009 (Small).jpg
    57.7 KB · Views: 52
  • Roadmaster 1541-3 Installation 010 (Small).jpg
    Roadmaster 1541-3 Installation 010 (Small).jpg
    51.9 KB · Views: 50
  • Roadmaster 1541-3 Installation 012 (Small).jpg
    Roadmaster 1541-3 Installation 012 (Small).jpg
    51.2 KB · Views: 55
  • Roadmaster 1541-3 Installation 015 (Small).jpg
    Roadmaster 1541-3 Installation 015 (Small).jpg
    49 KB · Views: 50
  • Roadmaster 1541-3 Installation 013 (Small).jpg
    Roadmaster 1541-3 Installation 013 (Small).jpg
    48.2 KB · Views: 54
  • Roadmaster 1541-3 Installation 014 (Small).jpg
    Roadmaster 1541-3 Installation 014 (Small).jpg
    57.6 KB · Views: 50
  • Roadmaster 1541-3 Installation 016 (Small).jpg
    Roadmaster 1541-3 Installation 016 (Small).jpg
    54.6 KB · Views: 48
  • Roadmaster 1541-3 Installation 017 (Small).jpg
    Roadmaster 1541-3 Installation 017 (Small).jpg
    61.8 KB · Views: 73
Questions for Electronic Engineers

Roadmaster's lighting kit employs diodes to block the motorhome positive voltage.
Example:
Brake Light Diode: This diode is placed between the Dinghy brake switch and the brake light bulbs. The Anode is connected to the brake switch and the cathode is connected to the bulb. When the brake is pressed, 12 VDC positive appears at the anode end of the diode, it is forward biased and the bulbs draw approximately 5.6 amps.
The motorhome's brake light positive voltage attachés at the junction of the cathode of the diode and the Dinghy brake light bulb. When the motorhome brakes are applied, this positive voltage appears at the cathode of the diode; it lights the Dinghy brake light bulbs, but reverse biases the diode preventing the motorhome voltage from going back toward the brake switch.
Questions:
              1/ If the brake light circuit draws 5.6 amps DC, what is the safe rating for the diode as far as voltage and current?
              2/ What circuity in the Dinghy is the diode protecting?
 
Thanks for the report and photos. 

I don't recall exactly what the diodes that came from Roadmaster are rated for but we have been using the Roadmaster diode kit for 9+ years and never had a problem.  Have even removed them from one car to the next.
 
The Roadmaster diodes are rated for something like 50A at 12V, so no worries there.  The diodes protect the toad's 12V system from being back-fed with 13-14V from the motorhome and exactly what that stops depends on how the toad's own wiring works.  In general, without the diode you have a "wild" voltage looking for a place to ground and it may be reversing the normal polarity in the toad's 12v system.  Sometimes it just lights up things that should be dead, but sometimes it has other side effects too. Placing the diodes in line stops any such worries.
 
RV Roamer said:
The Roadmaster diodes are rated for something like 50A at 12V, so no worries there.  The diodes protect the toad's 12V system from being back-fed with 13-14V from the motorhome and exactly what that stops depends on how the toad's own wiring works.  In general, without the diode you have a "wild" voltage looking for a place to ground and it may be reversing the normal polarity in the toad's 12v system.  Sometimes it just lights up things that should be dead, but sometimes it has other side effects too. Placing the diodes in line stops any such worries.
Thank you, knowledge is power, this is why I seek it BEFORE I begin. When I'm comfortable I have the correct information, I will install the necessary components to protect my investment and post photos at this thread.
If the circuit draws 5.6 amps, would a diode with a rating of 8 amp @ 1KV be adequate?
 
BNTorsney said:
Thank you, knowledge is power, this is why I seek it BEFORE I begin. When I'm comfortable I have the correct information, I will install the necessary components to protect my investment and post photos at this thread.
If the circuit draws 5.6 amps, would a diode with a rating of 8 amp @ 1KV be adequate?
1kV is overkill, but will work just the same. I'd go with a minimum 15A diode to prevent diode failure in case a bulb shorts out - better to have the fuse or c.b. blow. A 60V or 100V diode will be more than adequate.
 
Just made my 03 Element a toad.  Was on Blue ox and Roadmaster brackets.  Wound up with the Roadmaster.  Install time on the 1541-1 MX was three hours and fit perfect.  No trimming body panels but had to angle a few wrenches. Have a Falcon II which is easy to use and folds up nicely.  Also have a brake buddy which handles the brake lights but need to wire the tail lights and directional lights.  Just not sure what kit to get or just go with magnet lights.  Have been told it is more tedious work tracking wires,etc.....  Give me some pointers once you complete...    Thanks...
 
Also have a brake buddy which handles the brake lights but need to wire the tail lights and directional lights.  Just not sure what kit to get or just go with magnet lights.  Have been told it is more tedious work tracking wires,etc.....  Give me some pointers once you complete...
The Brake Buddy will obviously handle the brake lights through the normal toad braking system, but we need to know more about the tail lights and directional lights as they now exist. Are they completely separate from the brake lights and from themselves, or are they used in a combined function with other lights? I personally have no specific knowledge of the wiring of an Element (or even what an Element is?), but am pretty sure that there is not one specific 'kit' designed for your vehicle that wasn't already available for many other vehicles. Given that, it would still require some wire tracing to establish the correct attachment points and where, if any, diodes would need to be placed. Please provide more specifics.
 
Before and After

These two photos are the before and after face-on photos of the Honda.

After reviewing this reply, I now realize in the "after" photo, it's hard to see the bracket because both it and the Honda are black. In the future, I will take another, more from the side photo and post it. I am beginning the preliminary wiring soon. This wiring is from the bracket mounted electrical socket, back to the dashboard. I can't finalize this project because I don't yet have the necessary diodes. Does anyone have an "online source" for the 15A/60VDC diodes?
 

Attachments

  • Roadmaster 1541-3 Installation 001 (Small).jpg
    Roadmaster 1541-3 Installation 001 (Small).jpg
    58.8 KB · Views: 75
  • Wiring Lights 005 (Small).jpg
    Wiring Lights 005 (Small).jpg
    47.7 KB · Views: 70
BNT,

Thanks for the project reports and photos.

BNTorsney said:
Does anyone have an "online source" for the 15A/60VDC diodes?

Camping World has the Roadmaster diodes for online ordering here.
 
Karl said:
The Brake Buddy will obviously handle the brake lights through the normal toad braking system, but we need to know more about the tail lights and directional lights as they now exist. Are they completely separate from the brake lights and from themselves, or are they used in a combined function with other lights? I personally have no specific knowledge of the wiring of an Element (or even what an Element is?), but am pretty sure that there is not one specific 'kit' designed for your vehicle that wasn't already available for many other vehicles. Given that, it would still require some wire tracing to establish the correct attachment points and where, if any, diodes would need to be placed. Please provide more specifics.

My shop manual covers 2003 though 2006. This tells me that the color of the wires are the same for your 2003 and my 2006.  The best place to get all the necessary wires is at the "under dashboard fuse box." When I get the diodes, I will post photos of where I made the various connections.

The first color listed is the color of the wire, the second is a stripe the runs the length of the wire.
   Brake light: white/black
   Tail lights:   red/yellow
   Back-up:    green/black
   Left turn:  green/red
   Right turn: green/yellow

 
Back
Top Bottom