WilleyB
Well-known member
First Change.
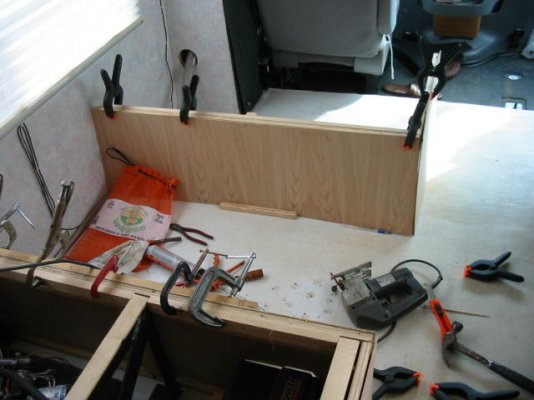
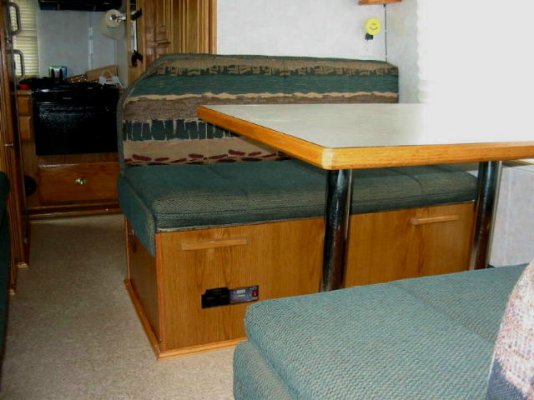
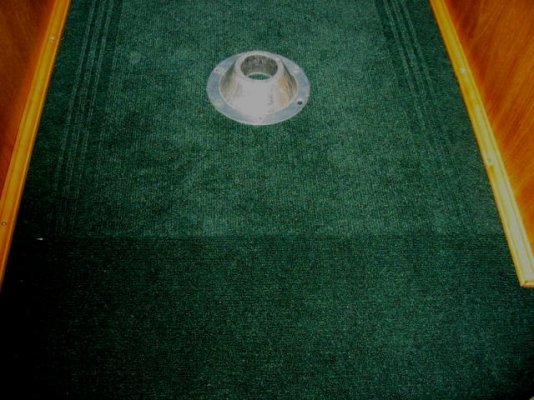
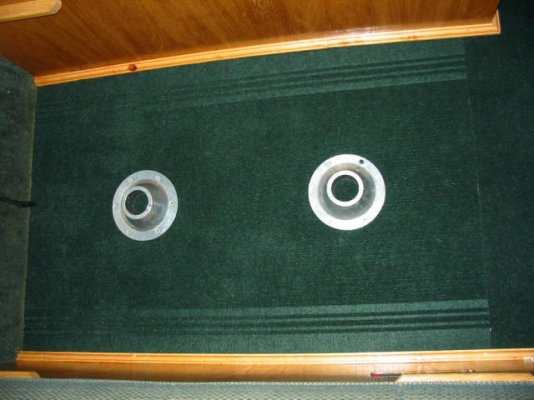
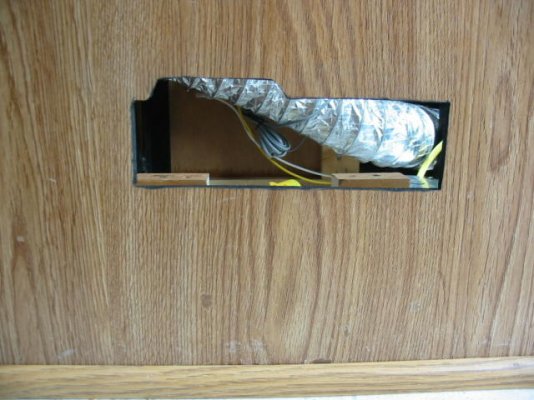
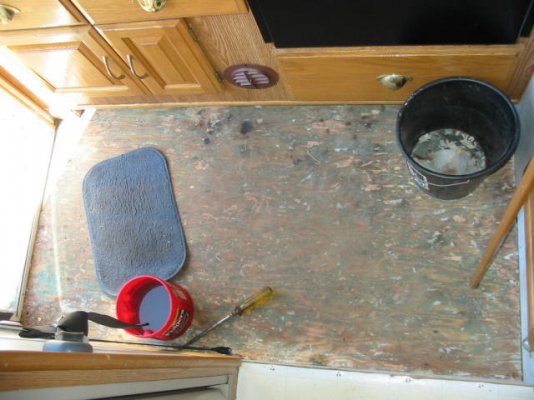
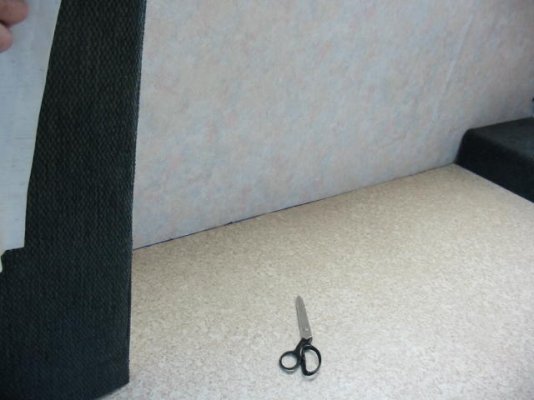
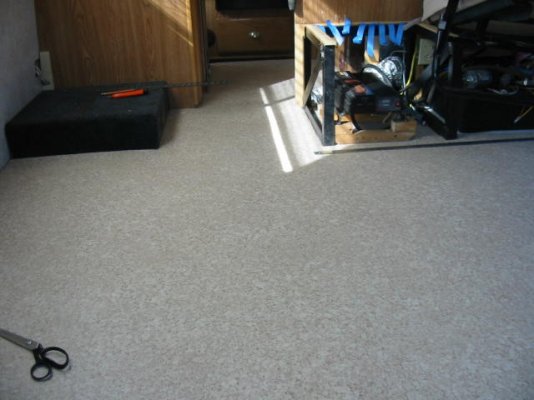
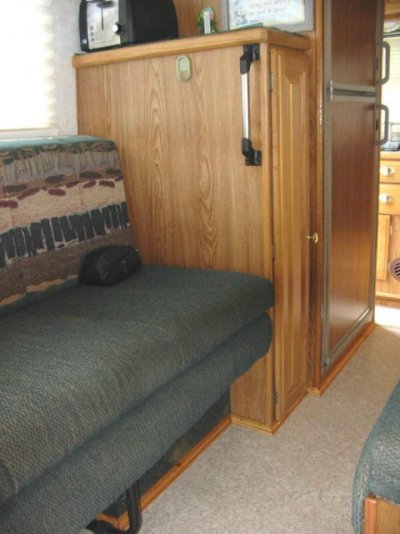
Well our little home on wheels is an ex rental rig. It showed some wear, but like all rental rigs one size fits all. Don't get me wrong, it was in good shape but in need of some work to make it our own special rig. They had put new flooring in it, but it was of poor quality. On the inside of the the cupboards was one big empty space, lots of height for stacking things, but not very convenient. I just plug away at it as ideas come to mind or a need arises. The paneling on the dinette was of that printed on wood grain stuff that had scuff marks on it, just not my cup of tea so plans to replace were already in mind. The marks can be seen in the photo
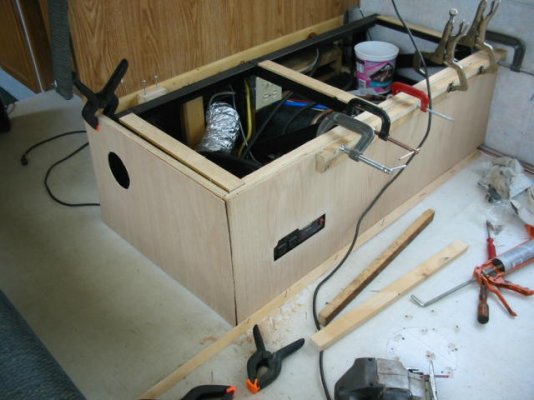
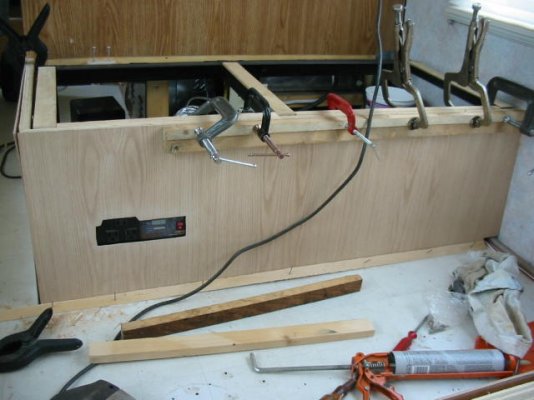
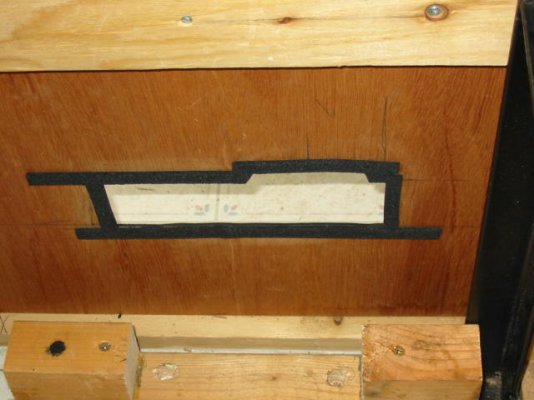
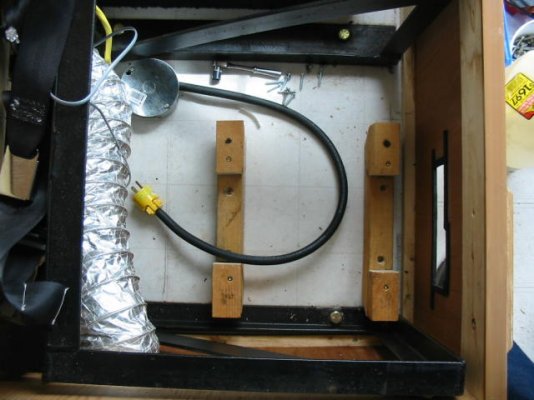
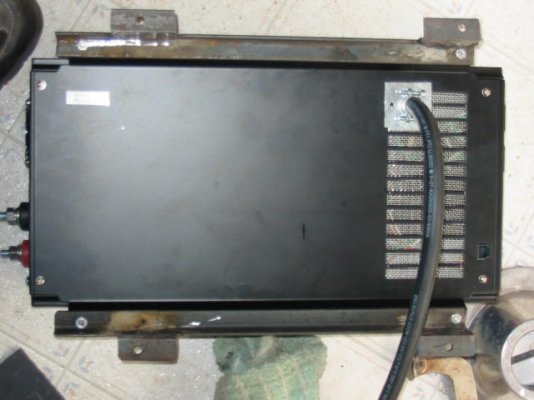
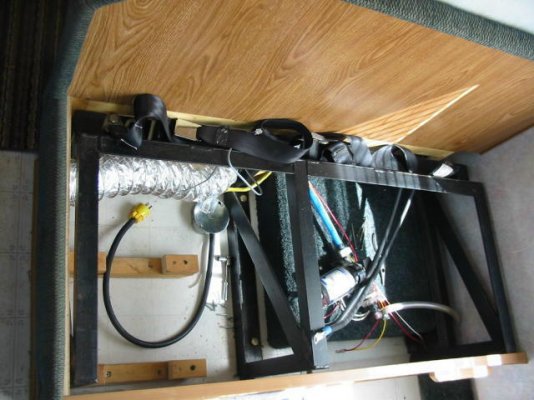
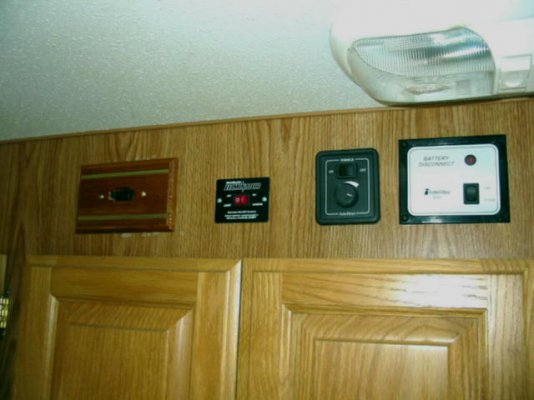
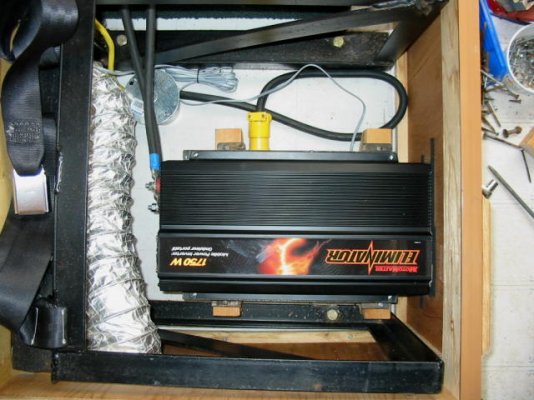
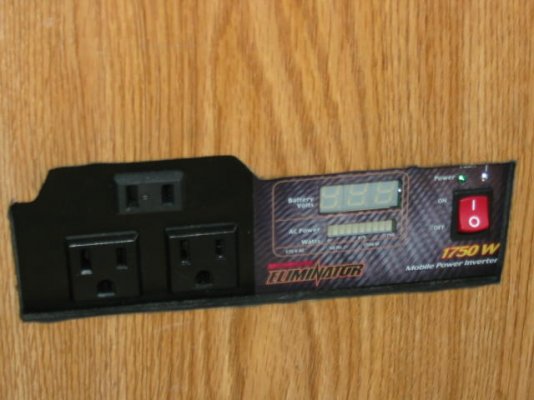
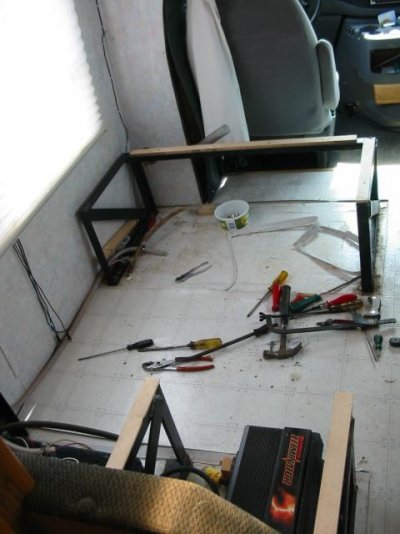
The first change was the inverter, the rear dinette seat was the best place for it as the batteries are in a compartment directly behind. Two changes necessary,first was a hole in the dinette paneling for the inverter face and readout. Next a mount to keep it off the floor to improve heat dissipation. Then add a power cord to the bottom of the inverter and another mating cable to connect to the power dist. panel (this had to be re-modified later). Mount the remote On/Off switch for the inverter. Next add a Dock/Boondock switch. This switch was not a good idea, lost two inverters with it and it now serves only to cut the power to the converter when on the road. These switches were mounted above the clothes closet doors along with the Battery disconnect. All that was left to do was mount the inverter in place
Cheers
Willis
Well our little home on wheels is an ex rental rig. It showed some wear, but like all rental rigs one size fits all. Don't get me wrong, it was in good shape but in need of some work to make it our own special rig. They had put new flooring in it, but it was of poor quality. On the inside of the the cupboards was one big empty space, lots of height for stacking things, but not very convenient. I just plug away at it as ideas come to mind or a need arises. The paneling on the dinette was of that printed on wood grain stuff that had scuff marks on it, just not my cup of tea so plans to replace were already in mind. The marks can be seen in the photo
The first change was the inverter, the rear dinette seat was the best place for it as the batteries are in a compartment directly behind. Two changes necessary,first was a hole in the dinette paneling for the inverter face and readout. Next a mount to keep it off the floor to improve heat dissipation. Then add a power cord to the bottom of the inverter and another mating cable to connect to the power dist. panel (this had to be re-modified later). Mount the remote On/Off switch for the inverter. Next add a Dock/Boondock switch. This switch was not a good idea, lost two inverters with it and it now serves only to cut the power to the converter when on the road. These switches were mounted above the clothes closet doors along with the Battery disconnect. All that was left to do was mount the inverter in place
Cheers
Willis
Attachments
-
 Panel Cutout.JPG60.5 KB · Views: 85
 -
 Cutout-2.JPG45.8 KB · Views: 72
 -
 Mounting Base.JPG54.4 KB · Views: 73
 -
 Invereter Modification.JPG44.1 KB · Views: 75
 -
 Power Dist Cable.JPG61.3 KB · Views: 74
 -
 Dock-Boondock Switch.JPG45.4 KB · Views: 76
 -
 Mounted in Place.JPG68.6 KB · Views: 69
 -
 Completed.JPG45.5 KB · Views: 81

")