1st part of remodeling motorhome

The friendliest place on the web for anyone with an RV or an interest in RVing!
If you have answers, please help by responding to the unanswered posts.
P

PatrioticStabilist

Guest
Iguess I posted to big a file.

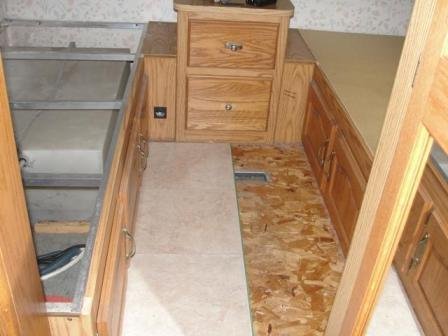
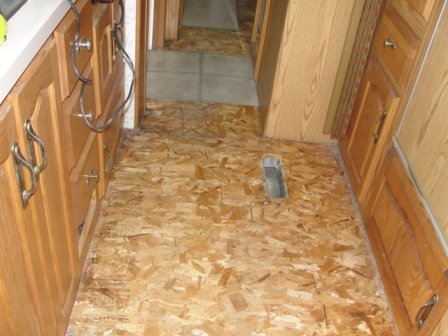
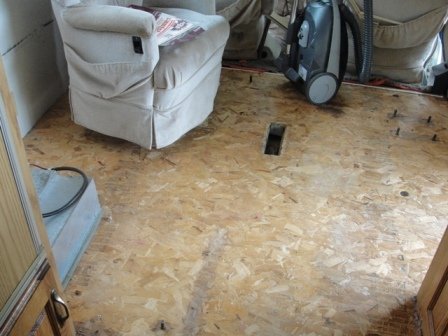
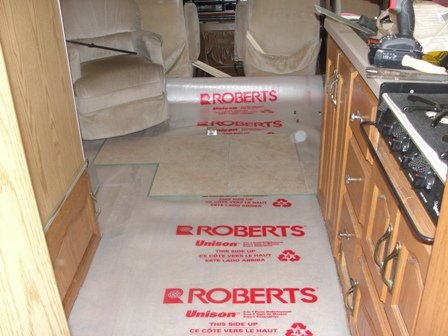
I got the carpet all out and am looking for things that need fixed, first is the strap over the water tank, I see its loose and flopping.

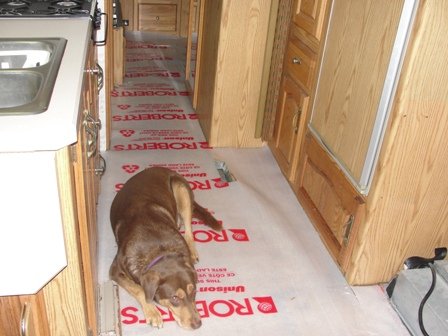
That piece of tile is what I'm putting in, it looks like ceramic.

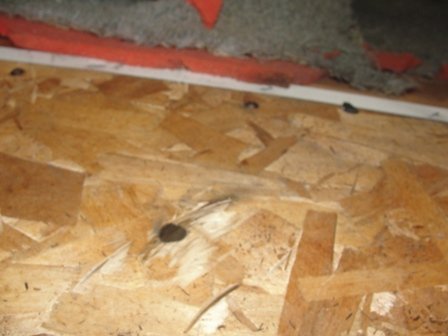
The one picture shows the bolts I have yet to cut out only 2.
 

Attachments

  • 1st part of renovation 001.JPG
    1st part of renovation 001.JPG
    41.3 KB · Views: 569
  • 1st part of renovation 002.JPG
    1st part of renovation 002.JPG
    83.3 KB · Views: 457
  • 1st part of renovation 003.JPG
    1st part of renovation 003.JPG
    87.7 KB · Views: 495
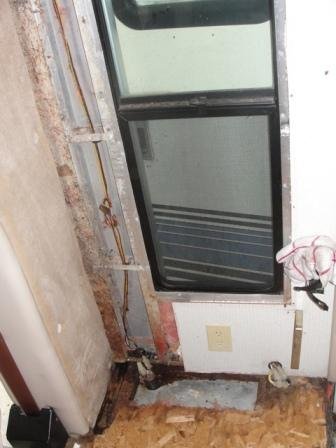
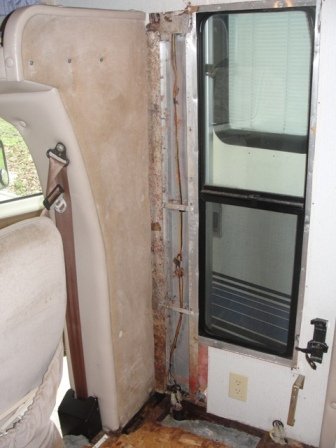
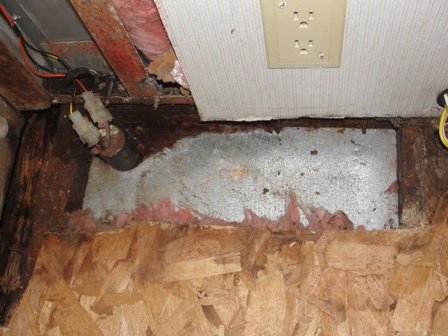
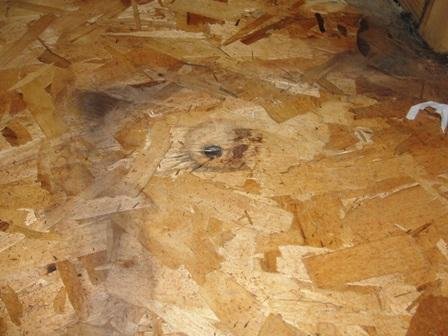
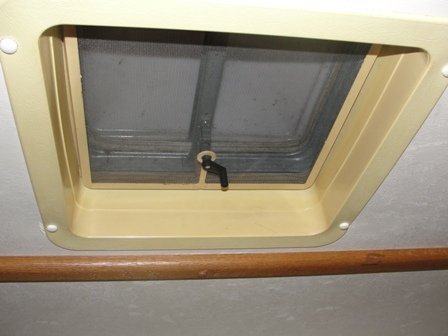
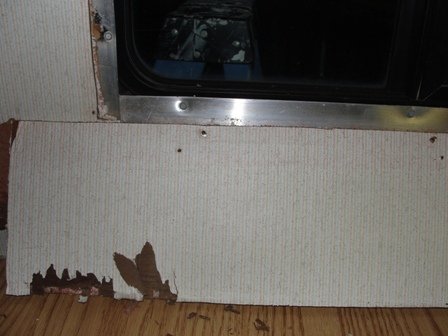
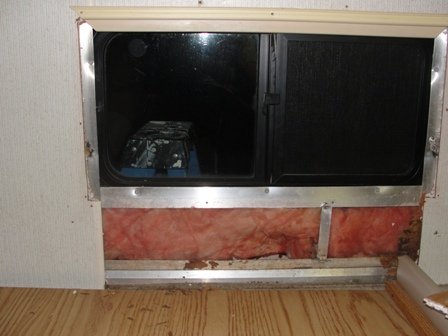
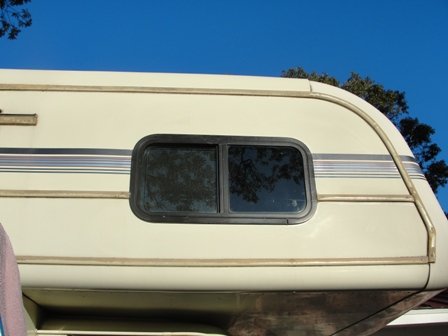
I had been smelling a musty smell and figured its leaking somewhere.  Well I found it but I know its coming from the small window on the passenger side of the cabover.  But this is where the water ended up and caused rot.  Good thing its a metal framework or it would be falling apart.

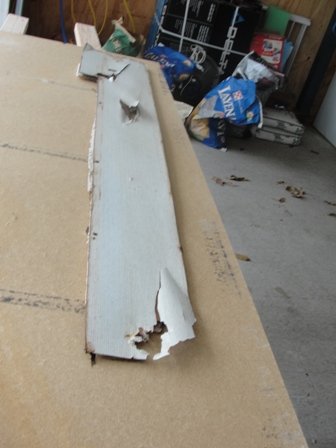
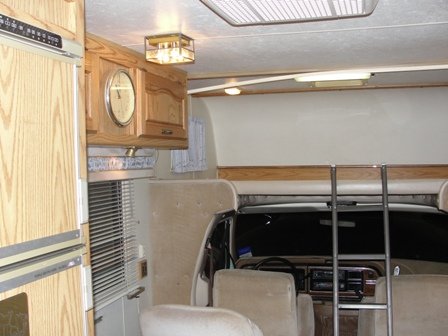
I removed the rotted flooring and piece of paneling.  Luckily its in a corner and behind a chair, blinds, and curtain, that's why I never spotted it, didn't look there!

I have the paneling for a pattern, so am going to go find a piece for that, its a very generic color, going to try Lowes and Home Depot but if I have to go to the RV store 1 sheet won't kill me,  need a sheet of plywood, don't think we have any right now, wonder if I can buy half sheets? Also need to get a piece of treated wood to replace in the one area.  I have to even the cut out a bit more and clean out the back slot under the wall better so it will slip in there far as possible.  I think this will be a pretty easy fix and of course insulate, not much insulation in the side wall of this.  Of course the would be an electric slot to cut for, now if I can find hubbies hole saws.


Attachments

  • 1st part of renovation 004.JPG
    1st part of renovation 004.JPG
    41.1 KB · Views: 371
  • 1st part of renovation 005.JPG
    1st part of renovation 005.JPG
    77.3 KB · Views: 257
  • 1st part of renovation 006.JPG
    1st part of renovation 006.JPG
    84 KB · Views: 325
  • 1st part of renovation 007.JPG
    1st part of renovation 007.JPG
    79.4 KB · Views: 315
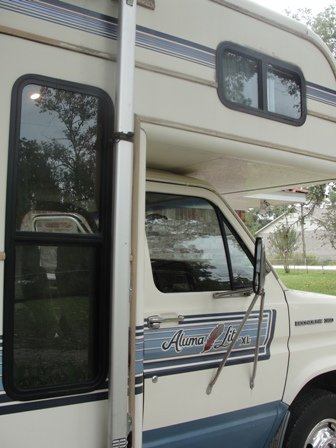
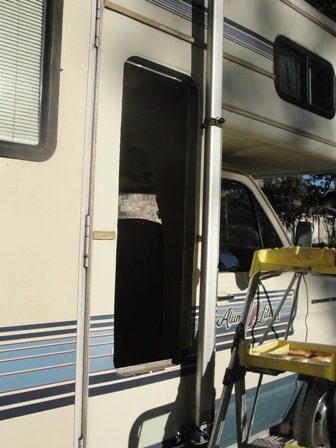
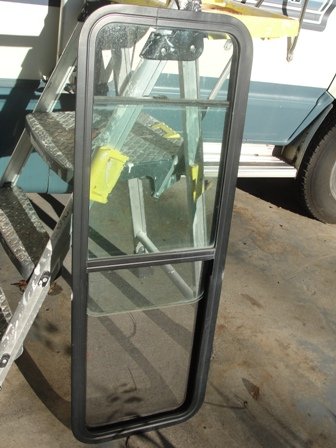
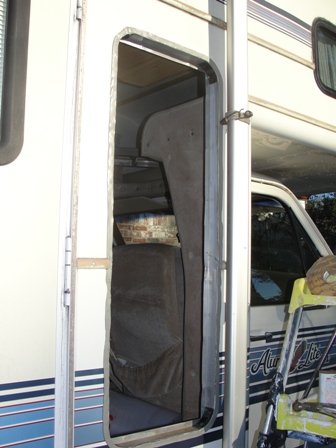
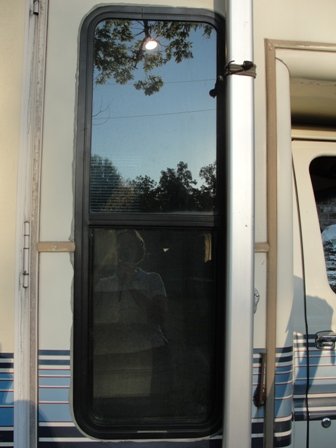
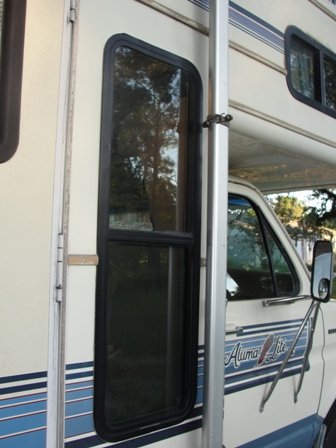
Ok, these are the 2 windows I need to remove and reseal, I'm told to use stainless screws.  But these are bolted in from the inside and I don't see rusted screws, can tell more when I take them out.  Will have to get my tenant to help me with this, he will need to hold them up on the outside, likely when I start rescrewing them in.  Or when taking them out so I don't break them.

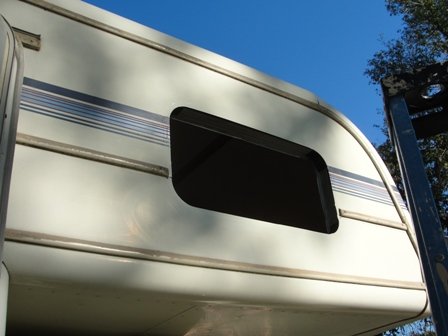
In looking around I don't think this coach has been sealed very much, I see lots of areas needing attention.  You can see caulk at the top of the cabover window.

Ok, back to work
 

Attachments

  • Windows to be removed and sealed 001.JPG
    Windows to be removed and sealed 001.JPG
    83.3 KB · Views: 266
I did it!!!! I ground the bolts off.  But I can tell you, that really scared me, I have never done anything like that before.  Hubby warned me to be careful or the grinder could get away from you.  I can see how that would happen.  Whew!  I'm so glad that is done.

;D
 

Attachments

  • Ground off bolts! 001.JPG
    Ground off bolts! 001.JPG
    45.3 KB · Views: 238
  • Ground off bolts! 002.JPG
    Ground off bolts! 002.JPG
    74.5 KB · Views: 189
wow- you have been busy. how do you find the time to post? You'll be done before the "boss" returns home. Thanks for the photos
 
Ok, I'm done for this day, I'm pooped! Remember, somewhere I said I'm a type A person.

I have something like this that interests me and I go full tilt, other things, well, let's say I need to get my ironing done.  The washing is. ;)

Ernie, we only live about 4 miles from a Home Depot, so that helps!  I swear either hubby are I are in there every day.  When they put that up a few years back, he was the happiest man in the world.  And that sure helps.

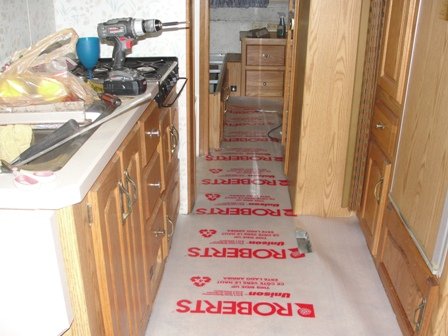
Anyway, question for you.  I notice on the wood flooring you run it the length of the coach.  On this which looks like tile, would it matter if I ran it crossways?  I'm thinking the cuts will be easier and it will be easier for me to fit.  Does it have to be run long ways?? I think this light color is going to really make this little coach look bigger.

Tomorrow errands and maybe DD to the show. She has really been excited about this project which is unusual for her.  She has carried out old carpet, been my little gofer getting me stuff.  A tremendous help today.

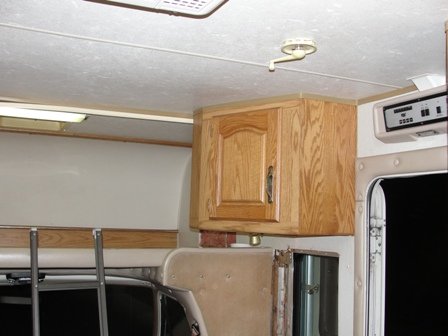
Next is to tear out the piece of paneling in the bunk above.  Cut the pieces out, I could find nothing even close, but where the pieces are it won't matter so much.  Thankfully they aren't in a very obvious spot.
 

Attachments

  • Underlayment Down 001.JPG
    Underlayment Down 001.JPG
    89.2 KB · Views: 291
  • Underlayment Down 002.JPG
    Underlayment Down 002.JPG
    88.1 KB · Views: 242
I have seen the tile type stuff laid diagonallly and thought it looked great.  If we were to redo the flooring in the MH, I would like the new tile looking stuff and would have it done that way.  Probably not in my life time though.  :)
 
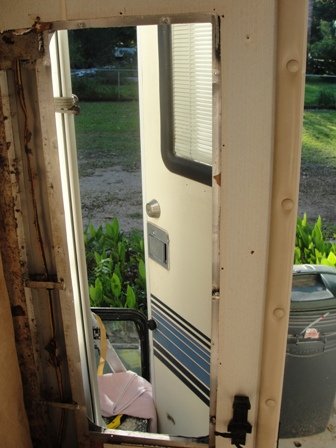
Ok, I took the long window out, cleaned around the edge with acetone, hope that's ok, then stuck butyl tape on the side wall.  Then I replaced the window.  I screwed it down putting in screws at some sides then bottom and top and on around.  I also back off half a turn on each and kept checking to make sure the window was not in a bind and would go up and down.  I hope that is correct, seemed like if I tightened them to much it caused the window to be in a bind.  That's how I've seen them do putting in house windows.

I like this design.  Many of the older RV's we had before had the windows screwed in from outside.  This one is from the inside and very simple to do.  I saw no evidence of any leaking around the window, but its done on that one.  It had no sealant, just a gasket type of seal on the window and was not rotted or damaged, still good and pliable.

Also baked a pumpkin pie!  Noone likes it but me and I wanted one.  Going to make some dressing with the baked chicken when I come in.  In cool weather I crave things like that and chili!
 

Attachments

  • Window removal and replace 001.JPG
    Window removal and replace 001.JPG
    90.7 KB · Views: 229
  • Window removal and replace 002.JPG
    Window removal and replace 002.JPG
    91.1 KB · Views: 200
  • Window removal and replace 003.JPG
    Window removal and replace 003.JPG
    86.3 KB · Views: 176
  • Window removal and replace 004.JPG
    Window removal and replace 004.JPG
    86.1 KB · Views: 168
  • Window removal and replace 005.JPG
    Window removal and replace 005.JPG
    79.5 KB · Views: 159
  • Window removal and replace 006.JPG
    Window removal and replace 006.JPG
    87.1 KB · Views: 172
Now I have to start on the little one above.  It has caulk around it and I'm sure its leaked.  But I also see other places on this side where the sealant has shrunk.  After I do the top window, I'm going down the whole side of the motorhome and clean an reseal places I see that need it.  I also see doors that likely need new gaskets of some type and I'm sure there is water infiltration through them, or I would think there would be.

The pie is good, but its still a bit to warm, but who cares! Pie before dinner!  The rules are out the windows folks!
 
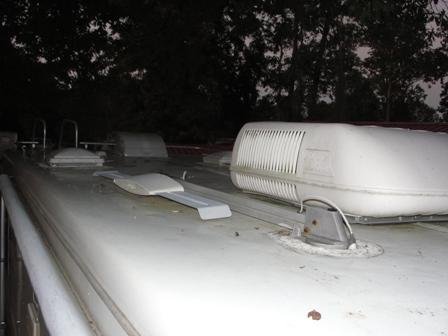
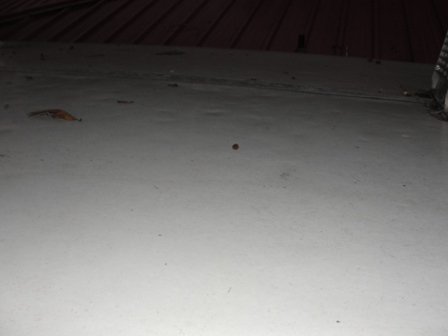
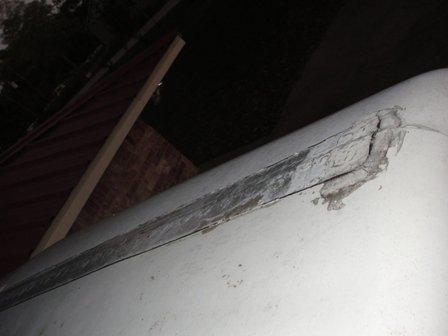
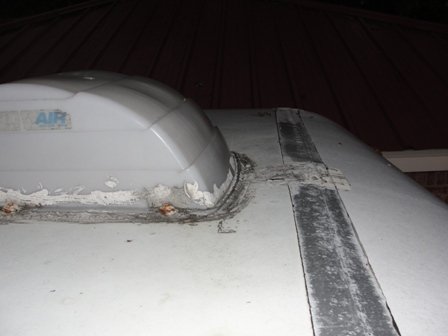
I climbed up the ladder in back to look at the roof  before I bought it and of course did not see this in the front.  Should have had my 8 foot ladder, if so I would have seen it. Would have still bought it just would have offered about a $1000 less.  I hope my tape comes so I can clean that and seal it.  I'm thinking its that same tape I bought that is up there now, just has been loose at the end here.  I'm not sure how I will reach the vent cover.  One of the long ladders or something, need to look that over and clean and seal it. I will ask hubby if its safe to do what I have done to seal a mobile we rent, put plywood to distribute the weight and get on it.  We shall see about that. I'm about 95% sure that is where the leak is coming from, but I will still remove and fix that small window, while I'm at it, just to be sure.

When I took the piece of paneling off up there, there was dampness in the railing but nothing was wet after a 6 inch rain.  So probably just coming in there when sitting and draining on down, I can imagine what it would do when driving.  I have tapped and pushed all over the cabover and nothing else is rotted.  That is a killer working up there, my back is killing me. Just for info, I'm 5'9" tall and my back isn't in the greatest shape. Crawling around up there is about to kill me, hope I don't get down.

No wonder no one washed the curtains, I can't beleive what I'm having to take apart to get them down.  But I need to do some mending on them anyway, but what a chore. I want to fix the window up there and wash all that down, likely will have to lay on my back to do it. 


I had to practically dismantle half the top up there to take all the curtains down to wash and mend them. 
 

Attachments

  • Cabover pictures and roof 001.JPG
    Cabover pictures and roof 001.JPG
    38 KB · Views: 164
  • Cabover pictures and roof 002.JPG
    Cabover pictures and roof 002.JPG
    52.6 KB · Views: 124
  • Cabover pictures and roof 003.JPG
    Cabover pictures and roof 003.JPG
    62.7 KB · Views: 115
  • Cabover pictures and roof 004.JPG
    Cabover pictures and roof 004.JPG
    63.6 KB · Views: 118
  • Cabover pictures and roof 005.JPG
    Cabover pictures and roof 005.JPG
    66.1 KB · Views: 135
  • Cabover pictures and roof 006.JPG
    Cabover pictures and roof 006.JPG
    75.3 KB · Views: 126
  • Cabover pictures and roof 007.JPG
    Cabover pictures and roof 007.JPG
    72.5 KB · Views: 171
Hubby said we have those big folding ladders, however, they are so heavy I can't lift them.  He said get our tenant, this one lives right next door, to put them out there over the hood of the truck and make a scaffold with some of the big boards, then I can safely look over and fix the vent area, and the other area too.  Jeez, I didn't even think of those, so ok, that will work.
 
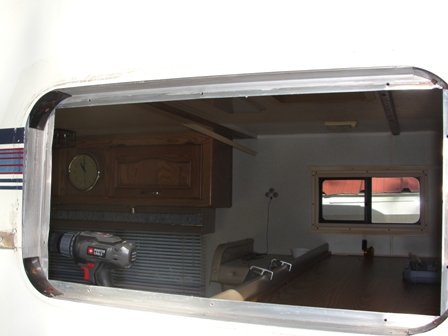
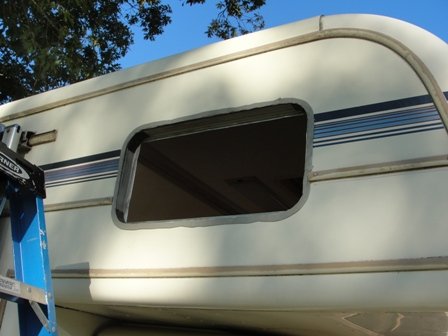
Not doing much today.  But did remove small window to fix.  Evidence under it, the opening of water infiltration, a couple of screws, is ok but can tell there is some rust so has been wet. 

I had to scrape off the silicone, its a bear getting that off.  I used a scraper, single edged blade.  Then cleaned with Goo Gone, and used Off, got most of it off or softened so I could scrape again.  First picture had most of it off.  I got all the rest of it off using, guess what?  Fingernail polish remover, gals we haven't a clue how strong that stuff is.  It cleaned it off.  Probably some of the paint too!!  I wiped the area around the window and it took off all those black marks we are always trying to clean off, wow!!  I'm thinking I could clean with that, wash it off and rewax if necessary.  If someone knows why I should not please let me know.  It contains acetone plus either stuff.  But it sure worked.
 

Attachments

  • Removing small window 001.JPG
    Removing small window 001.JPG
    72.1 KB · Views: 120
  • Removing small window 002.JPG
    Removing small window 002.JPG
    77.6 KB · Views: 106
Ok, its back in.  I told hubby do not see a reason to remove anymore.  It is not leaking around the windows anywhere and each one I take out is a chance of breaking it or not getting it back in properly, so windows are done.  If he sees something I don't, well ok, but I don't see it.

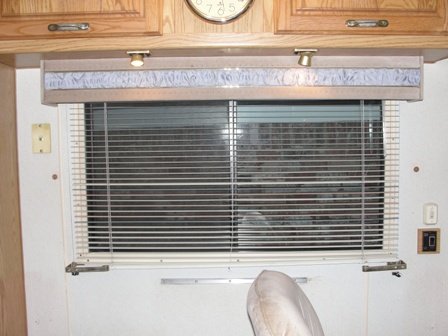
The front door has a blind in it.  I've never seen this before, the blind is behind like a wooden window frame, obviously original equipment, but looks like it should be sandwiched between 2 panes of glass.  However, there is no evidence of there ever being an inside one, no marks, no glue, no holes and the blind is mounted flush against the wooden frame.  I took it down and brought it in to clean it good. The wood needs painted, so I will sand lightly and put a coat or 2 or enamel on it.

Does anyone know if this should have an inside window??  Any advice would be appreciated, forgot to take picture before taking out.
 
I'm sure many of you wonder why I'm doing this.  Could we buy a new RV or motorhome, yes, Will we, not likely.  Also many of you seem to live in yours  or use them constantly so I see why you have those beautiful rigs.  Will I get a newer one later if I like this one, maybe.

But also we are both approaching age 64.  I have back and feet issues.  We both have found being sedentary is really bad for us.  A few years back I was really hurting and set and lay more and more and was thinking I might even have to get one of the motorized wheelchairs to get around, yep it was that bad.  My weight got way up and I could hardly get around. I talked to my docs, chiropractor and all, and they all had the same recommendation.  Lose weight and exercise.  I did lose 40 pounds, I've since gained 20 back and am fighting it daily.  I also watched my mom deal with osteorporosis.  She was very active when young but did like we all do as we age, was less and less, workwise that is, and it was not pretty to watch.  She didn't break anything but she suffered with it. Over the last 4 years, working like crazy, lifting,etc I have actually improved my bone density. Never had cholesterol or blood pressure issues but do have some pancrease issues.

My MIL even walks at least a mile a day, she is in her 80's.

My husband was, 5 years or so ago up to almost 300 pounds, yep, the deskwork got him.  He too had no health issues, yet, but getting around was awful. He is very active when home. He is 5'11.  So he started cutting back, wouldn't exercise for the longest time and couldn't lose more.  They have a pool where he is so he stared swimming daily.  The man has lost 100 pounds.

So folks if you think we are slightly crazy, yes well we are, but there is a reason behind our madness.  I hate just treadmilling and stuff so actually working at something gives me a sense of accomplishment plus helps keep me limber or more limber. And yes tylenol and motrin are my friends.  So now you know why we do what we do!!  Just thought I would write this in case you were wondering. We hope to continue aging in good health long as possible. Now back to work.
 
That should say does anyone know if it should have an inside glass?
 
Done for today. 

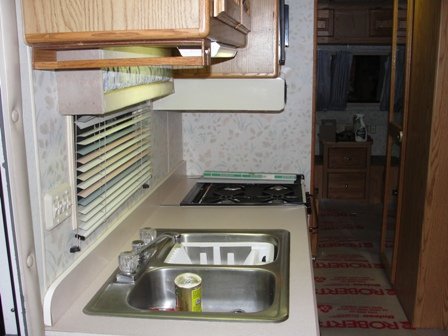
Small window back in.  Washed down all of cabover and kitchen/living room walls, ceiling, lights, blinds.  I put one curtain back up.  Had removed the safety pins, washed and resewn loose hems and other areas. Hard to get curtain back on sliders, then rescrew endcaps so they won't come off.  Have the privacy panels all resewn, hems, tops, etc.  Have more to sew tonight. The pair on the opposite side where the paneling is off in the cabover needs relined.  Will do with white broadcloth.

Tomorrow the plan is to cut out the 2 pieces of paneling.  I need a 1/2 thick piece of styrafoam to glue them to, like part of the insulation, but I'm not putting them back up till I reseal the roof and see if the leak has stopped.  May go down the passenger side and seal up obvious places that need caulked.  Bought a supposedly good caulk from the RV store for that. Also sand lightly and paint the framed door window, the blinds are now clean in it.

I'm also going to look at buying a new gasket for the door.  It's loose in the 2 corners at the top and I think new would be better.  Have to remove it and the glue first.


That's it for this day.
 
I wiped out my next reply I guess. 

Ok, talked to carpet guy at RockAuto, they ship the 27th.  He said the carpet should be long enough to go over that slope area to tie it to the laminate.  But he said if not I can buy it by the yard to install. That will work too so either way I'm ok.

Eternabond has shipped, as have 2 of my mattresses.

Hubby sent me 2 walkie talkies.  He said might keep me from backing into one of you guys half million dollar rig!  Funny man ::)

So tomorrow, cut paneling, glue to half inch or so styrafoam if I can find some.  Maybe seal obvious places down the passenger side, got caulk at the RV place for that.
 

Attachments

  • Progress Sat 24th, Octo 001.JPG
    Progress Sat 24th, Octo 001.JPG
    81.9 KB · Views: 86
  • Progress Sat 24th, Octo 002.JPG
    Progress Sat 24th, Octo 002.JPG
    71.8 KB · Views: 84
  • Progress Sat 24th, Octo 003.JPG
    Progress Sat 24th, Octo 003.JPG
    80 KB · Views: 142
  • Progress Sat 24th, Octo 004.JPG
    Progress Sat 24th, Octo 004.JPG
    71.1 KB · Views: 128
  • Progress Sat 24th, Octo 005.JPG
    Progress Sat 24th, Octo 005.JPG
    83.7 KB · Views: 131
  • Progress Sat 24th, Octo 006.JPG
    Progress Sat 24th, Octo 006.JPG
    87.2 KB · Views: 170
  • Progress Sat 24th, Octo 007.JPG
    Progress Sat 24th, Octo 007.JPG
    75.1 KB · Views: 124
  • Progress Sat 24th, Octo 008.JPG
    Progress Sat 24th, Octo 008.JPG
    73.4 KB · Views: 144
I am really enjoying your saga. Keep posting!  ;D

You are leaving me breathless!  ;)

You will have that RV rebuilt, in no time!

Keep up the good work. Looks great!
Ray D  ;D
 
Thanks, I didn't get started very early today.  Guess I was tired, slept half the day, but feel much better now.

I see you are a vet.  Hubby served in Vietnam way back when, if it hadn't been for the war he would have likely stayed in.  All his uncles were career men and retired out of the military.

Our son served 10 years and now works for the DOD in S Korea, has been there I guess close to 15 years now.

Thanks for your service too.
 
I started out writing it because I send an update to my husband everyday on what I'm doing with it.  I figured might as well post it here and on another forum I go to also.  It seems to be coming along pretty good so far, I expect to hit something I can't do but haven't yet.

Well other then I have 2 lights out.  I replaced bulbs in one and it still doesn't work, hubby said may be ground issue.  And the step light inside is out, I think that one is really needed, he said probably same issue, though I'm going to try buying a new bulb.  I will take it loose first and see, might just need to buy a new little unit.  I can do very minor wiring like taking a light fixture out and put a new one in but that's about my limit. 
 

Latest posts

Forum statistics

Threads
131,929
Posts
1,387,695
Members
137,678
Latest member
David W.
Back
Top Bottom