My version of the Amazing Table

The friendliest place on the web for anyone with an RV or an interest in RVing!
If you have answers, please help by responding to the unanswered posts.

divide wee

Member
Joined
Jan 27, 2008
Posts
19
Location
Divide Colorado
We just bought a 2007 Sightseer 29R. For the two of us the floor plan is perfect. The only issue was the dinette.

In our last motorhome, a 24 foot class A, I removed the dinette and used the materials to build a couch. In this coach we have the couch but wanted more room for the two of us to watch TV, use computers at the same time, and lounge comfortably which can?t be done at a dinette.

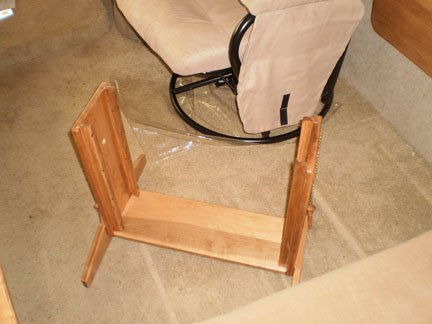
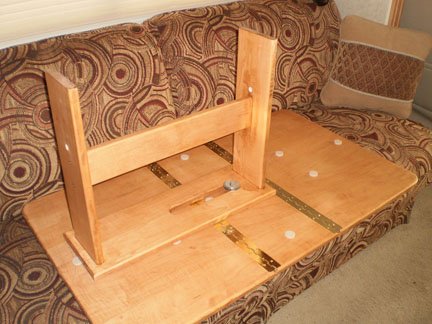
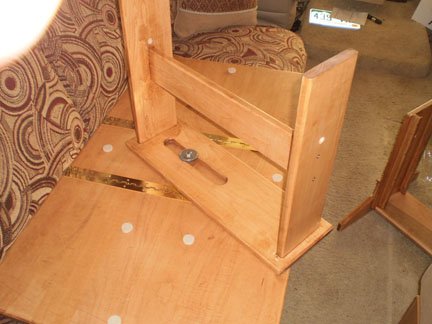
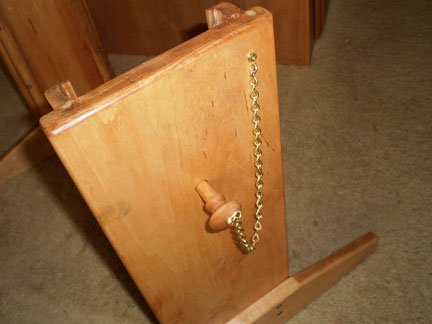
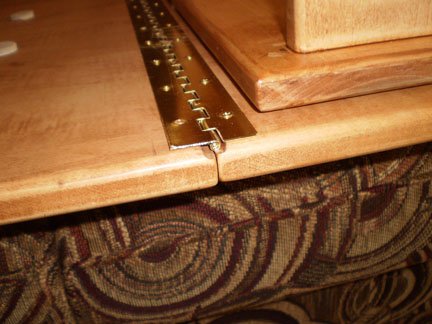
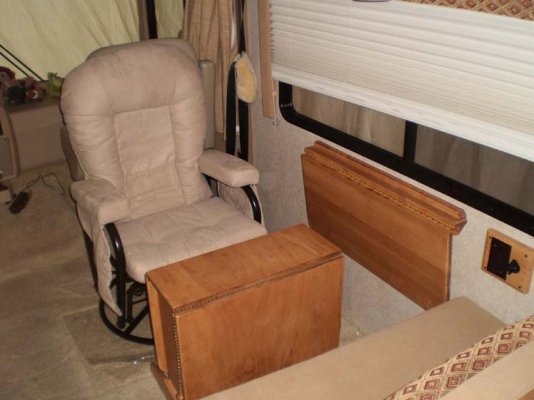
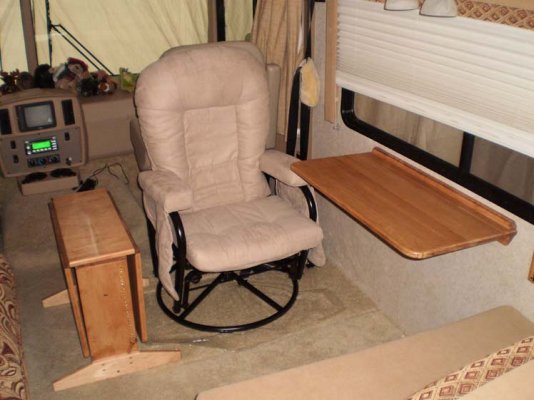
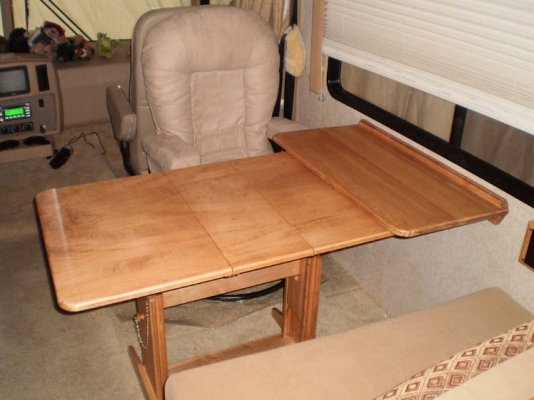
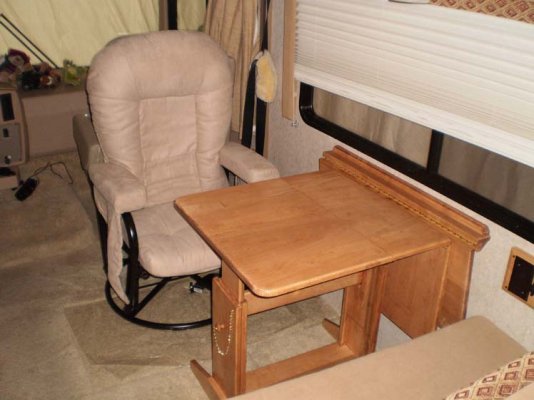
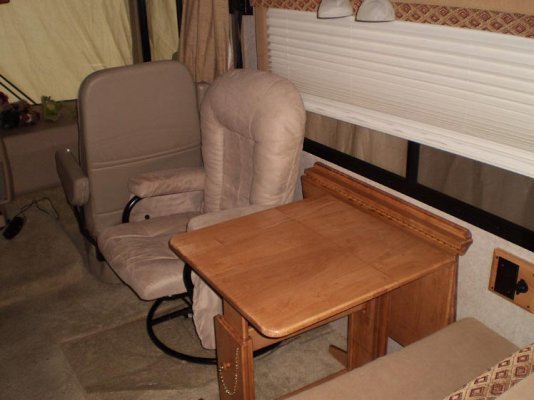
I liked the idea and look of the Amazing Table but the size would not work for our needs, so I built my own version. The tabletop is 42X24 inches and the height when in the tall position is the same as the original table furnished by Winnebago. When folded, it is 9X24 which will still work as an end table.

The wall mounted shelf can be used as a laptop work area or as a serving area when dinner is served.
 

Attachments

  • PC040016.jpg
    PC040016.jpg
    75.2 KB · Views: 500
  • PC040017.jpg
    PC040017.jpg
    83.4 KB · Views: 409
  • PC040020.jpg
    PC040020.jpg
    77.7 KB · Views: 432
I should have thought about the order these would show up in the forum and loaded these first
 

Attachments

  • PC040022.jpg
    PC040022.jpg
    78.8 KB · Views: 296
  • PC040024.jpg
    PC040024.jpg
    89.3 KB · Views: 290
Pretty cool. I like that you still have the one dinette seat with storage under it. This would work nicely on our 27C Sightseer.....hmmmmm. Where did you get the chair?

Wendy
 
The chair is an inexpensive unit that reclines, swivels and glides that we picked up at American Furnature Warehouse in Colorado Springs.
 
Gotta love Jake Jabs  :D We'll have to check out the store in Glenwood Springs when we get back to Colorado.

Wendy
 
I like that have to show it to my husband. I took the dinette out altogether and we too are using the parts to make a couch from.  Still not back to that project yet.
 
I like the idea of the "amazing table"  Have seen a similar item on custom built boat situations.. Would like to try the same idea on my fifth wheel.. Where can I find a picture or drawing of the bottom of the table mechanism?
 
Are you looking for the setup that allows the table to swivel and slide to the side? If so there is a solid top on the two interior slide slide pieces. I cut a 1 1/2 inch slot from the center running out to one side. I then cut a 1 3/8 round plug from another piece of 3/4 inch material and glued/screwed it to the center of the top. I then pre-drilled into the plug and into the table top from the bottom. A short lag bolt and a couple of fender washers were used to anchor the top to the base through the slot. I did have to install a few felt pads on the bottom of he top to hold it up off of the base and allow easier movement.

I'll get a pic later if you need one.

Mike
 
Thanks Mike.. I think I get your idea.. but yes a picture would be helpfull.. Don't think I will get this project on the bench until after my next trip but do like the idea of getting rid of the fixed dinette table.. Will make more interior room when not eating or entertaining the grand children..
 
Is it possible to get a little more information.  This looks like something I would like  to do in Country Coach  where the table is.  I would like to talk to you.  Thanks  Eadie
 
Here is a picture of the slot cut into the top section and a second shot showing the circular piece of maple used as a guide. The two sections are held together with a lag bolt and a couple of fender washers.
 

Attachments

  • xP1120001.jpg
    xP1120001.jpg
    63.8 KB · Views: 69
  • xP1120002.jpg
    xP1120002.jpg
    56.9 KB · Views: 55
Here are the two base sections showing the slots in the lower section which allow the height adjustment
 

Attachments

  • xP1120003.jpg
    xP1120003.jpg
    59.5 KB · Views: 67
  • xP1120004.jpg
    xP1120004.jpg
    76 KB · Views: 60
These shots show the top and the upper base section in a couple orientations
 

Attachments

  • xP1120005.jpg
    xP1120005.jpg
    78.3 KB · Views: 50
  • xP1120006.jpg
    xP1120006.jpg
    66.1 KB · Views: 46
These show the simple pin that secures the table in the raised position and the routed groves that allow the hinges to sit flush with the table bottom. The felt pads are installed to keep the top and base from damaging each other when being adjusted
 

Attachments

  • xP1120007.jpg
    xP1120007.jpg
    57.2 KB · Views: 44
  • xP1120008.jpg
    xP1120008.jpg
    74.1 KB · Views: 38
Back
Top Bottom