midnightbluel81
Well-known member
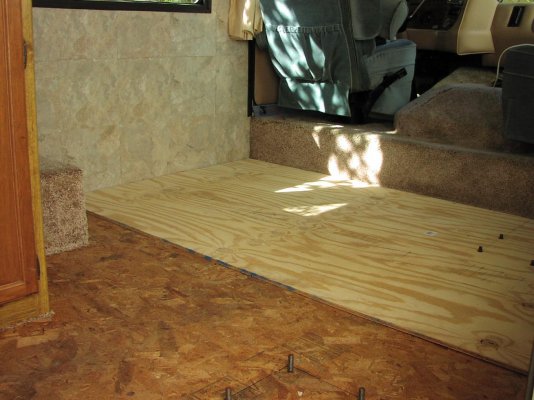
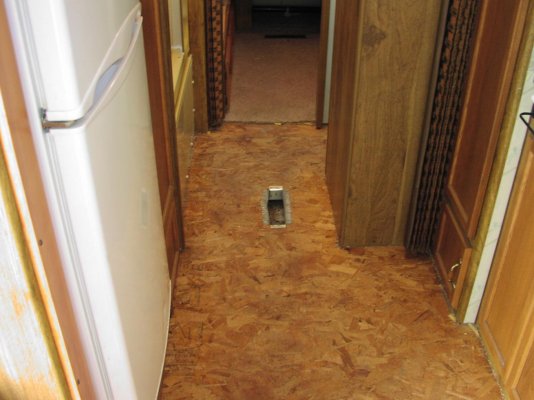
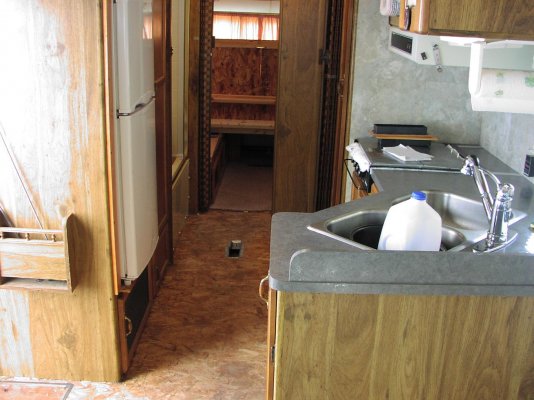
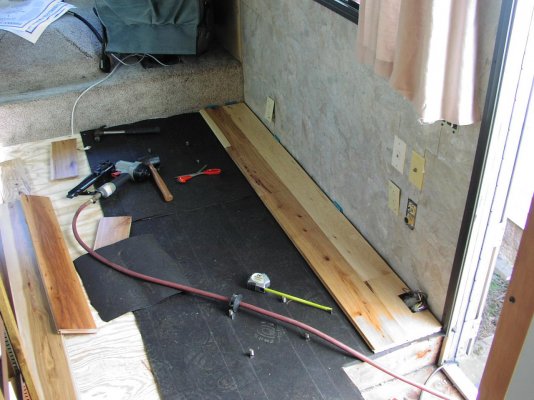
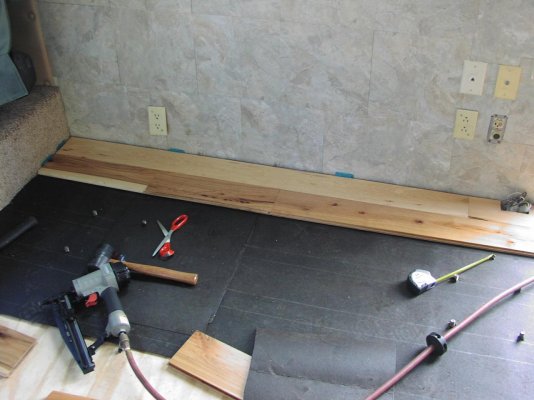
I'm planning on putting down 3/4" solid hickory in my 88 Holiday Rambler. It has an OSB sub floor that doesn't look to be 3/4" (have to measure this) The floor is solid no problems there but my question is should I add another 1/2" to the subfloor if it's not 3/4" OSB. I'm planning on nailing it down using a finish nailer, I don't think I'd get 2 rows down with a flooring nailer.
Any hints or tips will be appreciated.
Any hints or tips will be appreciated.