Updating our Coach

The friendliest place on the web for anyone with an RV or an interest in RVing!
If you have answers, please help by responding to the unanswered posts.

shakenbake

Well-known member
Joined
Jan 24, 2012
Posts
156
I can't be thankful enough for all of the help and support I have found on this forum. I hope to be able to contribute back to it.


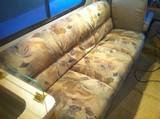
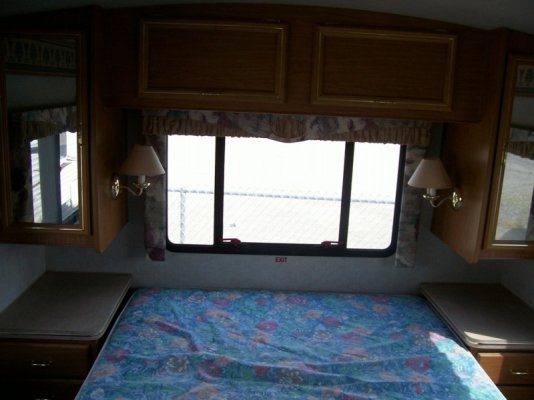
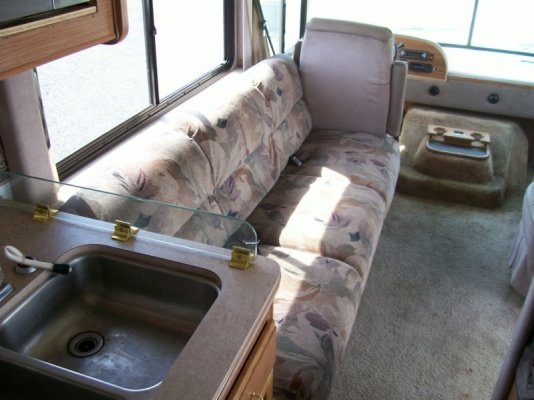
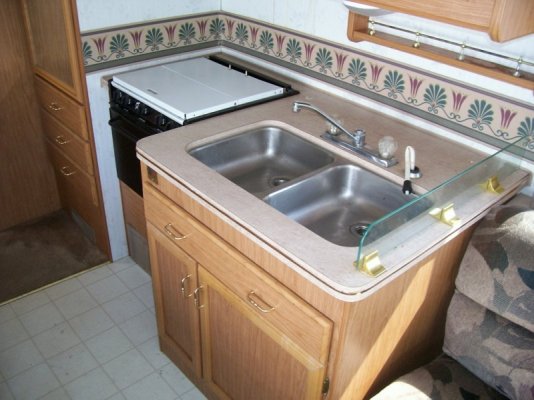
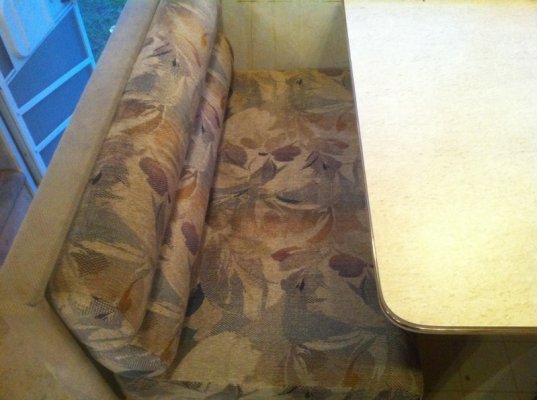
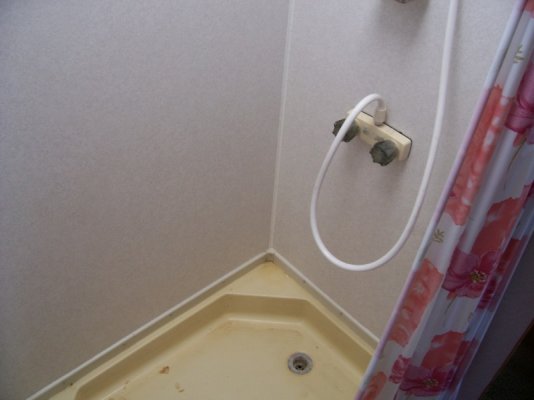
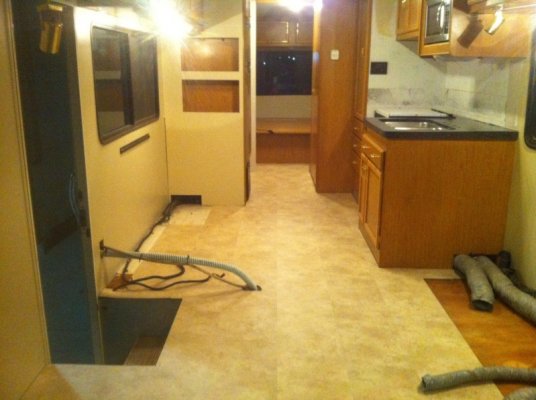
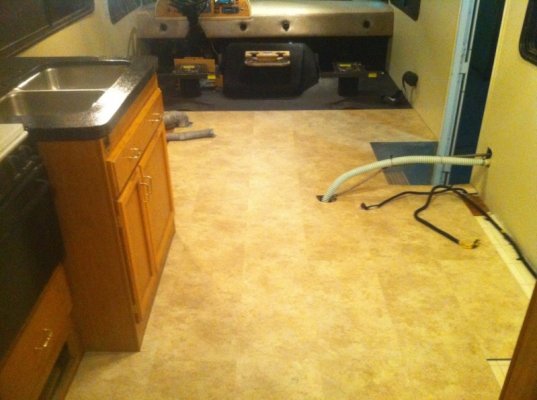
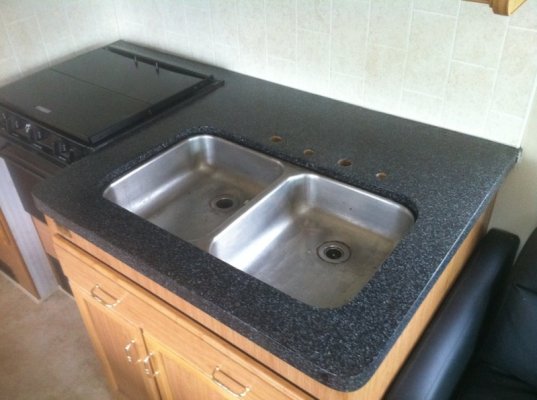
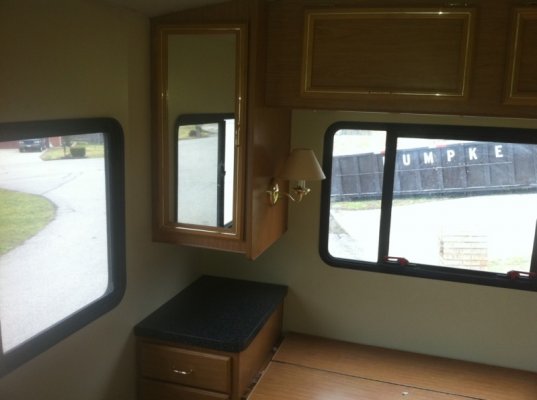
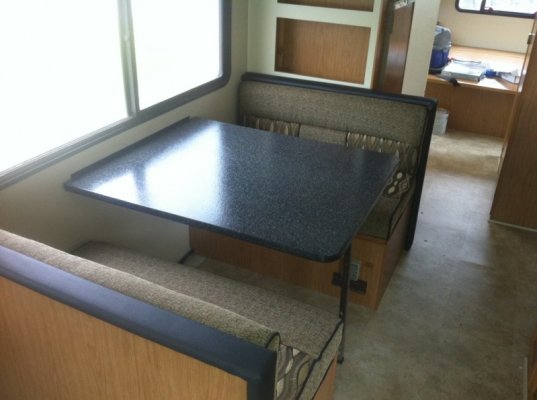
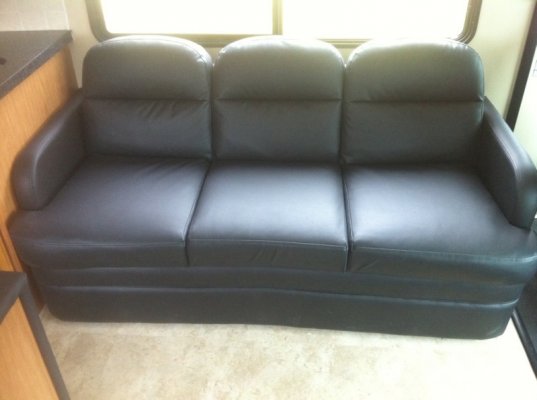
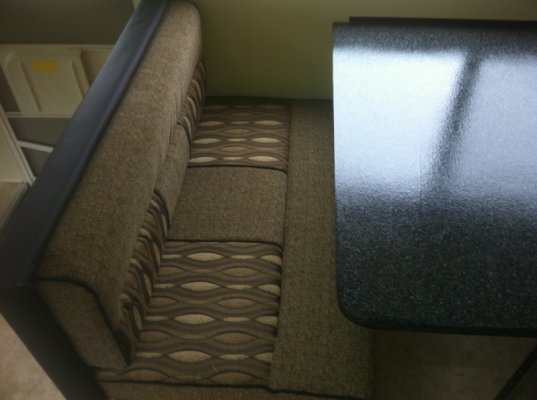
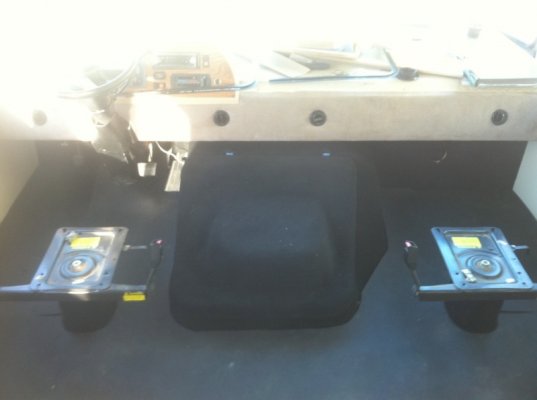
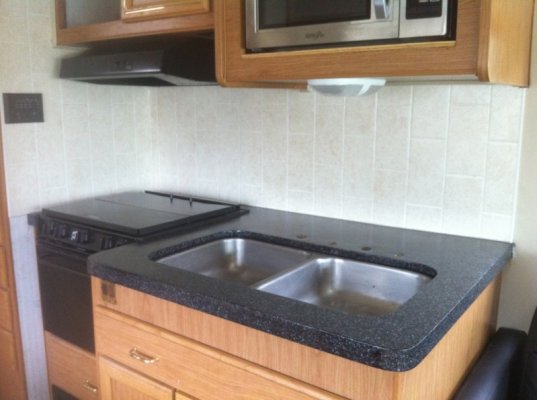
Finally decided to work on getting this thread started. I picked this 95 Southwind Storm up from a bank on December 22, 2011. It made the 400 mile trip home with no problems. This is my first MH and I had no idea what I was looking for other than I knew I wanted a "fix-er-upper". On December 19, 2011 my DW said "Buy me an RV" 3 days and $4000 later this is what she had. Appeared to be a great deal an I enjoy project vehicles anyway. Our plans were to update the interior and use it for camping and a cross country trip this summer. First I'll start with what she looked like when I brought her home.
 

Attachments

  • th_8e392947.jpg
    th_8e392947.jpg
    4.4 KB · Views: 662
  • 38b0a597.jpg
    38b0a597.jpg
    95.5 KB · Views: 606
  • 10d398c6.jpg
    10d398c6.jpg
    116 KB · Views: 542
  • 0552ea3b.jpg
    0552ea3b.jpg
    129.8 KB · Views: 572
  • cdf80119.jpg
    cdf80119.jpg
    122.6 KB · Views: 451
  • f0ebcca8.jpg
    f0ebcca8.jpg
    76.4 KB · Views: 474
  • th_2f9190eb.jpg
    th_2f9190eb.jpg
    2.8 KB · Views: 478
  So my plans were to install a new floating floor, replace the dated and very dirty furniture, update the fixtures, paint the ugly walls and replace the counter tops. Obviously I was only thinking of the cosmetic stuff at the time of purchase. Little did I realize that there was a tear in the roof EPDM that had been leaking into one of my cabinets. My first order of business was to stop the leak and repair the damaged cabinets. I was very lucky that there was no rot or damage on the roof. I was also lucky that my MH frame and roof joists were made of metal and not wood.  It must have not been a very old problem. I decided to patch the tear and apply a Liquid Roof coating. That happened on week one and 3 months later it is looking great. On the inside however the water had ruined the side panels of 2 cabinets. They were made of pressboard and the water caused them to swell and crumble. I ended up making new side panels out of cabinet grade plywood and staining to match. Unexpected problem #1 resolved.

  After we were dry I started on gutting everything out painting the walls. We started with a coat of Kilz oil base primer followed by 2 coats of washable satin paint from Sherwin Williams. After the paint came the flooring. I used a floating vinyl plank system from Allure. This was their premium collection and snapped together like Pergo instead of sticking together. I thought this might be better for the extreme temperature changes.
 

Attachments

  • floor1.jpg
    floor1.jpg
    134 KB · Views: 691
  • 658976ba.jpg
    658976ba.jpg
    118.6 KB · Views: 601
  For the counter tops I decided to use the Rustoleum Counter Top Transformation kit. It was a 3 step process and made a mess but the results were incredible for the small amount of money I spent on the kit. After about a week of curing the counters were very solid and appear that they will hold up for a long time. I also installed my new Jackknife sofa and captains chairs. They were a huge purchase but made a big difference. We found some new dinette cushions on ebay that matched our new colors very well. I also installed a new rubber floor in the drivers area. It heats up nicely and molds around all of the contours of that area.


Attachments

  • 57bb59e7.jpg
    57bb59e7.jpg
    113 KB · Views: 662
  • 94d629cd.jpg
    94d629cd.jpg
    73.5 KB · Views: 516
  • b6c73e96.jpg
    b6c73e96.jpg
    94 KB · Views: 555
  • e66dc17d.jpg
    e66dc17d.jpg
    79.6 KB · Views: 592
  • a9f30421.jpg
    a9f30421.jpg
    96.3 KB · Views: 553
  • 9db301cb.jpg
    9db301cb.jpg
    57.4 KB · Views: 659
Here is a pic of the new kitchen backsplash. This is a simple piece of tile board from my local home store. It is easy to cut and installs with liquid nail. It was less than $20 for everything to finish the backsplash. I also installed a new range hood and burner cover.
 

Attachments

  • 7d4cf9f6.jpg
    7d4cf9f6.jpg
    98.4 KB · Views: 631
It all looks great!!
Tell me more about the rubber floor you put in the cabin. What did you use? Is it also on the doghouse?

We still have carpet in that area because I haven't figured out what to use when I get rid of the carpet.
 
Clay L said:
It all looks great!!
Tell me more about the rubber floor you put in the cabin. What did you use? Is it also on the doghouse?

We still have carpet in that area because I haven't figured out what to use when I get rid of the carpet.

The rubber floor is a thick automotive product that they use in vans and trucks. It is very thick but can be heated to mold around bumps on the floor. The engine hump is an unbacked automotive carpet that is also thick but stretches real easy and is glued in place after the old carpet is removed. Both items were purchased from a company called Miami Rubber in Cincinnati, Ohio. They supply the automotive restyling companies but will sell to the public as well.
 
shakenbake said:
  I also installed a new rubber floor in the drivers area. It heats up nicely and molds around all of the contours of that area.

I'm interested in this.  Where did you get it and how does it work??  DW complains of cold feet on our drive south in December!!
 
Sorry to confuse you. The floor is not heated. I meant that I can heat it with a heat gun and mold it around humps in the floor.
 
Jim Godward said:
Thanks, the search will continue.

Jim did a quick search and this might be something you'd want to look at.. http://www.heatmattproducts.com/section_44_Heated-Truck-Floor-Mat-12-volt.cfm

Good luck.

George
 
shakenbake said:
The rubber floor is a thick automotive product that they use in vans and trucks. It is very thick but can be heated to mold around bumps on the floor. The engine hump is an unbacked automotive carpet that is also thick but stretches real easy and is glued in place after the old carpet is removed. Both items were purchased from a company called Miami Rubber in Cincinnati, Ohio. They supply the automotive restyling companies but will sell to the public as well.

Thanks for the info.
 
I was having toruble with the factory Converter/Charger so I gutted it out and installed a Intelli-Power 9260 in its place. Also here are some finished pics of the shower. I have a seperate more detailed thread just about how I did the shower. Up next will be pics of how I replace the old tube TV with a new 40" and soundbar.
 

Attachments

  • 9260.JPG
    9260.JPG
    132 KB · Views: 440
  • sh14.JPG
    sh14.JPG
    98.9 KB · Views: 485
  • sh6.JPG
    sh6.JPG
    115 KB · Views: 456
Wow, looks great! 

Good ideas for the counter redo in kitchen and bathroom. Shower fixtures look great too, they are also my list to update.  Just purchased the kitchen replacement faucet, maybe this weekend I'll get it installed.
 
This weeks project was installing a new Refrigerator. The old Dometic RM2611 was working fine but we needed more space. I didn't want to shell out $1500 for a larger one so I decided to install a standard home fridge. I already have a 2000 watt Xantrex pure sine inverter and a transfer switch so the conversion was not a tough decision for me. I ended up going with a 10 cu. ft. Whirlpool for less than $400. I was still limited in width so this was about the largest I could go without some major interior changes. I first had to remove the Magnatek power center that was below the fridge and relocate it under the dinette storage area. That was the hardest part of the whole conversion. After that I cut the opening out to fit the new Whirlpool.  The end result is amazing. The unit cooled down in 15 minutes and it only draws around 1 amp. I have 440 amp hours of battery so this unit could run quite a while with no AC power.  Here are some pics.
 

Attachments

  • PS1.JPG
    PS1.JPG
    91.5 KB · Views: 414
  • PS2.JPG
    PS2.JPG
    108.3 KB · Views: 354
  • fr1.JPG
    fr1.JPG
    73.6 KB · Views: 410
  • fr3.JPG
    fr3.JPG
    79.5 KB · Views: 405
  • fr2.JPG
    fr2.JPG
    103.5 KB · Views: 392
  • fr4.JPG
    fr4.JPG
    86.9 KB · Views: 435
Looks like you've done a nice job of installation.

However, it may not run as long without a battery recharge as you think.  Your 440 amp-hour battery bank is, in reality, closer to 220, as you wouldn't want to discharge much below 50%, and that 1amp of ac is actually draining 10amps from the batteries.  With normal loads added in, the time gets even shorter.

If your RVing pattern is frequent charges and/or frequent electrical hookups, you should be good to go.
 
Thanks Lou. We do not boondock much at all. If I do I will add another pair of batteries.
 

Latest posts

Forum statistics

Threads
131,915
Posts
1,387,317
Members
137,665
Latest member
nativoacai
Back
Top Bottom