I'm back, and bought a project!

The friendliest place on the web for anyone with an RV or an interest in RVing!
If you have answers, please help by responding to the unanswered posts.

Will

Well-known member
Joined
Jul 30, 2006
Posts
202
Location
Mississippi
I knew I'd be back!

I've been wanting to get another RV.  I miss my old Odyssey so when a running motorhome showed up in town, and for the right price, I had to snatch it up.

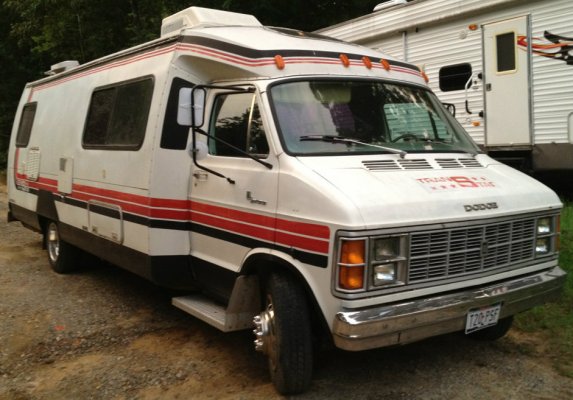
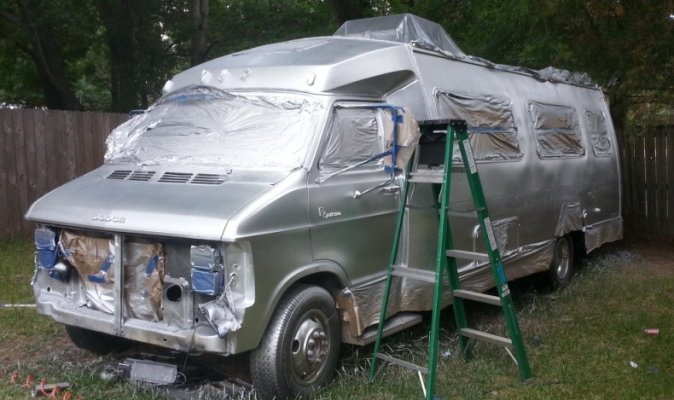
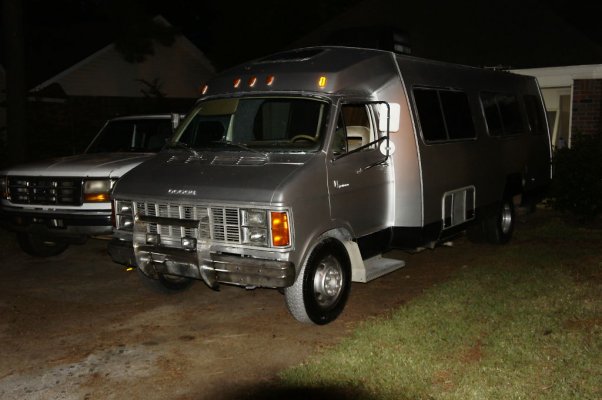
I present to you my new 1980 Champion Transtar!

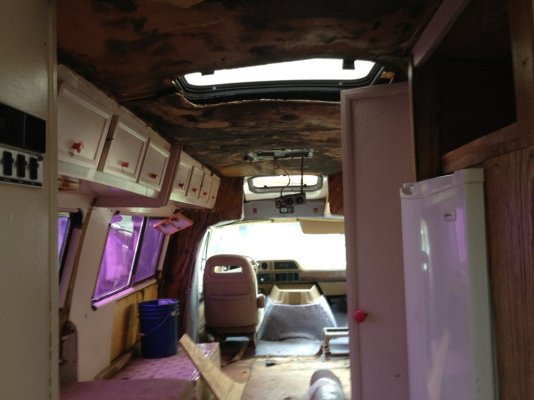
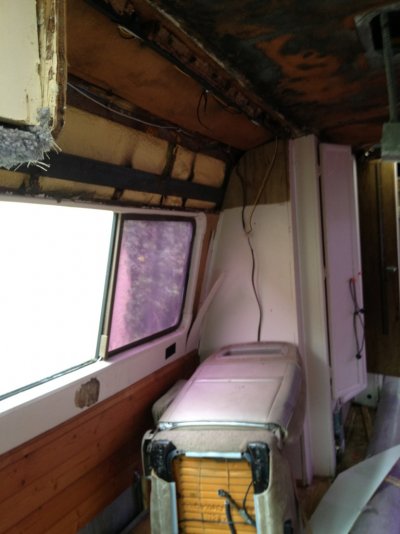
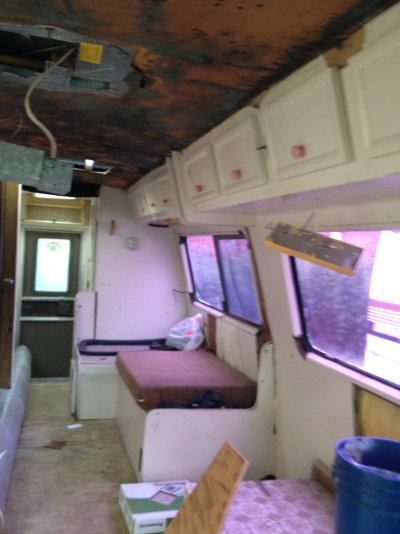
The previous owner had started gutting the interior but gave up on the project, hence the good price.

It has a little water damage, but the exterior is made of fiberglass and the frame is steel so none of the damage is structural.

I'm going to put a little lipstick on this pig and ride!  I've been pouring through this section of forums getting ideas for the remodel.  I think I've got a few ideas now.

She runs great and drives straight, so I'm really excited about this project.
 

Attachments

  • exterior.jpg
    exterior.jpg
    145.8 KB · Views: 403
  • interiorfront.jpg
    interiorfront.jpg
    220.1 KB · Views: 387
  • interiorleft.jpg
    interiorleft.jpg
    205.8 KB · Views: 332
  • interiorright.jpg
    interiorright.jpg
    227.5 KB · Views: 349
Welcome back Will, and congratulations on the Transtar. Nice looking rig.
 
Welcome back Will ! Looks like you are going to be busy , nice looking rig, even better when you get it done.
 
I see it has those opening skylites- probably the source of your ruined ceiling material. I'd seal those and don't open them, first.
 
I've made a lot of progress since first posting.  I removed the built in closets (its a weekender without a real bed, so I figure its OK to live out of a duffel bag) and framed out a counter where it was to hide the Water Heater, Furnace, and wheel well.  It didn't add any floorspace, but made the cabin more open and left me enough wallspace for a generously sized TV.

I got some flexible paneling to replace the walls in the camper.  They are lighter and more flexible than the pressed wood paneling that was in there before.  It has the outward appearance of cardboard, and about the same appearance, but is much more substantial.  I'm going to find some nice self-adhesive wallpaper to slap over it and the walls will be good.

I am scratching my head over what to do with the ceiling, though.  I could just as easily put the same paneling on the ceiling as the roof, but covering it up to look nice would be more difficult.  I've never seen wallpaper on a ceiling, and ceiling texture seems like it would fall off considering the stresses of vehicle movement and the unusually low ceiling height (about 5' 6")  I've toyed with several ideas including the tin copper-tile-look panels they sell at home improvement stores - but that seems over-the-top.  So what should I make the ceiling out of?
 
go rustic, use burlap, easy to find in lawn and garden centers. use spray adhesive to stick it and wooden battens to hold seams.
 
How about a thin sheet of luan or cheap paneling covered with the paintable wallpaper?  It's an off white, no pattern to match and doesn't even have to be painted if you don't want to.
 
I have been considering the FRP wall panels. I have a stained area up front in the drivers area and a panel will just fit to cover.  FRP= fiberglass reinforced panel
 
Still going.

My carpenter buddy has been busy so Ive been focusing on mechanical issues.  Clogged brake proportioning valve, charging issues, house electrical.  Converted the old-school 16.5" wheels and impossible-to-find 16.5x8.00 tires over to some older 16" F350 wheels with much cheaper and pre-owned E-rated tires that are just a tiny bit wider.

Surely the greatest accomplishment was finished this week.  Painted the motorhome.

I did what is known as the $50 paint job.  A gallon of Rustoleum Premium Enamel in Aluminum mixed 50/50 with Mineral spirits.  Unlike most $50 paint jobs I already had a large air compressor and loaned paint sprayer, so I did not roll it on.  I removed the broken and rotted old window awnings from the driver's side and bondoed over the 50 odd holes left behind.  I spent DAYS sanding the painted on stripes, and days more masking off everything else.  The first two coats I put down were too thick.  The paint ran and took half a day to tack up. It was also at this point I realized I had forgotten to cover the tires.  After 2 (thick) coats I wet sanded it lightly with 1000 grit and started painting much thinner coats.  These only took 30 minutes to tack up and produced much better results.  After 4 (lighter) coats I wet sanded with 1500 grit.  I put down 3+ more coats before the paint ran out. I haven't gotten to the final sanding, buffing, and polishing but already I am pleased with the result.

A random brush gaurd pulled from a salvage yard and welded onto the bumper looks great and makes a nice place to mount some auxiliary lights.

(have my inline photo embedding privileges been revoked?)
 

Attachments

  • painting.jpg
    painting.jpg
    37 KB · Views: 89
  • painted.jpg
    painted.jpg
    112.5 KB · Views: 100
  • driveway.jpg
    driveway.jpg
    112.8 KB · Views: 103

Latest posts

Forum statistics

Threads
131,973
Posts
1,388,466
Members
137,722
Latest member
RoyL57
Back
Top Bottom