Painted interior and cabinets ~ Please post your pics

The friendliest place on the web for anyone with an RV or an interest in RVing!
If you have answers, please help by responding to the unanswered posts.

Gigi817

Member
Joined
Nov 24, 2012
Posts
16
Location
DFW, Texas
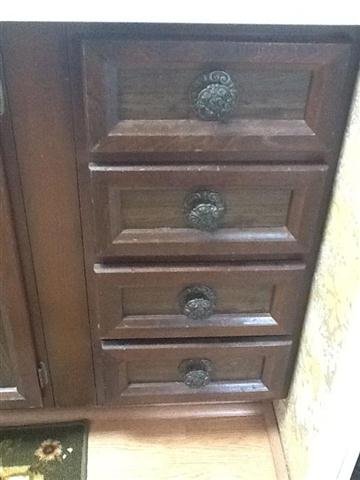
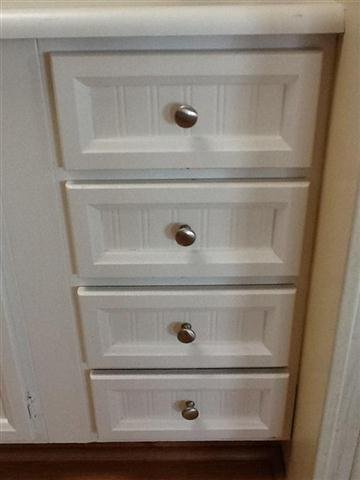
Last month we purchased our first "new to us" MH ~ a 1995 36' Dolphin with one slide. In my opinion, the interior of our MH is tired and dated. Has anyone painted their interiors and/or cabinets? If so, can we please see pictures?

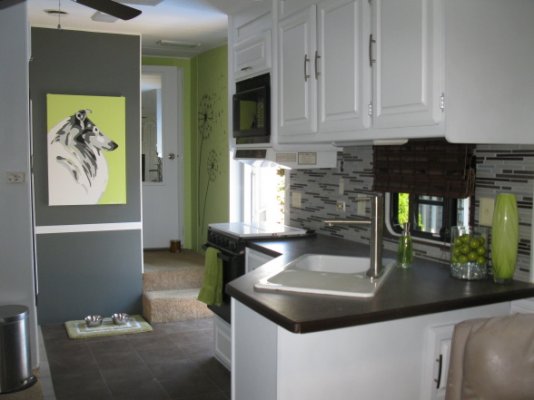
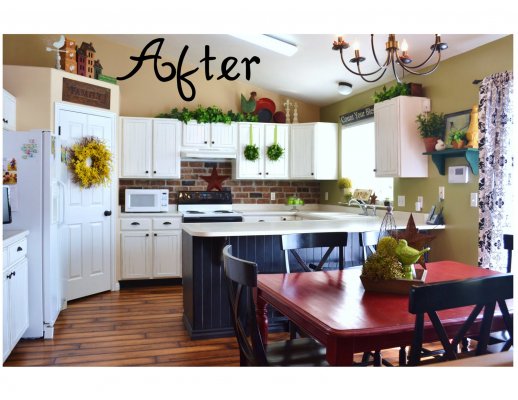
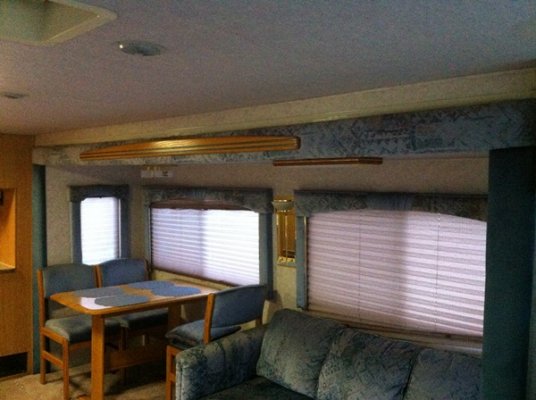
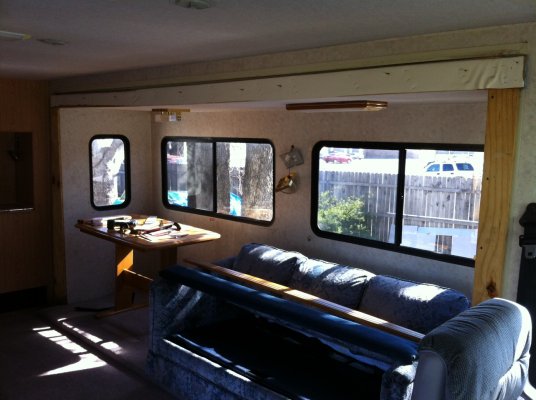
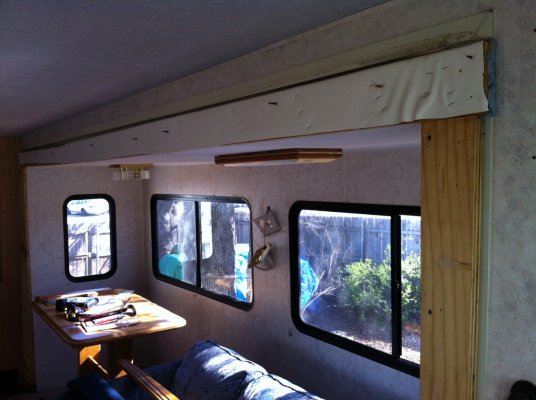
I found this RV remodel online and am inspired by what this owner did to her 5th wheel (see picture attached).

More photos of the this renovation can be found here ~

http://www.roomzaar.com/rate-my-space/Other-Spaces/Nature-Inspired-RV-Renovation/detail.esi?oid=21149839

And ~

http://www.roomzaar.com/rate-my-space/Other-Spaces/Nature-Inspired-RV-Renovation-Part-2/detail.esi?oid=21152841

And ~

http://www.roomzaar.com/rate-my-space/Other-Spaces/Nature-Inspired-RV-Renovation-Part-3/detail.esi?oid=21153350


Thanks!

Gina
 

Attachments

  • White and Lime Green RV kitchen.jpg
    White and Lime Green RV kitchen.jpg
    79.8 KB · Views: 262
Your last 3 links point to non-existent pages.
 
Nice! That can give a girl all kinds of inspiration, can't it?

-Roni
 
Roni ~ I agree!  I think this person did a fantastic job with the remodel of their 5th wheel.

I'm a little nervous about making big changes so that's why I am hoping others that have painted the cabinets and walls of their RV/MH would show what they've done by sharing their pics.

I'm going to start this weekend by cleaning the walls and cabinets and then start the process of sanding and priming everything.

Again, I'd love to see pics of what others have done.

Thanks!

Gina
 
We repainted a kitchen in a mobile home which has the same walls and an RV.It was very important to prime those plastic covered walls first with Kilz, then we used Behr - primer and coat in one. It needed 2 coats of the paint in addition to the Kilz.
On our cabinets and drawer fronts we first put paintable wallpaper in a beadboard pattern, then painted them with three coats of paint. We removed all the doors which made the job efficient: Jack could paint the frames while I worked on the doors. I am attaching a closeup of the drawer front before and after.

It was a lot of work but it don't let it stop you!!

Elly
 

Attachments

  • Photo 2012-03-19 1 27 16 PM (Medium) (Small).jpg
    Photo 2012-03-19 1 27 16 PM (Medium) (Small).jpg
    22.7 KB · Views: 265
  • Photo 2012-04-10 4 37 15 PM (Medium) (Small).jpg
    Photo 2012-04-10 4 37 15 PM (Medium) (Small).jpg
    18.1 KB · Views: 270
Here are pics of a renovated and painted RV, not my RV, just someone elses.

http://dearmissmermaid.blogspot.com/2011/06/handy-dandy-candy-colorful-rv-for-sale.html
 
Elly ~ WOW, what a great change!  I love the addition of the beadboard and silver knobs.  Did you use semi-gloss paint?

DMM ~ What an interesting and colorful renovation!  I love the vibrant beachy colors they used.

I also like what this person did in her kitchen.  She also added beadboard on her cabinet doors and around the peninsula.  This was done in a stick house but I think the colors would also be great in a MH.  The complete blog post about this kitchen can be found here ~ http://timmonsfamilylemonade.blogspot.com/2011/04/kitchen.html.

Please keep the pictures coming!

Happy Friday everyone!!
 

Attachments

  • After picture of white black and green kitchen Lemonaide.jpg
    After picture of white black and green kitchen Lemonaide.jpg
    225.1 KB · Views: 168
For the cabinet doors and drawers we used semi gloss. We had some trouble finding the paintable wallpaper but eventually found it at Lowes. I think it was about $20 for a roll. It comes in various patterns like  a stucco-like pattern and others, but we wanted the bead board.

We did discover that it is also important to make a study of the color white. I did a lot of reading up on that because many shades of white are considered unsuitable for larger surfaces. Quite interesting actually.

Have fun!

Elly
 
Great remodel on the 5th wheel!  I would think it doesn't go down the road much, if at all though.

I completely painted the inside of my vintage 1966 aristocrat.  I used a beautiful antique looking creamy color and removed all hardware and spray painted it with a black lacquer.  Retro modern... So Cute!  I was workamping and living in the cozy aristocrat for 2 seasons (April to Oct.).

Definitely use semi-gloss, so you can easily wipe it down.  And yes, the Kilz primer too.  There is a LOT of prep work and a LOT of tiny details in a small space!  But if you enjoy doing it, the results are amazing!

I need to learn how to post photos  :p
 
[quote author=RobinsBill]I need to learn how to post photos[/quote]

Here you go:

http://www.rvforum.net/SMF_forum/index.php?topic=966
 
I'm right in the middle of painting mine, so no completion pics yet.  However, I've got a couple of doors to share;
http://i1039.photobucket.com/albums/a478/emoney65/Southwind/photo_zps4d77ca1c.jpg
I will hopefully be done this weekend.  It's really quite simple, at least how I'm doing it.....Kilz, sand, kilz, light sand, paint.  I'm happy with
2 coats and a smidgeon of touch up.  I had little options in replacing the pulls as the factory had used these giant, 2" round pieces of plastic
that after a few decades have given up the ghost.  "Pullsdirect.com" however, had the exact size I needed so here they are.

Walls are getting painted too and they will go through a similar process with less sanding.  Adherence should be easier.
I'll post pics or a new thread when I'm done if there's any lingering interest.
 
Emoney ~ Love the look of the doors with the silver button knobs!

I finally figured out how to remove the fabric panels on the sides and top of the slide and the wooden accent piece on the top panel (it hurt when it hit me on the top of the head after I pried it off!).  The side panels will be easy to re-install but the top panel will be a challenge.  It appears National stapled the white membrane to the upper wood area (on the outside) of the slide and then mounted the top fabric piece and screwed in from behind and then they laid the white membrane down over the slide.  As you can see from the pictures, the screws are still sticking out and can be removed after I pull the staples, lift the membrane and can get to the screws.  I can then re-staple the membrane.  I'm not sure how to connect the top fabric panel after I recover it.  If I had to do it over again, I would not have removed the top fabric panel but would have tucked in the new fabric around the existing fabric.  Oh well, too late now.  Any suggestions on how to reattach the top panel without drilling through the white membrane?

Also, I would appreciate color suggestions.  Attached are pictures of the "before" with the original blue, two photos showing what the sides look like after I removed the fabric side panels and top panel and a picture of my color palette.  Remember, my inspiration was a great 5th wheel remodel (see pics above).

Do you think putting black on the panels would be too dark?  Should I do solid black on the side panels and then a patterned fabric on the top (black/white combo), a patterned (black/white) fabric on sides and top or something else?  I've gone to Hancock Fabrics, JoAnn Fabrics and another commercial/discount fabric store and I'm not finding any fabric that I love or that "speaks to me."  I'll go to Hobby Lobby tomorrow and see what fabrics they offer.

Thanks!

Gina

P. S. ~ I will have to post the pictures on several separate forum replies as the system is telling me my pics are too big.
 

Attachments

  • Dolly before with blue on slides resized.JPG
    Dolly before with blue on slides resized.JPG
    98.7 KB · Views: 196
Pictures of the slide after I removed the top and side slide panels.


Attachments

  • photo (39).JPG
    photo (39).JPG
    458.2 KB · Views: 191
Another picture of the slide after I removed the side and top panels.
 

Attachments

  • photo (41).JPG
    photo (41).JPG
    488.4 KB · Views: 122
I will have to post the pictures on several separate forum replies as the system is telling me my pics are too big.

I think you may be misunderstanding the message. There are two separate limits, one on the size of individual attachments/photos, and the other on the total combined size of all attachments. If individual photos are within the size limit, you can attach multiple photos to the same message, but you're still limited in how many you can post because of the maximum total size.
 
Tom ~ I don't remember the exact error message I received but it indicated I had exceeded 2,000 (something).  Because I was under a very tight time constraint to get the message completed I posted the photos in separate forum posts rather than trying to re-size the photos through PhotoScape.

On another note ~ I think I can reattach the top panel using very strong//wide/industrial type Velcro.  Does anyone have a better solution that might work better than Velcro?

Thanks and happy weekend!

Gina
 

Latest posts

Forum statistics

Threads
131,974
Posts
1,388,525
Members
137,723
Latest member
CarlSpackler
Back
Top Bottom