I already posted this on the remodeling/renovations area, but it really belongs here.
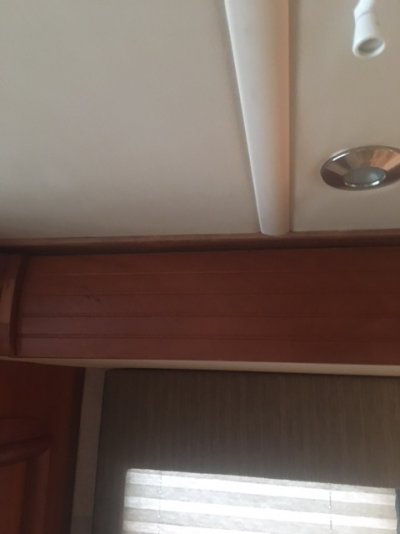
We have an 05 Itasca Horizon. At the end of a recent trip the headliner developed large bubble looking sags in 2 panels. The headliner is foam backed vinyl and the bond between the foam and vinyl broke down. I determined that this was from washing the vinyl to remove soiled spots and rubbing on the vinyl, stretched it enough to break the bond. Our model is the 35GD and upon returning home, I removed all the vinyl forward of the bulkhead for the shower/bath (about 20 feet) Bath area and bedroom seemed good.
I purchased an acoustic carpet material from "Wall coverings.com. They were most cooperative, furnished samples and free advice. The material I ended up with was made by "Shaw" carpet and is a light weight non backed carpet designed for walls and other acoustical applications. The adhesive was "Roman Pro 838" a heavy duty wall paper adhesive recommended by "Shaw" Carpets.
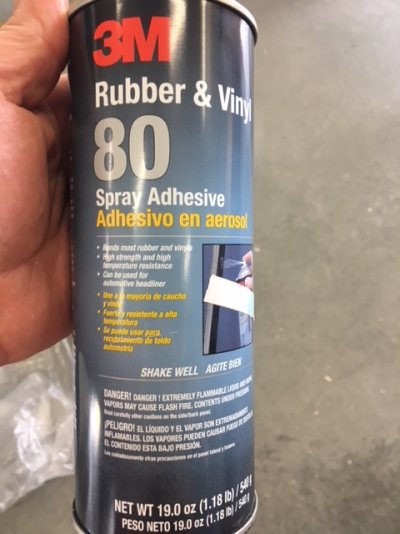
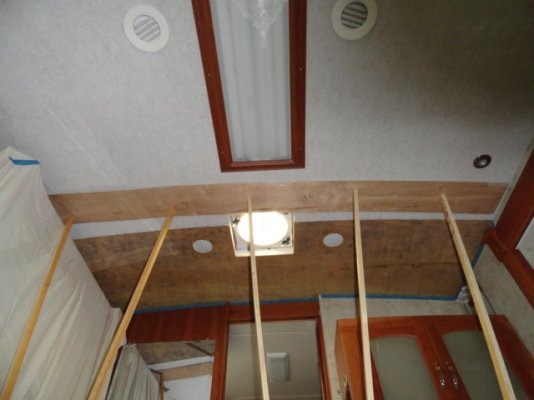
The procedure was to first remove (Scrape) all the foam off the ceiling to expose the plywood. Buy a 4' X 8' sheet of 1/4" plywood as a work surface. Saw a aprox. 1' X 8' strip off the sheet to use as a straight edge for cutting fabric. Cut the fabric to width and to length plus 1/2" KEEP CUTS SQUARE. With 2 people start installation by applying adhesive to ceiling (1 thin and 1 medium coat) position the first piece. Now, using the strip you made for cutting, place it under the fabric and using 1" X 1" x length poles brace the plywood strip in place. A paint roller is used to roll the fabric in to the glue and staples can be used on the edge as they will be covered by the trim strips. I opted NOT to use spray adhesive as the fumes in that enclosed space will render you unconsious.
We have an 05 Itasca Horizon. At the end of a recent trip the headliner developed large bubble looking sags in 2 panels. The headliner is foam backed vinyl and the bond between the foam and vinyl broke down. I determined that this was from washing the vinyl to remove soiled spots and rubbing on the vinyl, stretched it enough to break the bond. Our model is the 35GD and upon returning home, I removed all the vinyl forward of the bulkhead for the shower/bath (about 20 feet) Bath area and bedroom seemed good.
I purchased an acoustic carpet material from "Wall coverings.com. They were most cooperative, furnished samples and free advice. The material I ended up with was made by "Shaw" carpet and is a light weight non backed carpet designed for walls and other acoustical applications. The adhesive was "Roman Pro 838" a heavy duty wall paper adhesive recommended by "Shaw" Carpets.
The procedure was to first remove (Scrape) all the foam off the ceiling to expose the plywood. Buy a 4' X 8' sheet of 1/4" plywood as a work surface. Saw a aprox. 1' X 8' strip off the sheet to use as a straight edge for cutting fabric. Cut the fabric to width and to length plus 1/2" KEEP CUTS SQUARE. With 2 people start installation by applying adhesive to ceiling (1 thin and 1 medium coat) position the first piece. Now, using the strip you made for cutting, place it under the fabric and using 1" X 1" x length poles brace the plywood strip in place. A paint roller is used to roll the fabric in to the glue and staples can be used on the edge as they will be covered by the trim strips. I opted NOT to use spray adhesive as the fumes in that enclosed space will render you unconsious.
")