The RV remodel... Almost complete

The friendliest place on the web for anyone with an RV or an interest in RVing!
If you have answers, please help by responding to the unanswered posts.

DCLyle

Member
Joined
Oct 20, 2013
Posts
17
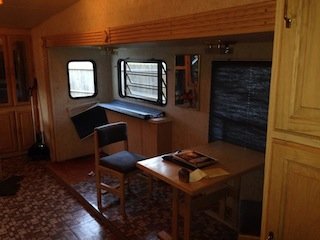
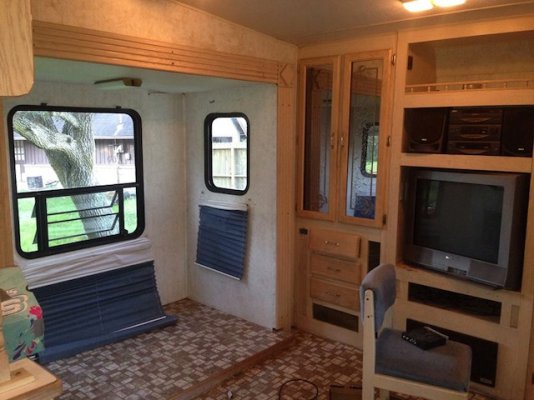
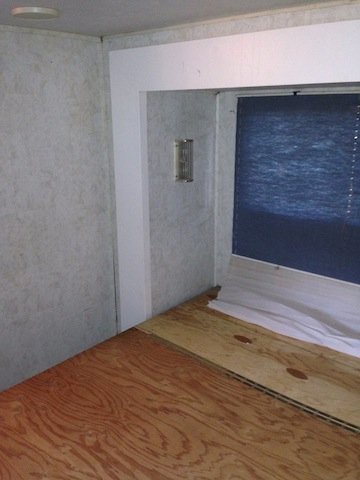
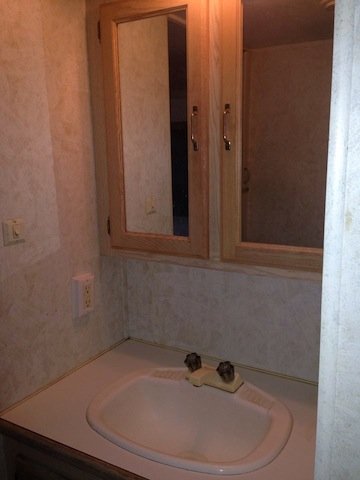
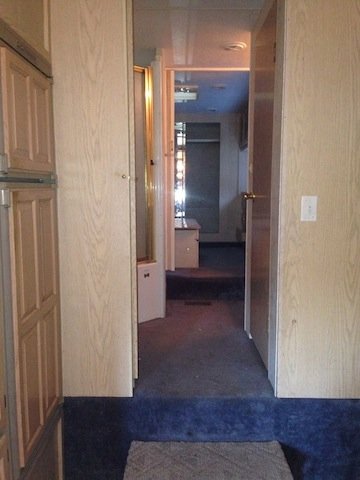
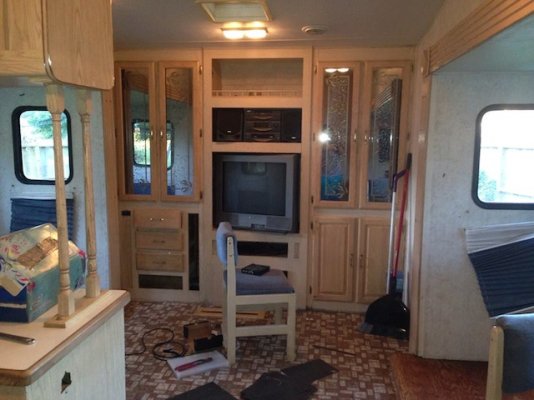
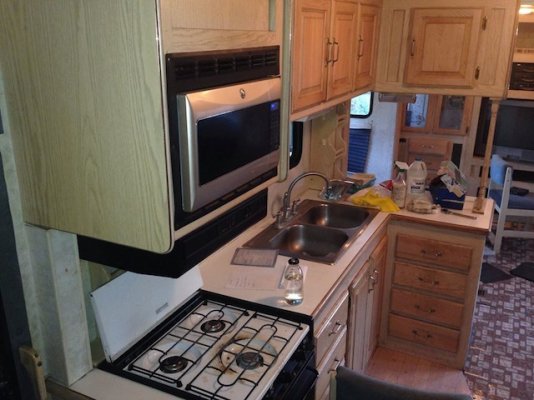
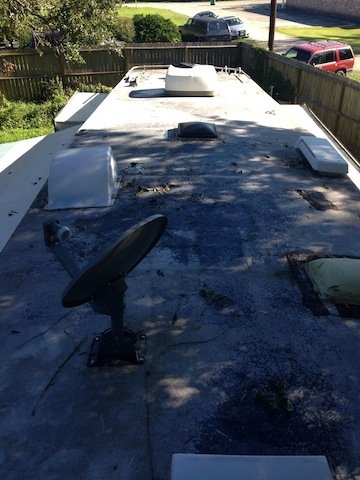
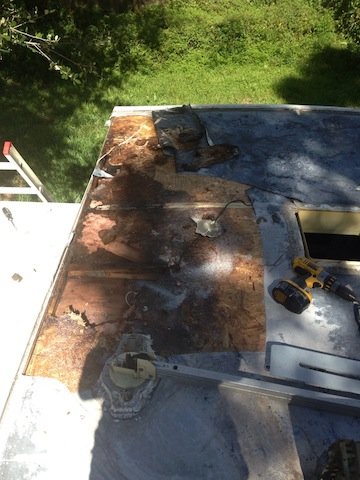
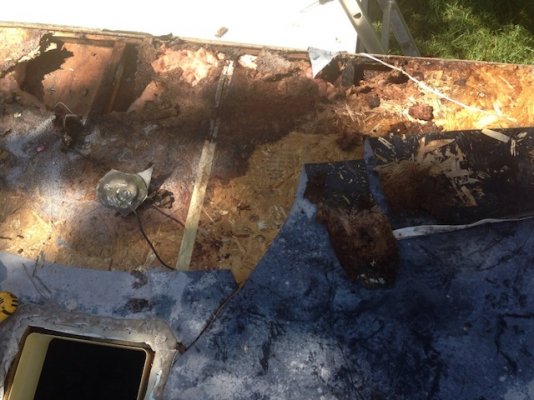
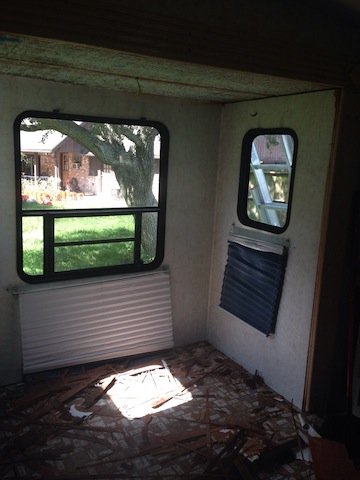
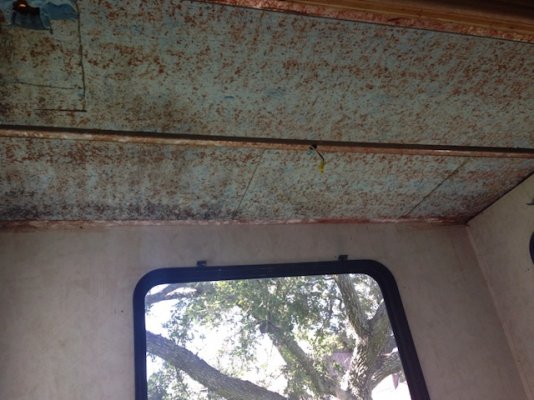
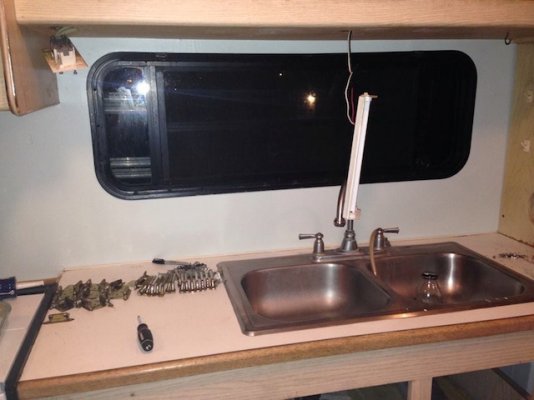
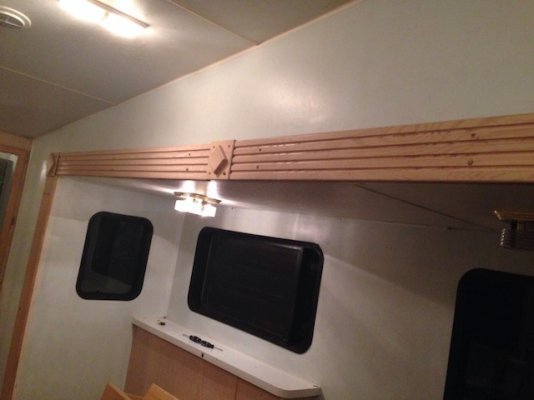
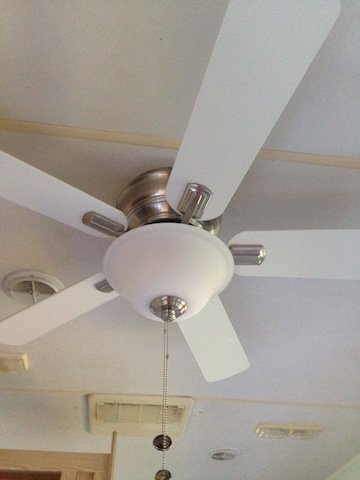
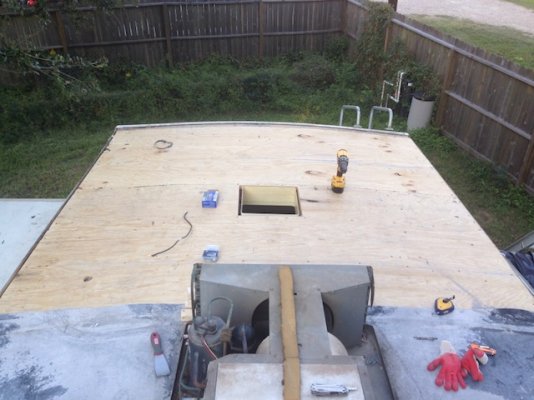
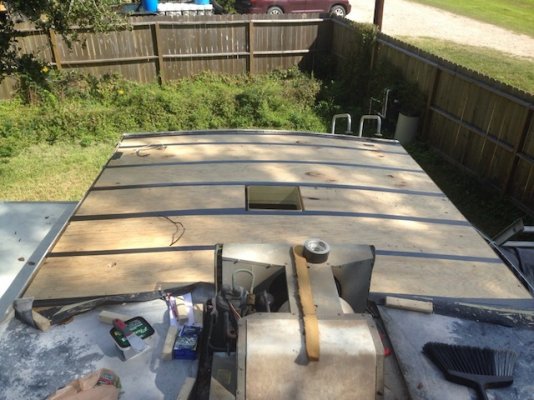
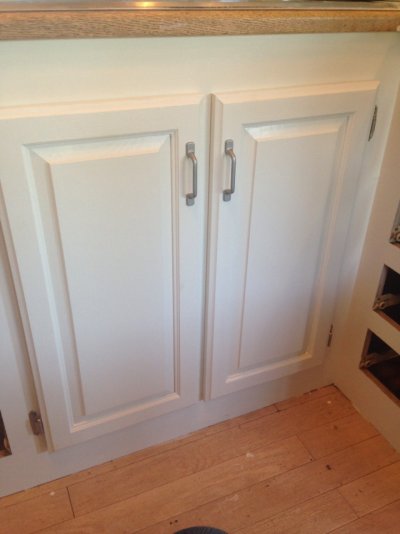
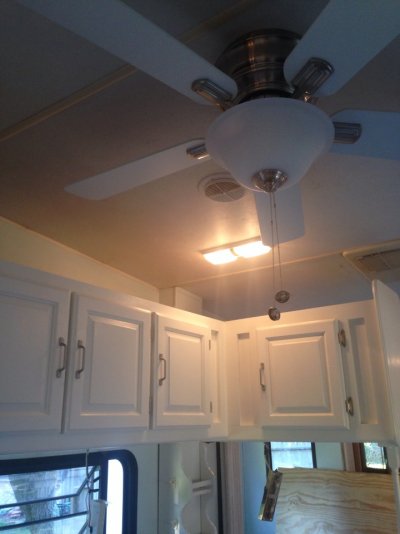
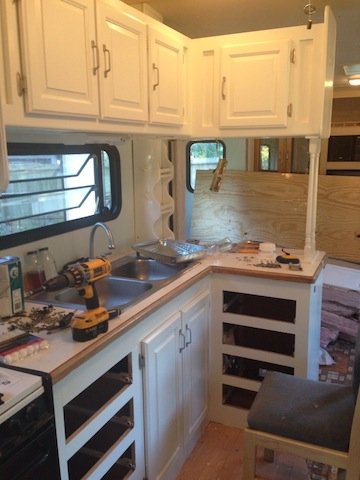
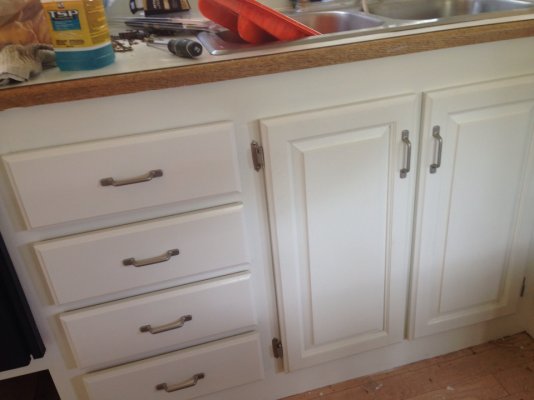
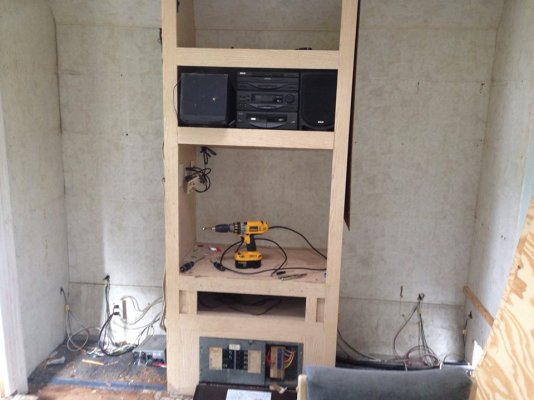
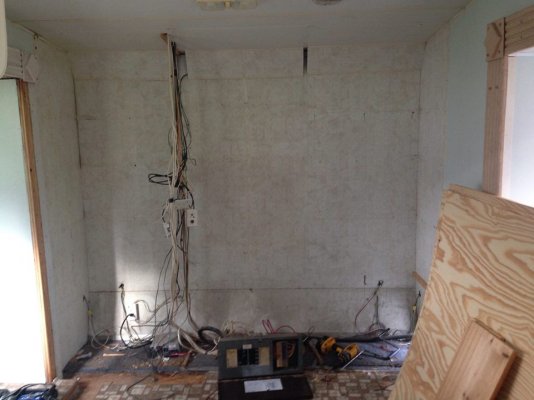
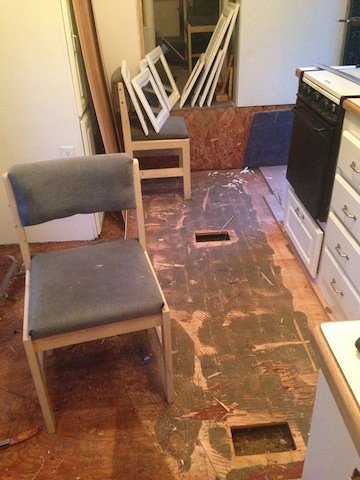
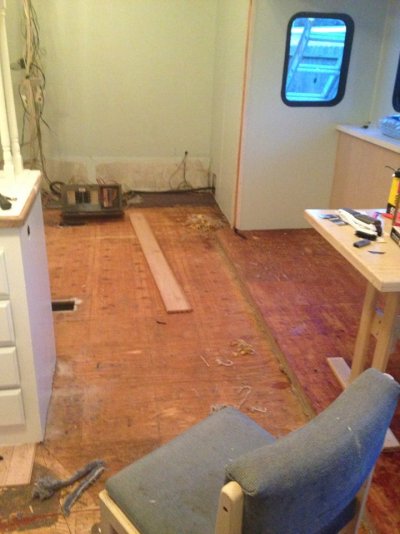
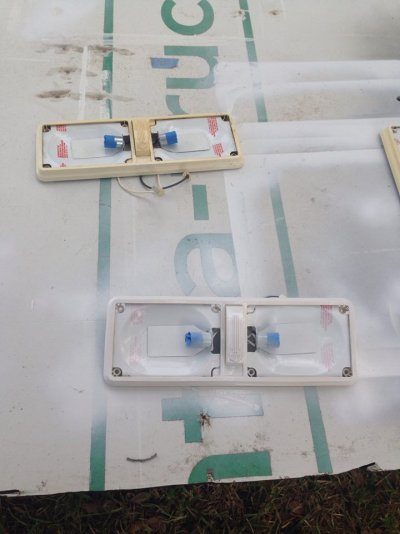
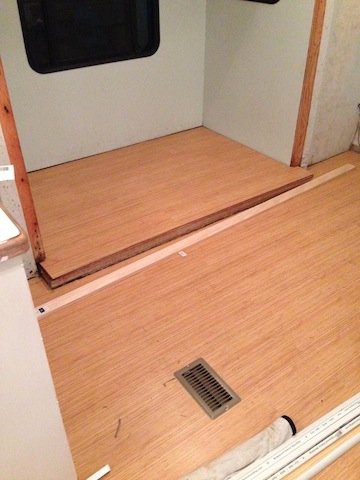
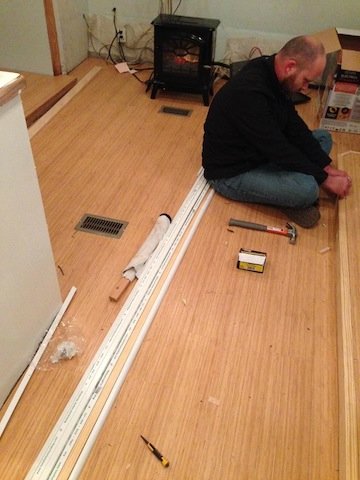
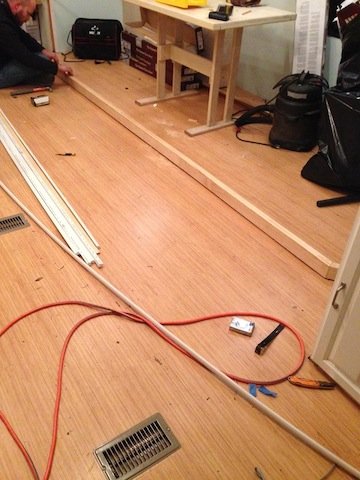
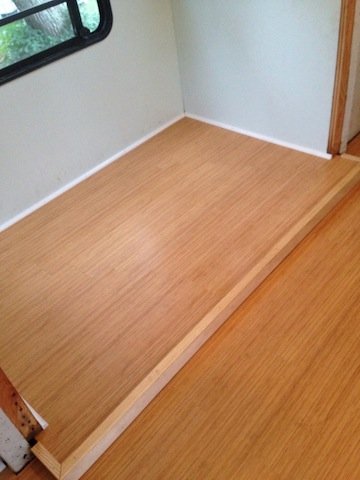
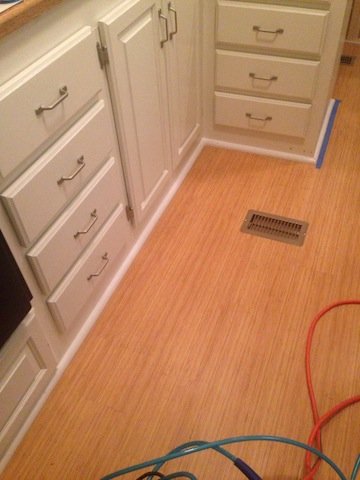
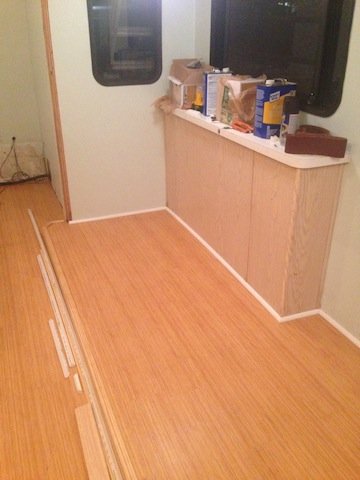
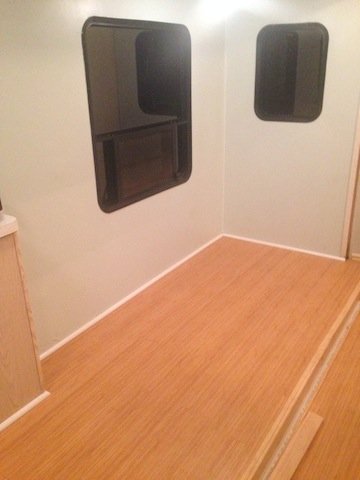
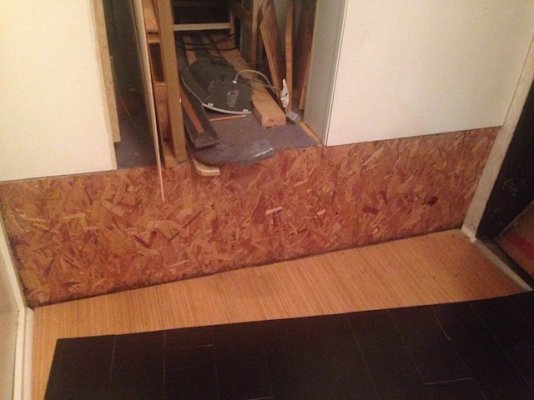
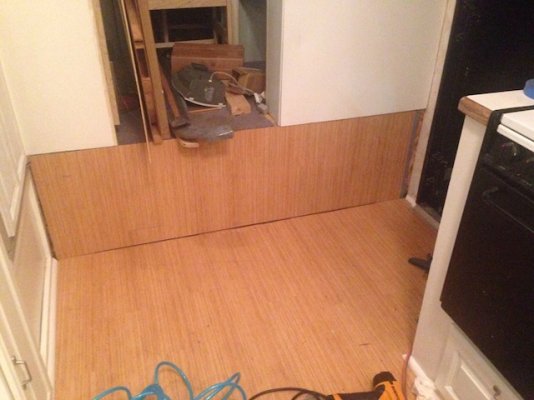
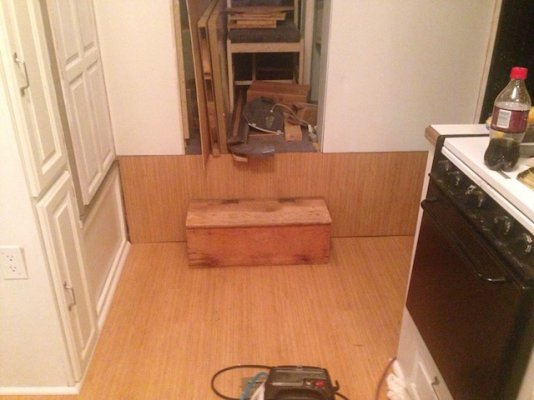
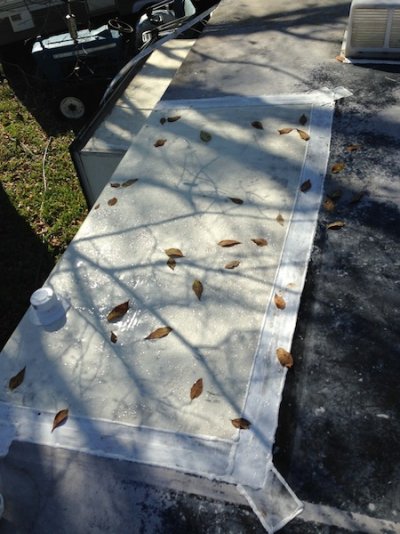
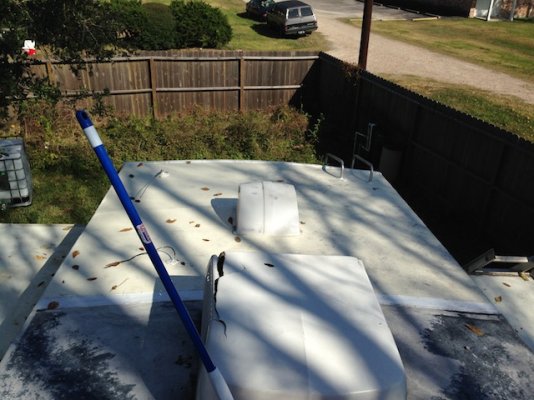
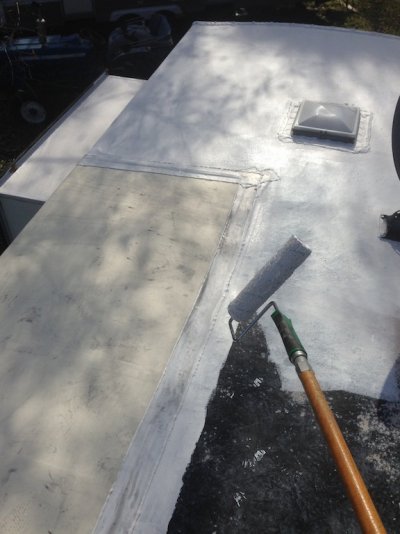
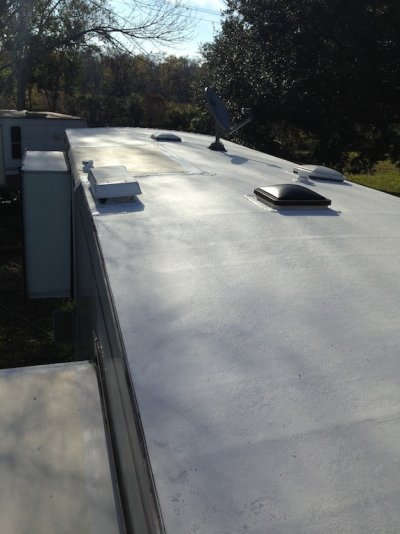
I wanted to show you guys the pictures of the RV remodel. There is a bunch, so I am gonna link my FB album for you guys to check out. There is a some from before and some as the remodel moves along. You can check back each week if you like. I am always updating! Happy trails!

https://www.facebook.com/danielleacampbell/media_set?set=a.10201005764016853&type=3

If you don't have FB I posted some of the pictures below!
 
It would be nice to view your pictures. But I don't do facebook or any other of the so called social media.
How about just posting the pictures on this forum.

Georg
 
Sorry guys, I resized them all for you.. ;) I hope this works. Mac's are new to me!
 

Attachments

  • RV1.jpg
    RV1.jpg
    24.6 KB · Views: 229
  • rv2.jpg
    rv2.jpg
    93 KB · Views: 223
  • rv3.jpg
    rv3.jpg
    43.7 KB · Views: 200
  • rv4.jpg
    rv4.jpg
    44.8 KB · Views: 159
  • rv5.jpg
    rv5.jpg
    36.6 KB · Views: 147
  • rv6.jpg
    rv6.jpg
    45 KB · Views: 148
  • rv7.jpg
    rv7.jpg
    86.7 KB · Views: 165
  • rv8.jpg
    rv8.jpg
    95.2 KB · Views: 159
  • rv9.jpg
    rv9.jpg
    61.9 KB · Views: 144
  • rv10.jpg
    rv10.jpg
    63.8 KB · Views: 138
  • rv11.jpg
    rv11.jpg
    105.7 KB · Views: 121
  • rv12.jpg
    rv12.jpg
    47.6 KB · Views: 150
More ;)
 

Attachments

  • rv13.jpg
    rv13.jpg
    102.3 KB · Views: 70
  • rv14.jpg
    rv14.jpg
    71.3 KB · Views: 79
  • rv15.jpg
    rv15.jpg
    59.6 KB · Views: 74
  • rv17.jpg
    rv17.jpg
    34.2 KB · Views: 67
  • rv18.jpg
    rv18.jpg
    93.3 KB · Views: 88
  • rv19.jpg
    rv19.jpg
    66.2 KB · Views: 75
  • rv20.jpg
    rv20.jpg
    112.1 KB · Views: 77
  • rv21.jpg
    rv21.jpg
    121.7 KB · Views: 72
  • rv22.jpg
    rv22.jpg
    123.3 KB · Views: 73
  • rv23.jpg
    rv23.jpg
    123.2 KB · Views: 74
  • rv24.jpg
    rv24.jpg
    52.1 KB · Views: 96
more
 

Attachments

  • rv25.jpg
    rv25.jpg
    115.2 KB · Views: 69
  • rv26.jpg
    rv26.jpg
    87.2 KB · Views: 58
  • rv27.jpg
    rv27.jpg
    77.5 KB · Views: 48
  • rv28.jpg
    rv28.jpg
    60.4 KB · Views: 78
  • rv29.jpg
    rv29.jpg
    114.3 KB · Views: 51
  • rv30.jpg
    rv30.jpg
    73.7 KB · Views: 70
  • rv31.jpg
    rv31.jpg
    58.1 KB · Views: 67
  • rv32.jpg
    rv32.jpg
    50.2 KB · Views: 64
  • rv33.jpg
    rv33.jpg
    55.2 KB · Views: 49
  • rv34.jpg
    rv34.jpg
    64.2 KB · Views: 48
  • rv35.jpg
    rv35.jpg
    44.3 KB · Views: 58
  • rv36.jpg
    rv36.jpg
    47.9 KB · Views: 67
and more!
 

Attachments

  • rv37.jpg
    rv37.jpg
    44.7 KB · Views: 65
  • rv38.jpg
    rv38.jpg
    35.8 KB · Views: 56
  • rv39.jpg
    rv39.jpg
    82.6 KB · Views: 57
  • rv40.jpg
    rv40.jpg
    79.5 KB · Views: 57
  • rv41.jpg
    rv41.jpg
    79.5 KB · Views: 86
Danielle

Thanks alot for re posting the pictures. It must be a lot of work. You guys are doing a fantastic job.

George
 
You guys are doing a great job! I especially like how you've done the trim around the edge of the slide. That looks like it'd be pretty hard to do. Is it?

It was hard for me to tell. Did you replace your cabinets or repaint the existing ones? They look nice.

Thanks so much for posting the photos. Looking forward to you posting more.

-Roni
 
Hey guys, Thanks for all the positive feed back. OK, so to answer questions
1. It is a 1997 Cardinal by Forest River
2. The trim was a nightmare until I went to the Home Depot and bought liquid nails and a finish nailer. After that it was smooth sailing.
3. The cabinets are painted. (I totally did not know what I was getting into until I was 1/2 way though.) It takes a ton of prep and a ton of coats. I did do my research and bought the best paint for the job and I found that at Sherwin Williams.

We have been working on it since early September; Hubby and I are about 1/2 way though. We wanted something we could buy for cheap and make our own. You never really know how much a remodel on an RV is a labor of love. Considering this will be our new home we wanted it to have that warm feel that home should have. Thanks for all the comments guys; they mean a lot to us.

Here are some pictures of what we were up to yesterday. We finished the patches on the roof. Today we cleaned the entire roof and tomorrow we are coating all roof surfaces (including the slides, but not the patches) with liquid rubber roof coating.
 

Attachments

  • rv42.jpeg
    rv42.jpeg
    110.5 KB · Views: 98
  • rv43.jpeg
    rv43.jpeg
    115.7 KB · Views: 78
Decided to coat the roof today instead of tomorrow.. It looks awesome!
 

Attachments

  • rv44.jpeg
    rv44.jpeg
    117.5 KB · Views: 87
  • rv45.jpeg
    rv45.jpeg
    133.2 KB · Views: 95
i sure hope you guys  got  some thing made to stick to EPDM  roofing  or in 6 month is it starts to chock  all that is going to come up 

if you start to fight with it latter you can install a new rood for under 250$ with every thing off ebay
 
Yes we used a product designed to stick to EPDM roofs. We did lots of research and worked very closely with our local RV service guy on how to repair and coat our roof. 1/3 of it has already been replaced and the other coated. We were going to replace all the rubber, but ran into the money issue when we found soft spots. I have seen those kits on EBay and will conceder them in the future for total replacement. Thanks for the concern
 
Back
Top Bottom