OP
OP
Sportsdad
Well-known member
We made the final bend around the leading edge today.
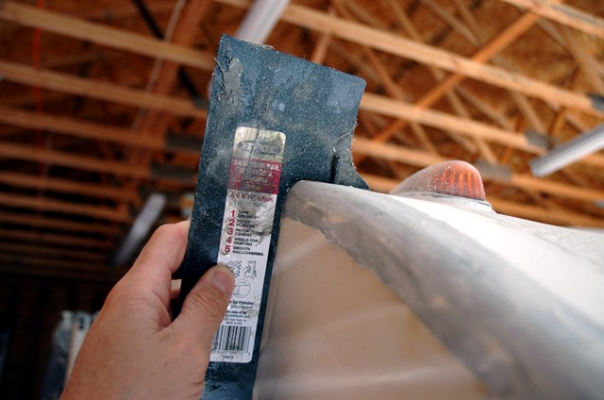
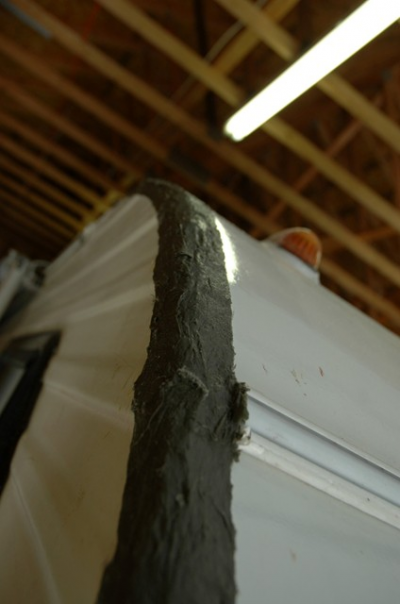
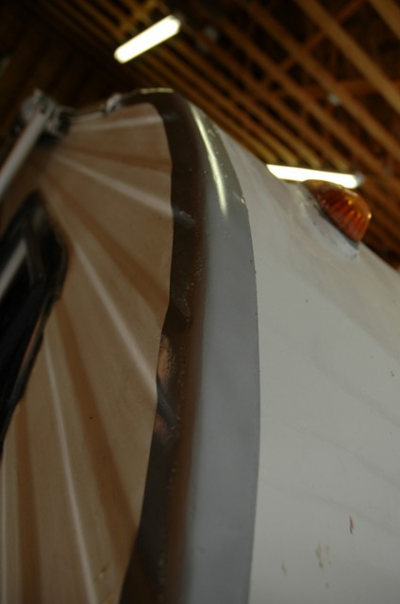
First picture shows the propane heater at the far end and ceramic heater nearest, that warmed up the .06 filon to make it easier to conform and reduce chances of cracking.
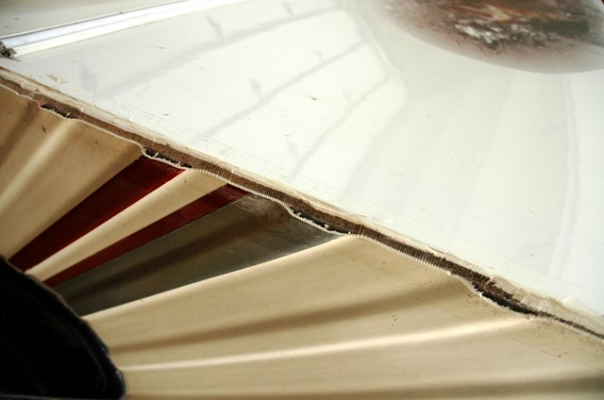
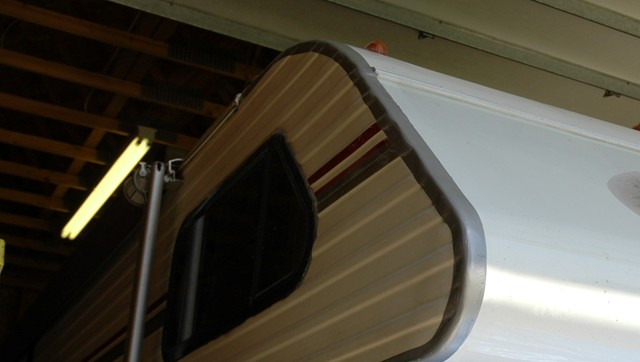
Second picture shows the 2X4?s that held it underneath after sealing and screwing the edges (Stainless steel countersunk screws)
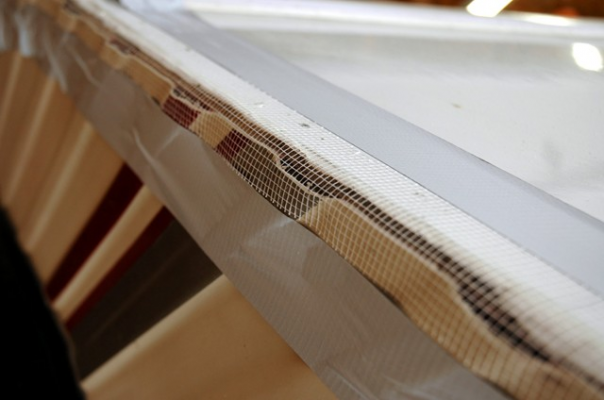
Third picture shows how we kept pressure on the leading edge. This was my dad?s idea and it worked great!
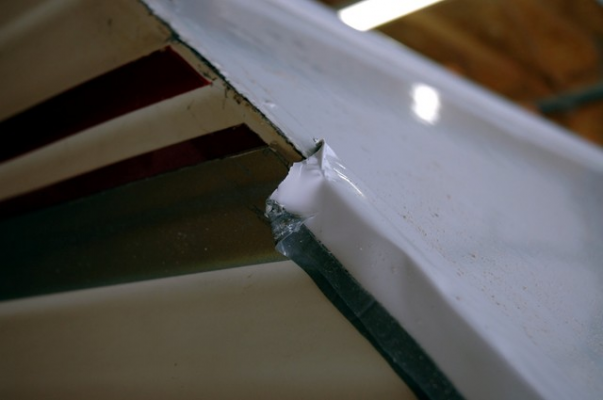
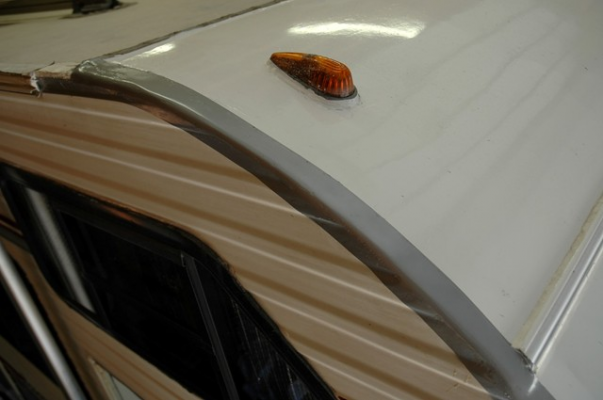
Just alittle sealing of the edges with 3M 5200 caulk and apply the eternabond tape to the edges, seams and we?re finished!
Hope to have a final picture this week-end. Depends how fast my double back eternabond tape ships.
Heating the filon to reduce stress
Bracing beneath filon
Leading edge bracing
First picture shows the propane heater at the far end and ceramic heater nearest, that warmed up the .06 filon to make it easier to conform and reduce chances of cracking.
Second picture shows the 2X4?s that held it underneath after sealing and screwing the edges (Stainless steel countersunk screws)
Third picture shows how we kept pressure on the leading edge. This was my dad?s idea and it worked great!
Just alittle sealing of the edges with 3M 5200 caulk and apply the eternabond tape to the edges, seams and we?re finished!
Hope to have a final picture this week-end. Depends how fast my double back eternabond tape ships.
Heating the filon to reduce stress
Bracing beneath filon
Leading edge bracing
") Since we're doing a 2 week trip next year to Minn, I decided to take care of business now.
Since we're doing a 2 week trip next year to Minn, I decided to take care of business now.