HueyPilotVN
Well-known member
I have been doing almost nothing for the last 7 months so I am going to get off my butt and start a new project,
I am going to put as large of a solar installation as I can on the Class C Chateau.
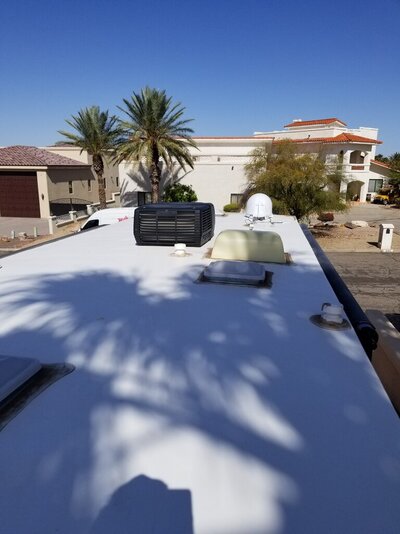
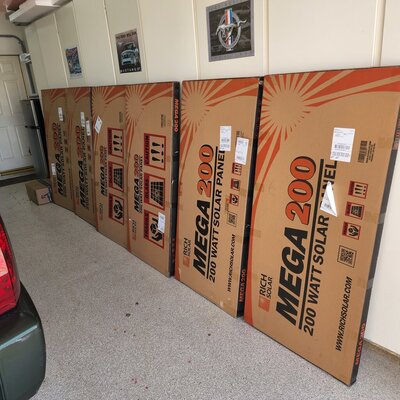
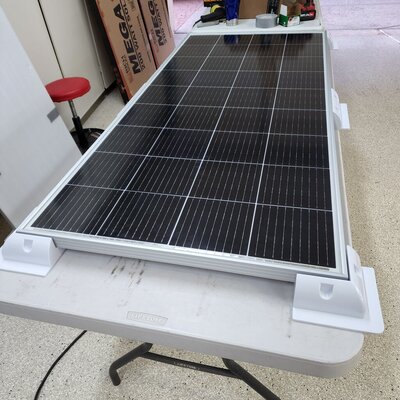
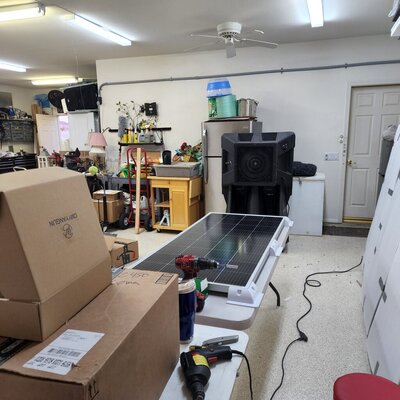
I am limited by usable roof space but I think I can put 8 (200 watt panels), on the roof for 1,600 watts. Unfortunately I will have to install 4 of them along the length and 4 of them across the width of the roof.
I wanted to get the remote tilt panels from Kevin Means but I think that the layout kind of works against tilting.
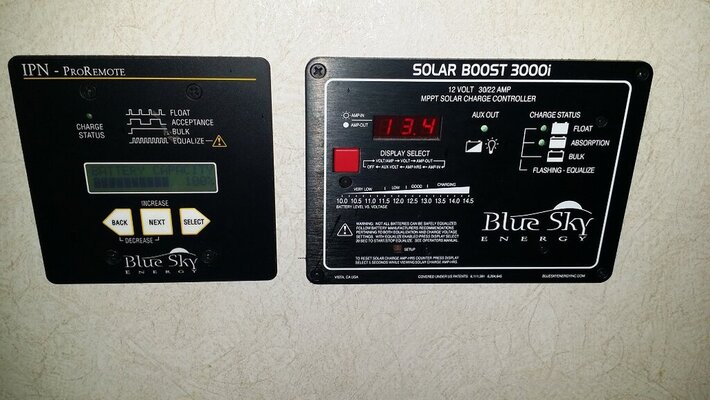
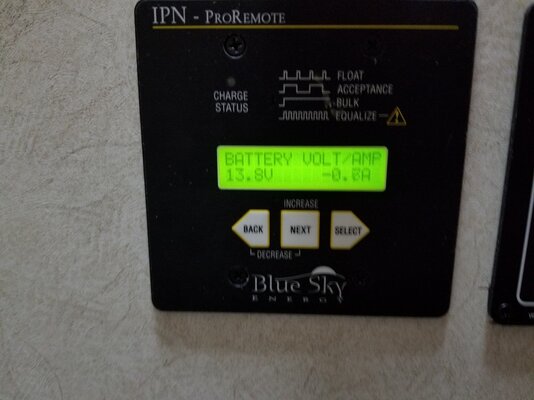
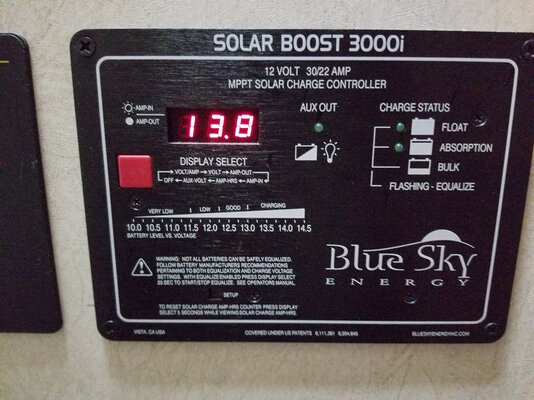
I will use the same kind of Blue Sky charge controllers as I did before with a master controller and two networked additional linked controllers. I will also use the same type Blue Sky Monitor.
The wiring will come down thru a shirt closet to the right of the bed and the Master charge controller, battery bank monitor and Invertor control panel will mount to the cabinet wall next to the bed.
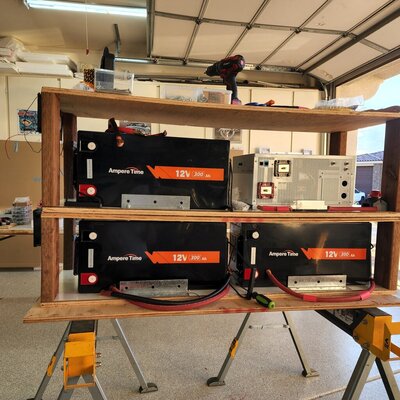
Probably the most unusual aspect of this setup is the use of three 300 Amp Hour Lithium batteries for 900 Amp Hours.
One will fit where my two AGM batteries are now under the steps.
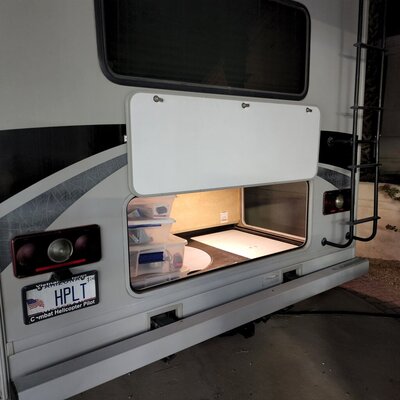
The other two and the Xantrax Invertor will be placed in the large rear storage area.
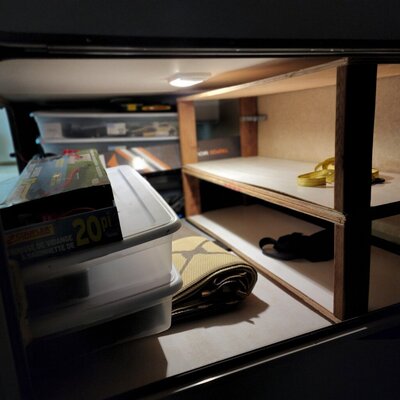
I saw a post here in the past where a fellow had built a double shelf in his rear storage area and it inspired me to do the same.
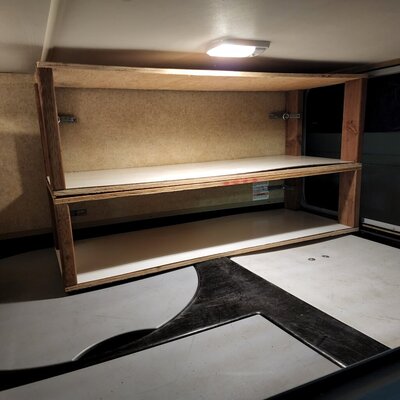
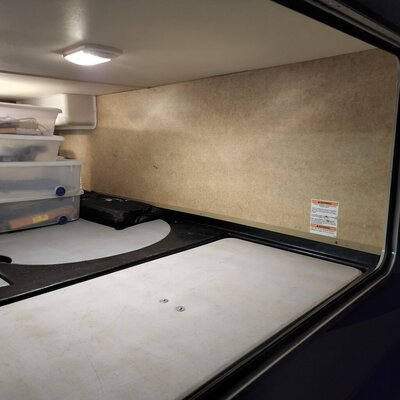
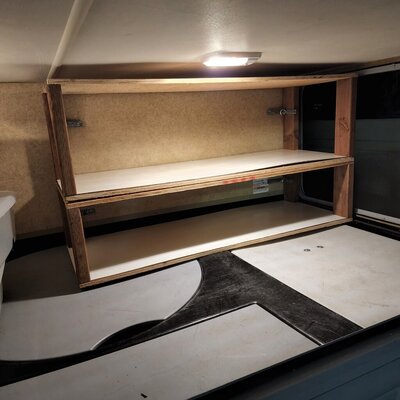
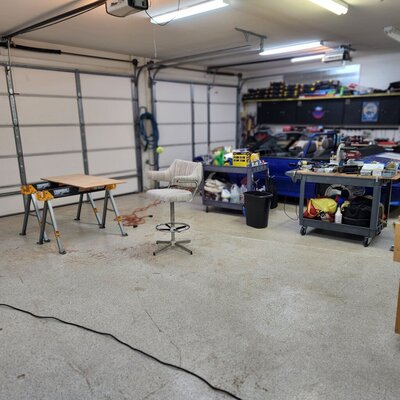
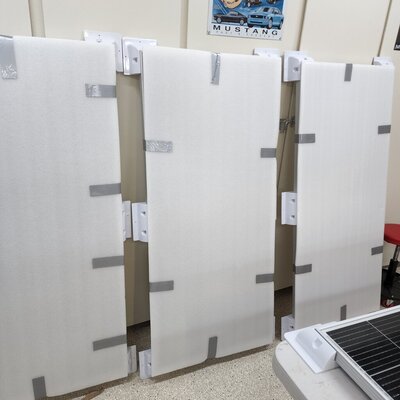
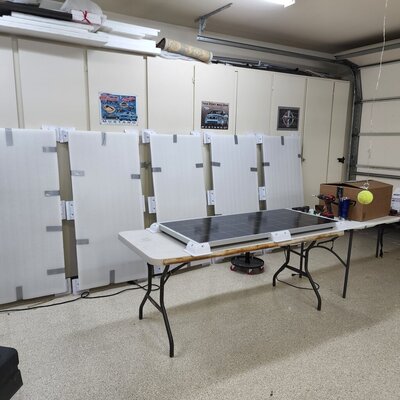
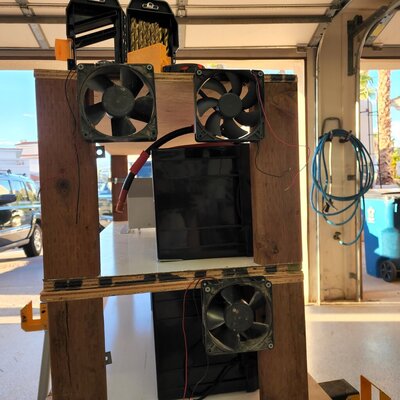
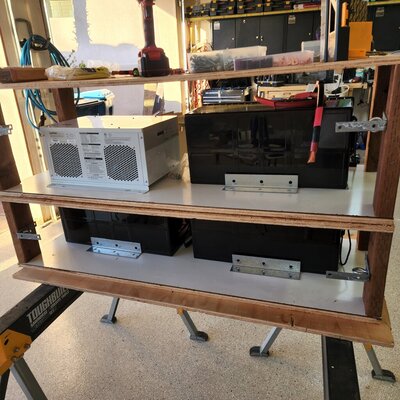
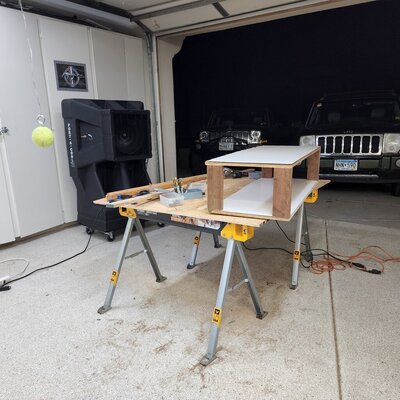
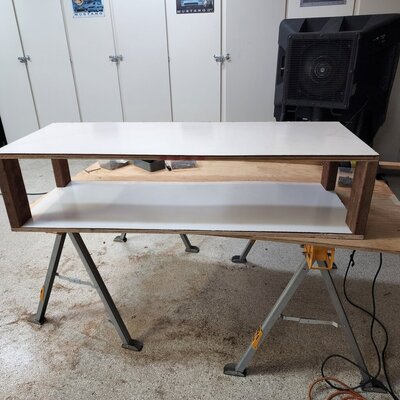
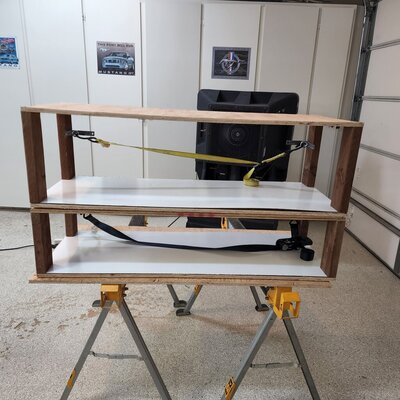
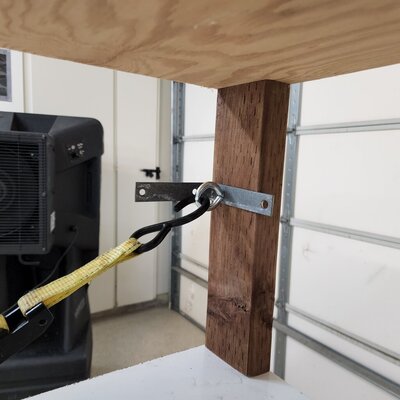
The first step in this project was to build the shelves for the batteries and Invertor, The shelves are 25.5 inches high, I have 27 inches clearance. It is 48 inches wide and 18 inches deep. The two Lithium batteries are each 20.5 inches long. I spent the last two late nights in the garage building the shelves. I built them in two sections that stack together. This makes it easier to fit them into and thru the storage doors. they also have brackets to anchor them to the wall and rachet straps to secure the equipment.
The circuit panel and fuses are located at the foot of the bed so it will be easy to run the cables thru the wall of the storage area directly under the bed to the panel.
So far the list of components is about $8,000 and I still have installation cost..
Here are some pictures of the shelves.
I will post the pictures in three posts.
I am going to put as large of a solar installation as I can on the Class C Chateau.
I am limited by usable roof space but I think I can put 8 (200 watt panels), on the roof for 1,600 watts. Unfortunately I will have to install 4 of them along the length and 4 of them across the width of the roof.
I wanted to get the remote tilt panels from Kevin Means but I think that the layout kind of works against tilting.
I will use the same kind of Blue Sky charge controllers as I did before with a master controller and two networked additional linked controllers. I will also use the same type Blue Sky Monitor.
The wiring will come down thru a shirt closet to the right of the bed and the Master charge controller, battery bank monitor and Invertor control panel will mount to the cabinet wall next to the bed.
Probably the most unusual aspect of this setup is the use of three 300 Amp Hour Lithium batteries for 900 Amp Hours.
One will fit where my two AGM batteries are now under the steps.
The other two and the Xantrax Invertor will be placed in the large rear storage area.
I saw a post here in the past where a fellow had built a double shelf in his rear storage area and it inspired me to do the same.
The first step in this project was to build the shelves for the batteries and Invertor, The shelves are 25.5 inches high, I have 27 inches clearance. It is 48 inches wide and 18 inches deep. The two Lithium batteries are each 20.5 inches long. I spent the last two late nights in the garage building the shelves. I built them in two sections that stack together. This makes it easier to fit them into and thru the storage doors. they also have brackets to anchor them to the wall and rachet straps to secure the equipment.
The circuit panel and fuses are located at the foot of the bed so it will be easy to run the cables thru the wall of the storage area directly under the bed to the panel.
So far the list of components is about $8,000 and I still have installation cost..
Here are some pictures of the shelves.
I will post the pictures in three posts.
Attachments
Last edited: