'02 Skyline Aljo Scout remodel

The friendliest place on the web for anyone with an RV or an interest in RVing!
If you have answers, please help by responding to the unanswered posts.
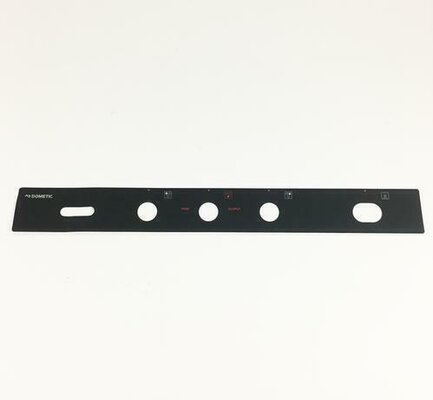
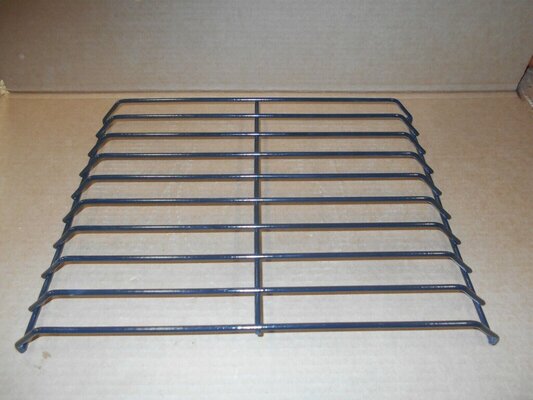
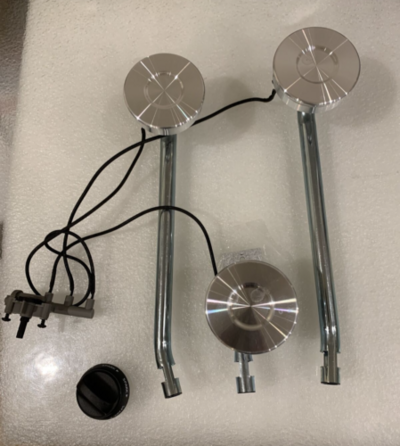
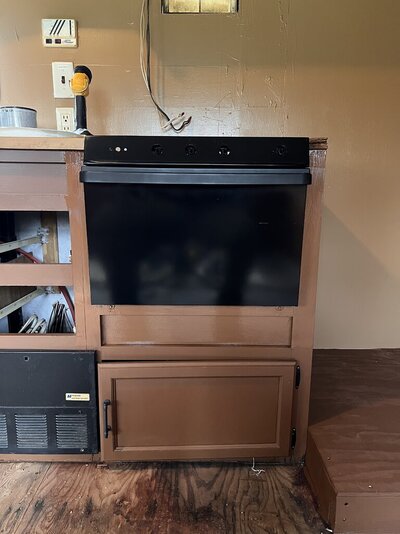
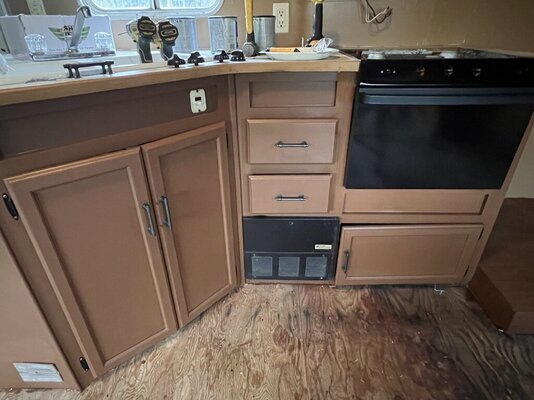
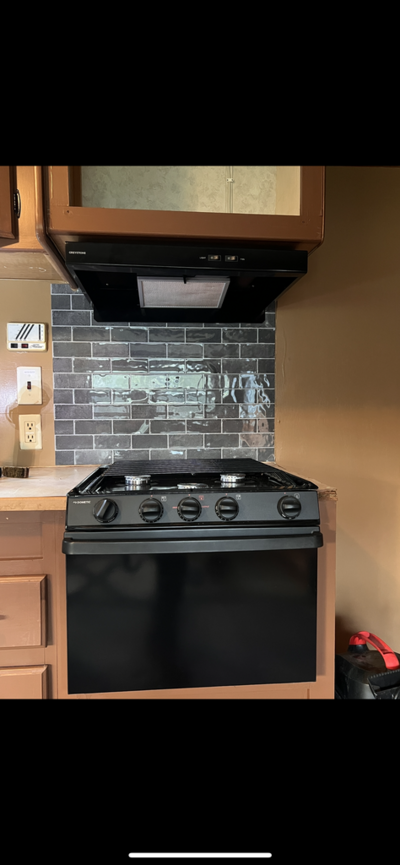
Was cleaning up the stove and the label was bad enough to warrant taking it completely off. I found another one on eBay and that lead to the idea of upgrading the system to the piezo igniter system. I ordered the kit with three burners, the wires, the igniter and the knob. Also ordered a new grate for the top as they had three burner grates that didn't come with the range. Excited to get these changed out.

I also got two cans of gloss black high heat appliance paint and painted the burner plate. To paint the oven door I am going to mask it off in place rather than remove the entire oven. I thought maybe the door would come off like on other ovens, but so far I am not finding a how to on that one.

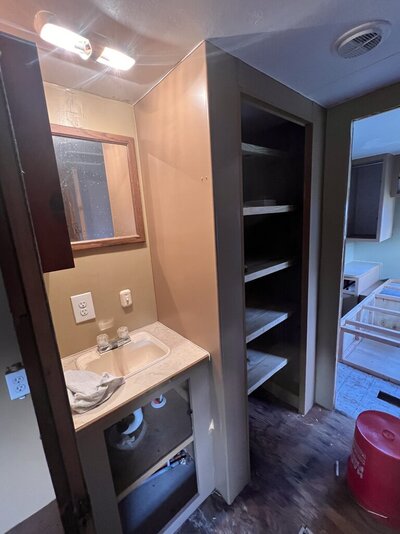
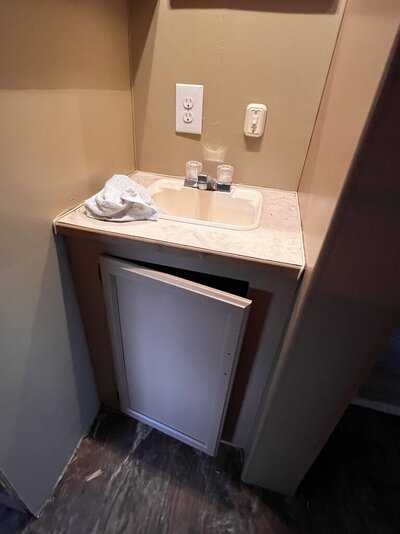
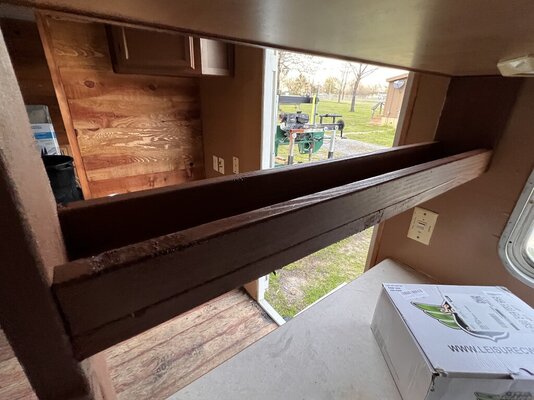
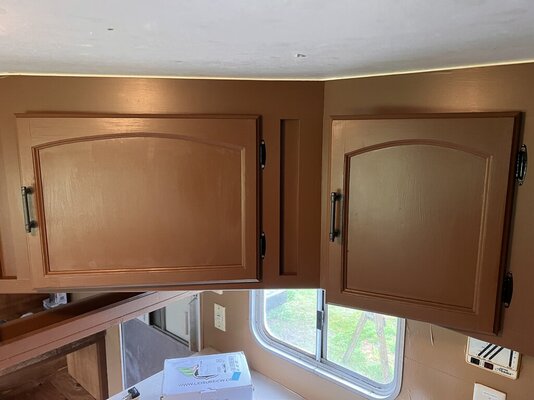
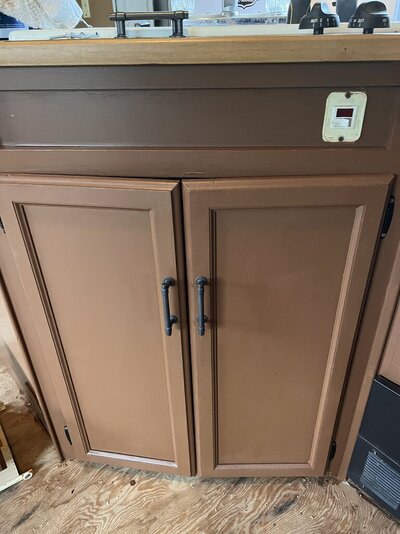
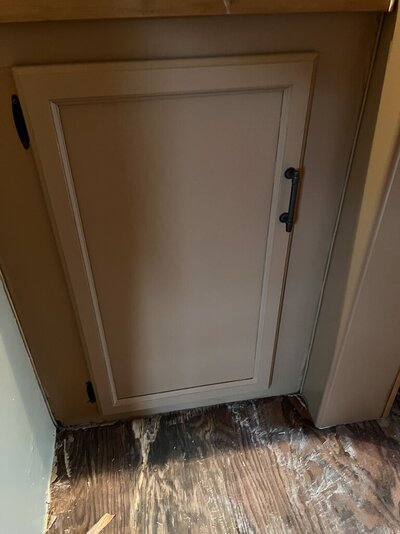
On another note, I got more painting done in the bathroom and bedroom. Not going to worry about the inside of the cabinets too much, but the outsides and the doors/drawers have a fresh new look.
 

Attachments

  • s-l500.jpeg
    s-l500.jpeg
    5.9 KB · Views: 8
  • s-l1600.jpeg
    s-l1600.jpeg
    106.7 KB · Views: 6
  • s-l500.png
    s-l500.png
    382 KB · Views: 7
  • 4BEFB103-2C10-46A0-A79E-2F36FEC1649F.jpeg
    4BEFB103-2C10-46A0-A79E-2F36FEC1649F.jpeg
    107.8 KB · Views: 8
  • 5069E650-F395-4901-A150-A9A006AC2F79.jpeg
    5069E650-F395-4901-A150-A9A006AC2F79.jpeg
    102.7 KB · Views: 8
  • 68499DE0-707C-4756-A3A4-2E88A90ECB5A.jpeg
    68499DE0-707C-4756-A3A4-2E88A90ECB5A.jpeg
    108.2 KB · Views: 8
  • 2477CB42-63DD-4FDA-92E3-8B576D54BA49.jpeg
    2477CB42-63DD-4FDA-92E3-8B576D54BA49.jpeg
    121.8 KB · Views: 8
  • B9D1F43D-FA21-4F62-B270-10B14B02D74E.jpeg
    B9D1F43D-FA21-4F62-B270-10B14B02D74E.jpeg
    167.5 KB · Views: 8
Cabinets and doors/drawers painted and hinges installed. New pulls coming tomorrow. I utilized the kitchen cabinet prop up board and turned it into a spice shelf.
 

Attachments

  • AB67B4B9-EDC2-4E11-8143-6B30999A7B6F.jpeg
    AB67B4B9-EDC2-4E11-8143-6B30999A7B6F.jpeg
    95.1 KB · Views: 8
  • 1E1DDF5E-D18B-4444-8F8B-69A9152F79D1.jpeg
    1E1DDF5E-D18B-4444-8F8B-69A9152F79D1.jpeg
    86.5 KB · Views: 8
  • 91E370A8-85C7-4D0D-8A1D-68A168A062C6.jpeg
    91E370A8-85C7-4D0D-8A1D-68A168A062C6.jpeg
    113.1 KB · Views: 8
  • E4D9CFB0-B8C1-42BF-9BF3-B01727617E93.jpeg
    E4D9CFB0-B8C1-42BF-9BF3-B01727617E93.jpeg
    141.3 KB · Views: 8
  • 428E8E7E-9764-4303-80AE-93FA3296A00A.jpeg
    428E8E7E-9764-4303-80AE-93FA3296A00A.jpeg
    137.1 KB · Views: 8
Got the oven door painted with epoxy and all the pulls mounted yesterday. Thought they would be black but it turns out they are gun metal grey. They are much better than the originals.
 

Attachments

  • 98B2031F-ADAA-42F1-BC72-08637AAD56E6.jpeg
    98B2031F-ADAA-42F1-BC72-08637AAD56E6.jpeg
    117.5 KB · Views: 7
  • 5ADA7272-56B4-4E55-8F60-C1E1D487F3AB.jpeg
    5ADA7272-56B4-4E55-8F60-C1E1D487F3AB.jpeg
    98.9 KB · Views: 7
  • 34E51F8D-F369-4F8D-BD84-0817DA8E1518.jpeg
    34E51F8D-F369-4F8D-BD84-0817DA8E1518.jpeg
    120.6 KB · Views: 7
  • 3A1728E5-18D7-4DBD-BF76-2FC0760362BA.jpeg
    3A1728E5-18D7-4DBD-BF76-2FC0760362BA.jpeg
    89.4 KB · Views: 7
  • 25D12C8E-E249-4F14-855C-56F6E3219B4C.jpeg
    25D12C8E-E249-4F14-855C-56F6E3219B4C.jpeg
    100.9 KB · Views: 8
  • 11CB75A4-07E3-47EF-B649-56F07ED86B54.jpeg
    11CB75A4-07E3-47EF-B649-56F07ED86B54.jpeg
    114.1 KB · Views: 8
  • ADA42294-75D4-4729-BD76-A58F1FB31A9A.jpeg
    ADA42294-75D4-4729-BD76-A58F1FB31A9A.jpeg
    125.9 KB · Views: 8
Finished the stove yesterday....got the new burners and the igniter installed along with the new grate and vent-a-hood. Did not get a pic of the finished stove or the new hood uploaded, got sidetracked helping a neighbor decide about a French drain system. Will upload one shortly
 
Been super busy but got a few more things done....Flooring and trim down in the office, Backsplash up in the kitchen and not shown, all the old piping for the HW heater removed and the bed plywood down on the new frame.
 

Attachments

  • 3659766D-F271-4F20-ADC4-5F775338A32C.jpeg
    3659766D-F271-4F20-ADC4-5F775338A32C.jpeg
    134.8 KB · Views: 6
  • 75687C7E-CB3B-4D0F-B2C4-FBBDB4608AB0.jpeg
    75687C7E-CB3B-4D0F-B2C4-FBBDB4608AB0.jpeg
    175.1 KB · Views: 5
  • EBA34A60-F989-4E5B-B0EF-8F66C26A450F.jpeg
    EBA34A60-F989-4E5B-B0EF-8F66C26A450F.jpeg
    140.7 KB · Views: 6
  • IMG_1101.PNG
    IMG_1101.PNG
    436.2 KB · Views: 6
Yeah, getting closer.

Here's what's left to do....

Flooring [bathroom vinyl/main area, slideout and bedroom laminate]
Bathroom [shower build/HW htr plumbing/new inlet for water/connect to existing lines]
Hook up and test water system
Cedar slab shelves in front room
Hook up and test propane system
Have AC freon filled & test AC
Prime and paint exterior
Re-coat black EPDM roof with white coating

Move RV and move in!
 
Got both cedar slab work surfaces installed in the 'office' over the weekend and today. They were at the same 36" height in the house, but I decided to have a split level configuration so I didn't block the lower bunk window and I can use that section as a desk.
 

Attachments

  • IMG_1217.JPG
    IMG_1217.JPG
    118.8 KB · Views: 5
  • IMG_1218.JPG
    IMG_1218.JPG
    123.9 KB · Views: 5
  • IMG_1219.JPG
    IMG_1219.JPG
    101.5 KB · Views: 5
It's not often I hire anyone to do anything, but the sheet vinyl for the bathroom was an exception. Paid to have someone experienced do the work and it paid off....also got the first two Pex lines run from under the Rv to the area where the HW heater sits. Almost ready for my buddy the plumber to help out! He owes me a couple days labor since I opened up his living to his kitchen area a couple of years ago.
 

Attachments

  • 590671AE-7B12-490E-AFD0-DB512B562AB4_1_201_a.jpeg
    590671AE-7B12-490E-AFD0-DB512B562AB4_1_201_a.jpeg
    226.3 KB · Views: 4
  • 15156ED1-E97A-41FA-8320-A606F54DBF3F.jpeg
    15156ED1-E97A-41FA-8320-A606F54DBF3F.jpeg
    120.4 KB · Views: 4
A good sized disappointment happened today. Since the AC unit works on R-22, fixing it is a no-go. R-22 has been extremely expensive and will be phased out very soon. It would cost way too much to fix the leak and refill [$1200-1500]. Since a new one is not in the budget [$2k installed] I am going to go with window units to cool the RV that I can install myself.
 
I haven't looked yet, but that might be an option if it is reasonable enough. Even then, I am sure I know zero about how to install it. I do have a buddy who might know though so I haven't ruled that out.
 

Latest posts

Forum statistics

Threads
131,926
Posts
1,387,639
Members
137,675
Latest member
ozgal
Back
Top Bottom