I bought and built the "Def Sensor Simulator" that was discussed in the previous article.
Here is the results of my Def Sensor Simulator (DSS) test. I purchased all of the parts as suggested in the write up by the designers of the unit. They have since done even more work researching other vendors for some of the parts as the originals sold out quickly. Total cost was about $150 for the parts. I wound up buying a 3 meter long connection cable as the 1 meter cable was already sold out by the time I ordered. That increased the cost of the cable from $15 to $30. I briefly researched other vendors, but I wanted to stay with quality parts to avoid causing any issues down the road. Actually that will work out in my favor as the 3 meter cable will give my more options for mounting it if the need ever arises.
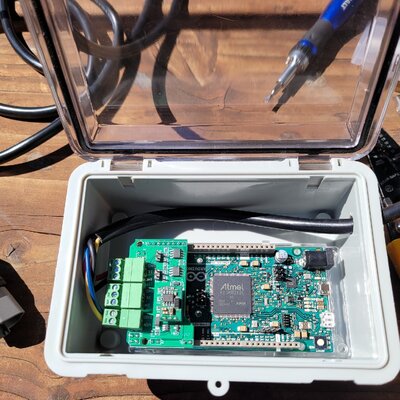
The biggest hurdle for me was figuring out where to access the downloaded zip file that contains the ECM info. Computer inter-workings are not my strong suit, but after going back and rereading the instructions a few times, I realized it was easier than I was making it out to be.
The software downloaded onto the computer board within seconds, just as the instruction said it would. I actually had more work in hooking up the 4 wires to the screw terminals than anything. Two of the wires, the red and black (power and ground) are fairly heavy and are a snug fit into the wire ports. There is a good tip on the instruction sheet to “trim a few strands off” of the heavier wires to make insertion easier. I recommend following that tip. It is critical that no strands of wire get loose and touch another, as this could create a shot circuit. I re-cut the heavier wires 3 times before I was satisfied that the connections were clean, snug, solid.
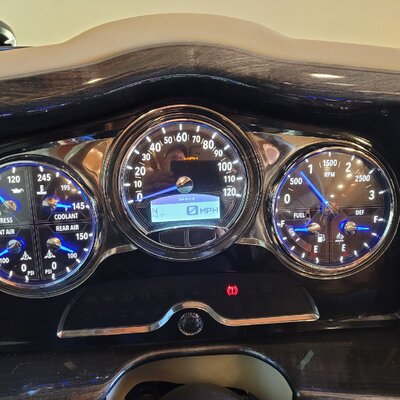
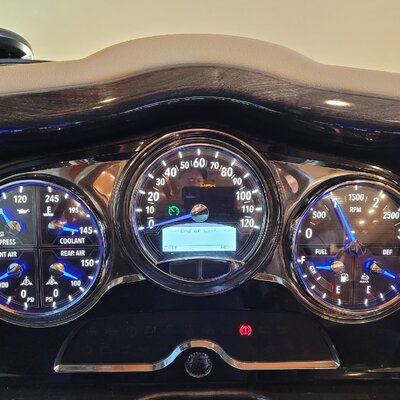
When I tested the DSS I knew I would be able to tell if the DSS was sending info to the ECM by the gauge on the dash of the Bus. It just so happened that I had stopped at a station and filled the fuel and topped up the Def on the way to our current RV park, so the gauge was showing about full. (My new sensor never shows completely full on the gauge, just below the full line). The DSS sensor is designed to tell the ECM that the Def level is at about ¾ full. For me that would be just under the ¾ line on the gauge.
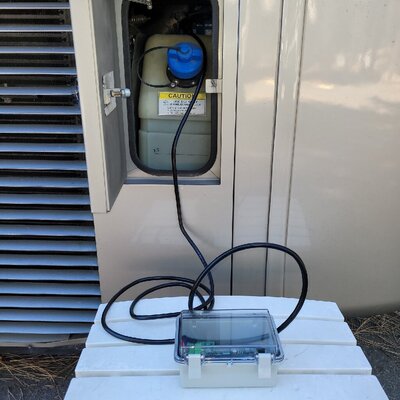
My Bus has a little door that allows filling the Def tank, but not much else. Fortunately when I did the sensor swap I made sure the connections for the tank were in front and accessible. Unhooking the factory connector still took a bit of effort as the connection is designed to be water tight. After getting it apart the DSS plugged in easily.
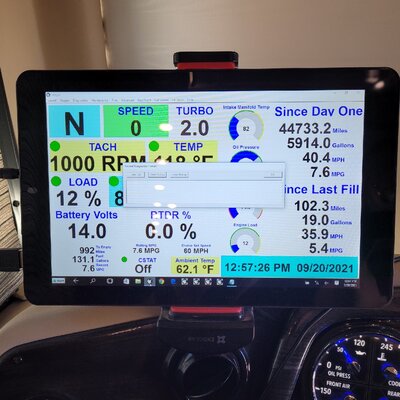
All that was left was the test. I turned on my VMSpc system and opened the Diagnostic Tab. This displays any fault codes that the ECM throws. I turned the ignition to the ON position and all dash lights did their start up diagnostic as they always do. When they went out, I started the rig as normal. The fired up and all of the gauges began to receive the messages from the ECM. The Def gauge smoothly swept up to just below the ¾ mark on the gauge and stayed there. I ran the rig for a moment, then turned on the high idle for 3-4 minutes. Everything on the dash performed as expected.
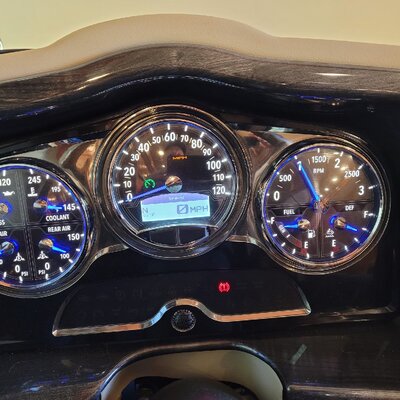
No new codes on the VMSpc appeared, and I also checked the Powerglide on board diagnostic. It too had a blank display indicating no active fault codes. Satisfied, shut down and removed the DSS from the Def connection. I plugged the on board connection back into the Def sensor and did a restart of the motor. All performed as expected, and the on board Def gauge swept up to just below the “full” line on the gauge. The ECM was once again getting the signals from the Def tank sensor.
The decision to buy and build a DSS is your personal decision, and the truth is that I hope I never need it. But with Cummins stated position that they will only “calibrate” our ECM's to over ride the derate if we are already in sensor trouble/failure makes this an easy decision for me. Peace of mind that of all the things that can go wrong with these massively complicated rigs, at least I have some control over one known failure prone part.


