Frank B
Well-known member
We just bought a 2000 lightweight 23 foot 5th. We Winter camp. This 5th has forced air ducted heating, but all of it is above floor level using 4" flex hose. I am interested in adapting this to keep the below floor level tanks from freezing in the Winter.
What is ordinarily done on trailers manufactured with heated tanks? Are there complete enclosures around the tanks that are fed with furnace air, or are the ducts simply run in close proximity to those tanks?
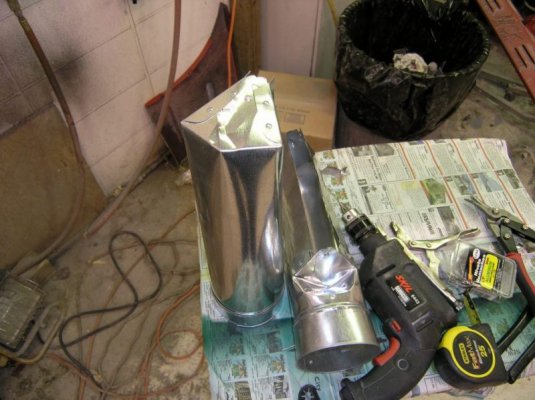
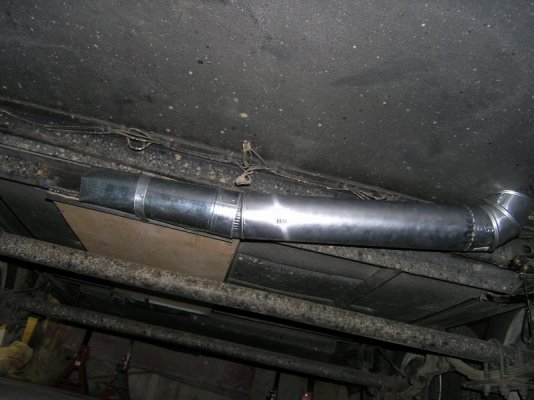
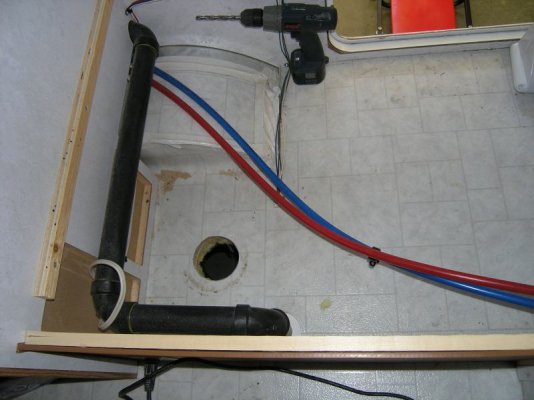
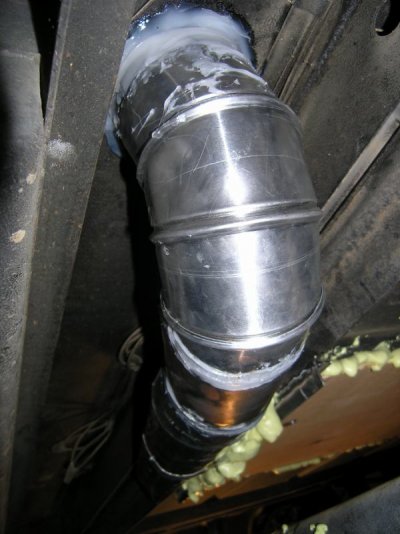
I am thinking that if I re-direct some of the ducts below floor level to the opposite side of the trailer that I can run ordinary 4" metal ducting close to the tanks. I will then have the bottom of the whole trailer spray-foam insulated -- tanks, ducts and all (but not between the ducts and the tanks so that some conduction will take place).
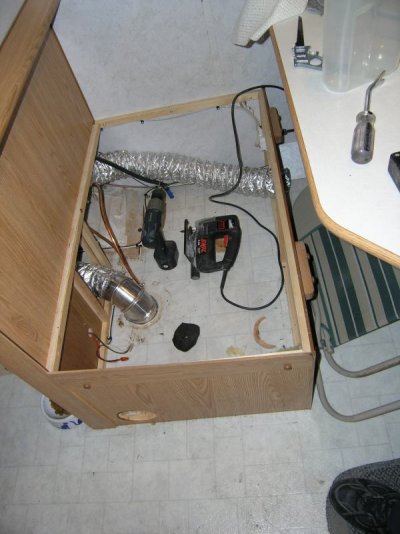
The other issue I face is keeping the batteries warm enough so that they don't freeze when discharged. Do today's 'no maintenance' batteries give off enough gas that heating the area under the dining area seat and then blowing it back into the trailer will be a problem? I plan on installing the batteries there. It can be done by simply blowing hot air into that cavity and then letting it out through another hole into the trailer (allowing battery gas, if any, into the trailer) or by running a 4" metal duct close to the batteries and then back into the trailer.
Suggestions appreciated.
Thanks
Frank.
What is ordinarily done on trailers manufactured with heated tanks? Are there complete enclosures around the tanks that are fed with furnace air, or are the ducts simply run in close proximity to those tanks?
I am thinking that if I re-direct some of the ducts below floor level to the opposite side of the trailer that I can run ordinary 4" metal ducting close to the tanks. I will then have the bottom of the whole trailer spray-foam insulated -- tanks, ducts and all (but not between the ducts and the tanks so that some conduction will take place).
The other issue I face is keeping the batteries warm enough so that they don't freeze when discharged. Do today's 'no maintenance' batteries give off enough gas that heating the area under the dining area seat and then blowing it back into the trailer will be a problem? I plan on installing the batteries there. It can be done by simply blowing hot air into that cavity and then letting it out through another hole into the trailer (allowing battery gas, if any, into the trailer) or by running a 4" metal duct close to the batteries and then back into the trailer.
Suggestions appreciated.
Thanks
Frank.
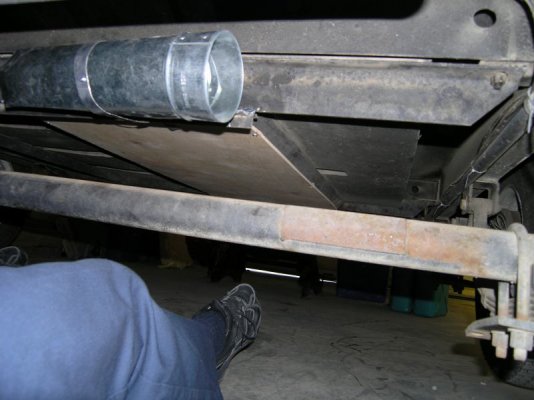
") These tanks are slung on racks just below the floor, between the frame rails.
These tanks are slung on racks just below the floor, between the frame rails.