Another New Project, Interesting one

The friendliest place on the web for anyone with an RV or an interest in RVing!
If you have answers, please help by responding to the unanswered posts.

HueyPilotVN

Well-known member
Joined
Jun 5, 2012
Posts
3,302
Location
Lake Havasu City, AZ
By now you guys know that I like fun projects.

This one is really out there.

A friend of mine and I are establishing a small business in Lake Havasu City.

Chris is a certified welder, mechanic, and knowledgeable in all sorts of work.

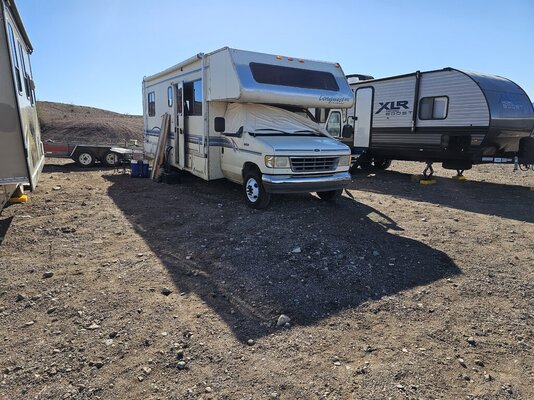
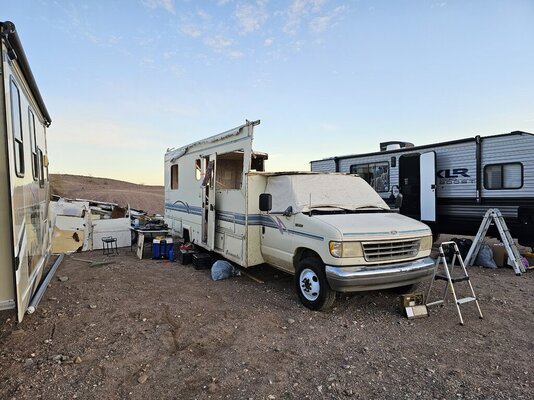
He has a Class C motorhome that is in very good mechanical condition as far as the running gear,
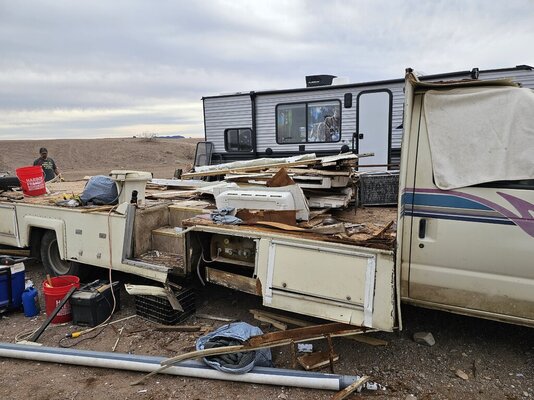
but is not in good condition as far as the living part.

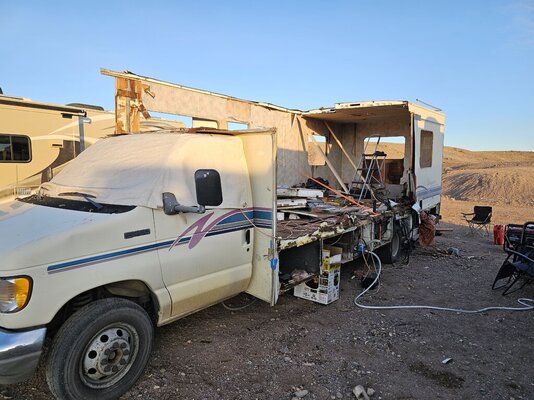
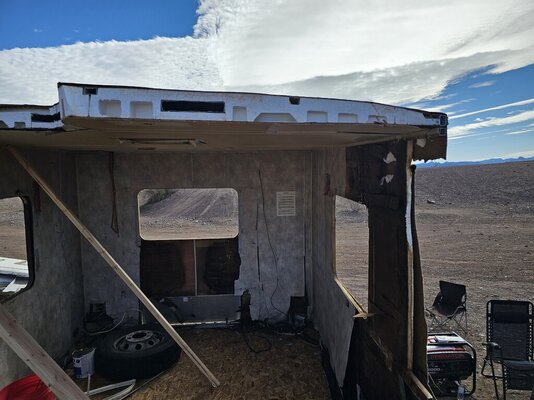
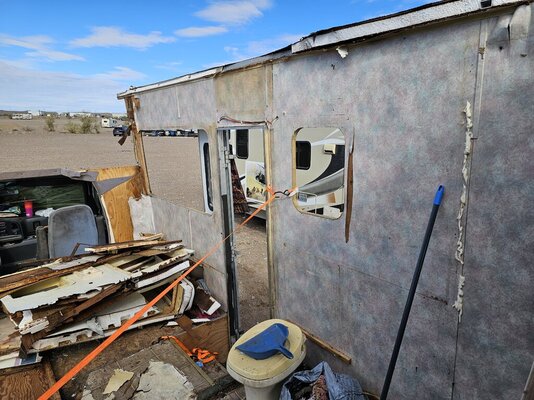
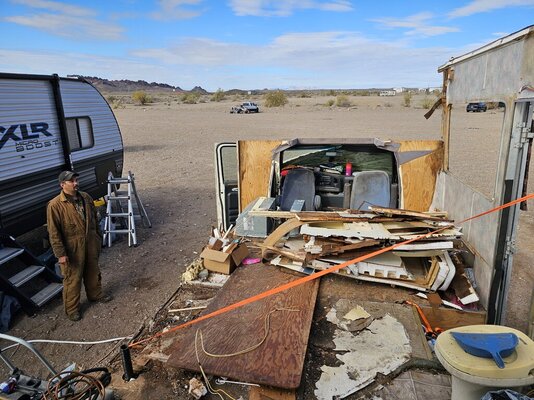
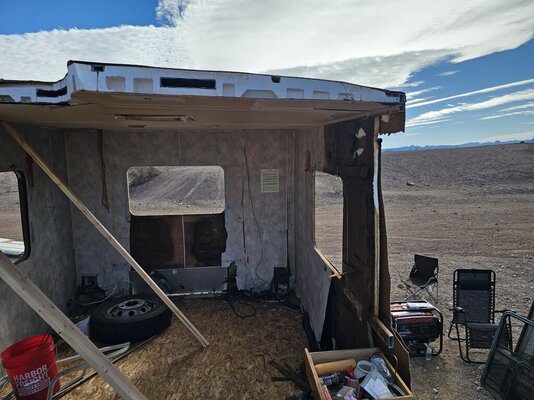
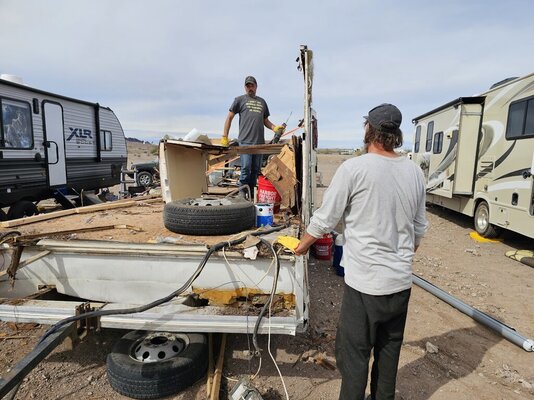
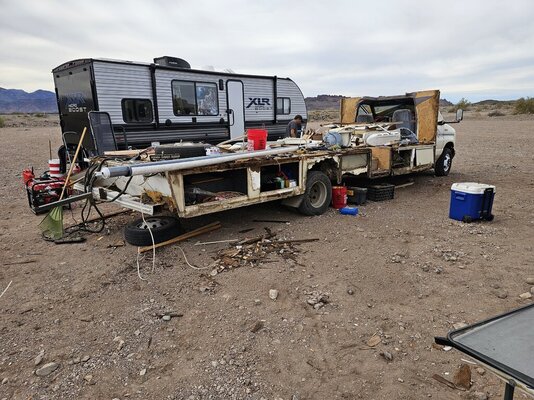
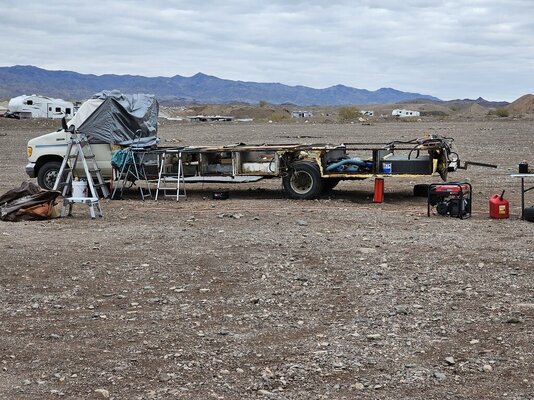
Instead of buying a new work vehicle. Chris is going to build a custom work vehicle in a town full of custom vehicle guys.

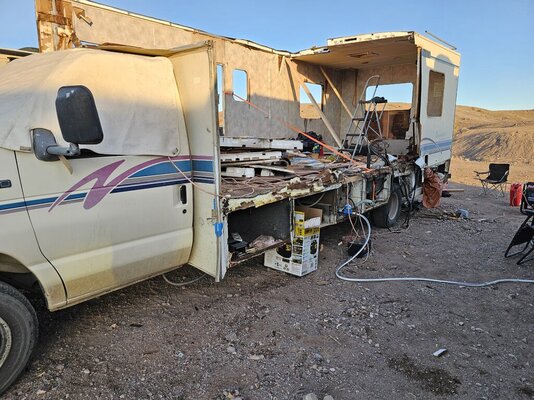
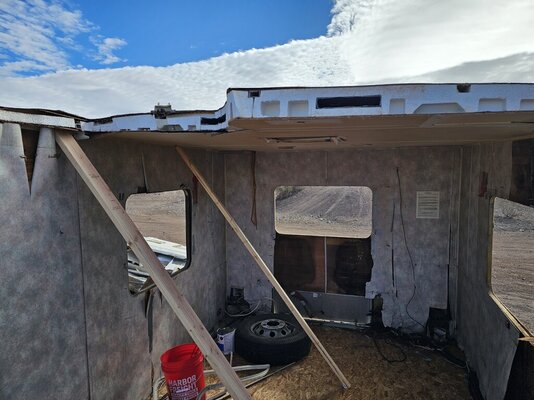
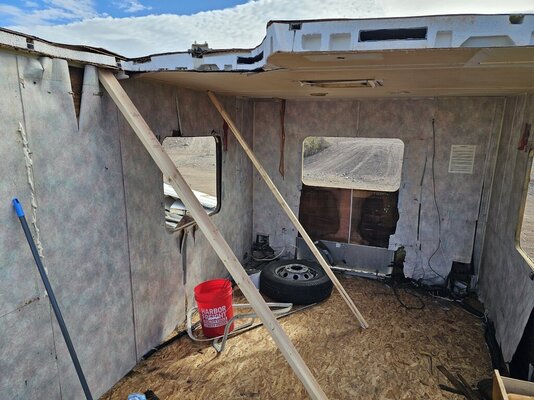
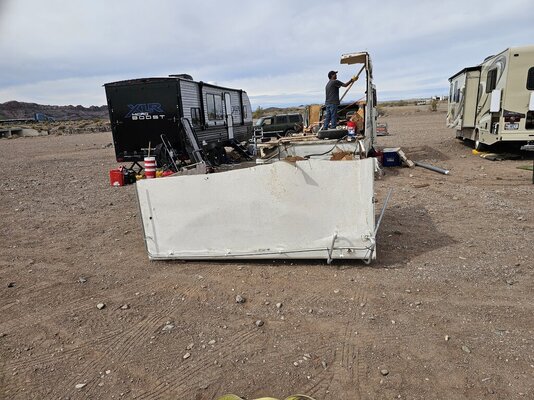
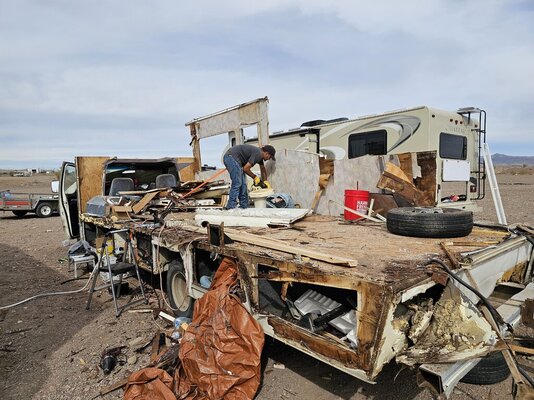
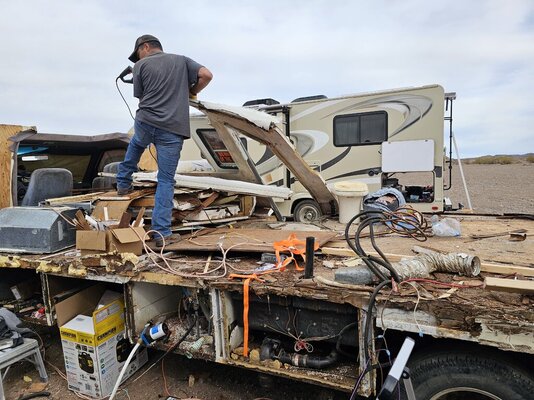
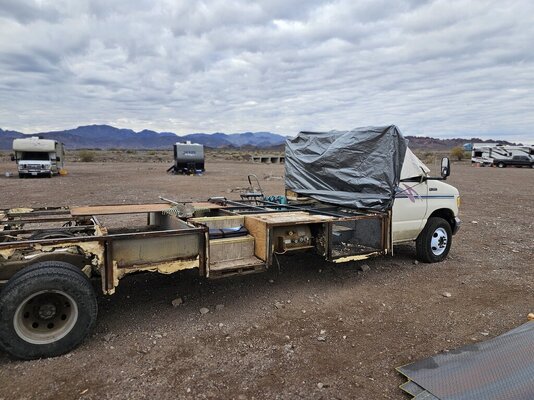
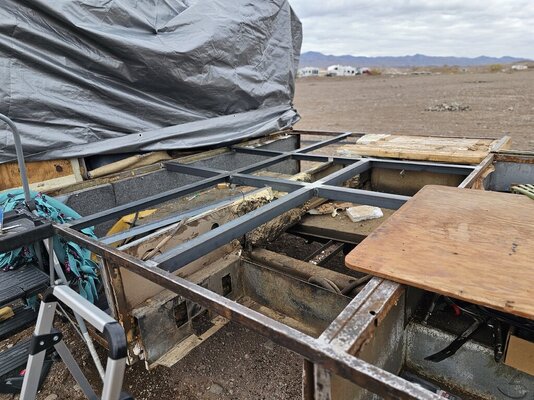
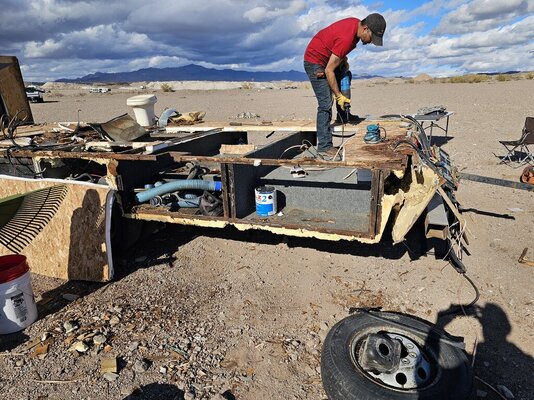
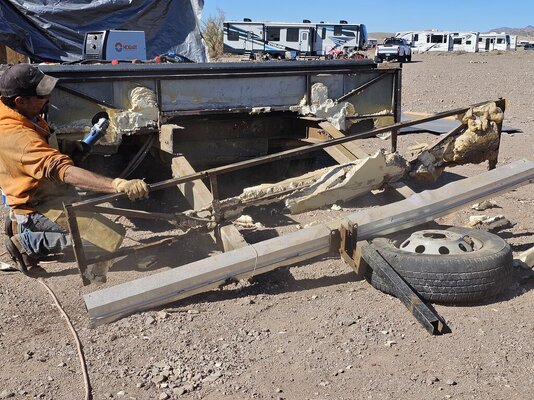
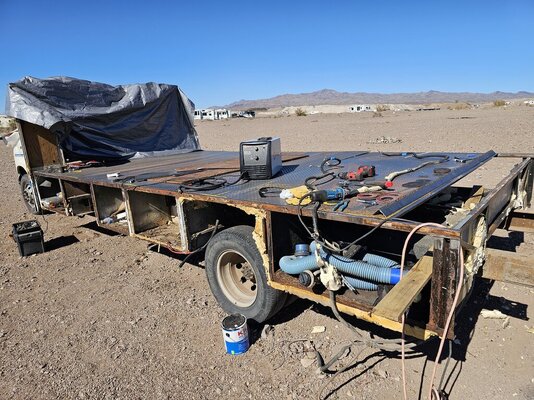
He is in the process of removing everything from the floor up except the cab on a E-350 Ford.

Basically, returning it to the condition of a cutaway van chassis.

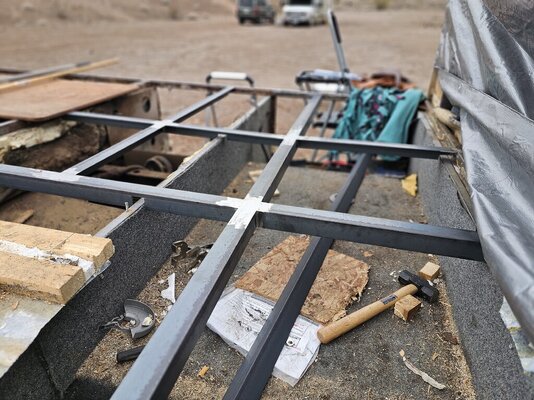
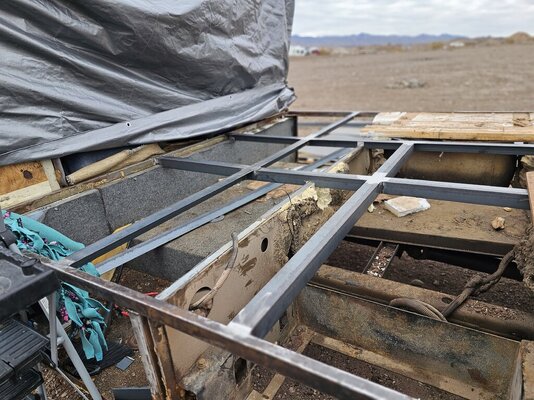
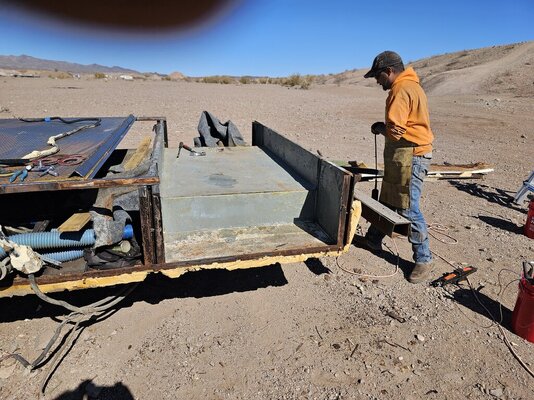
The project is to convert it to a work vehicle with a diamond plate flat bed, holding all sorts of components such as work cabinets, tool boxes, a welder, generator, and air compressor.

It is currently 28 feet long and he is removing the rear extension to shorted it by about four feet.

He has the ability to do all this and showcase his work with the welding and construction of this work vehicle.

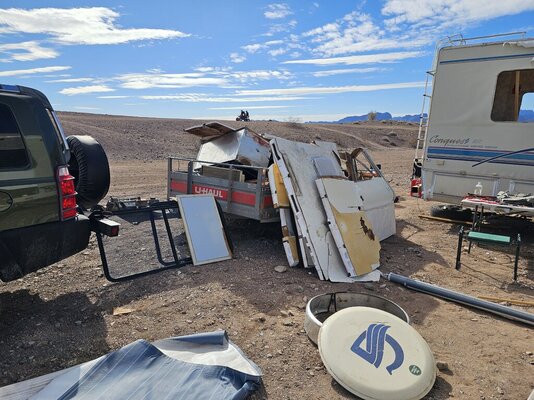
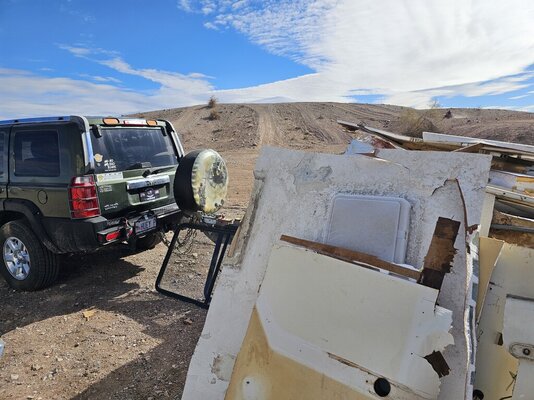
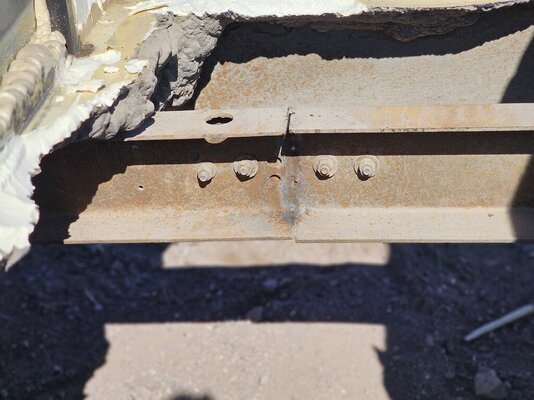
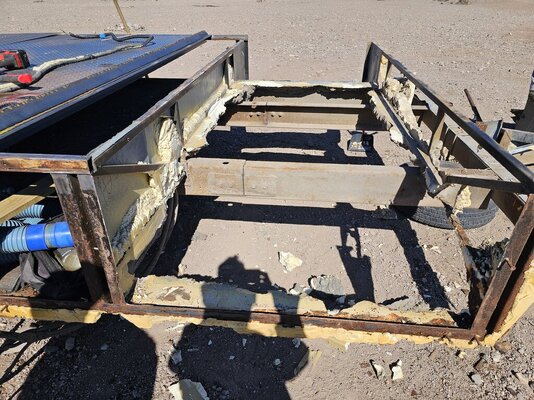
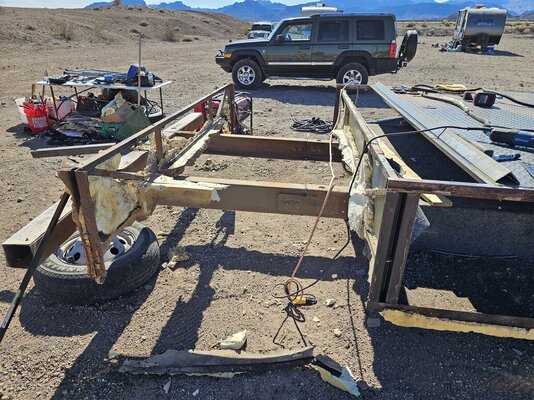
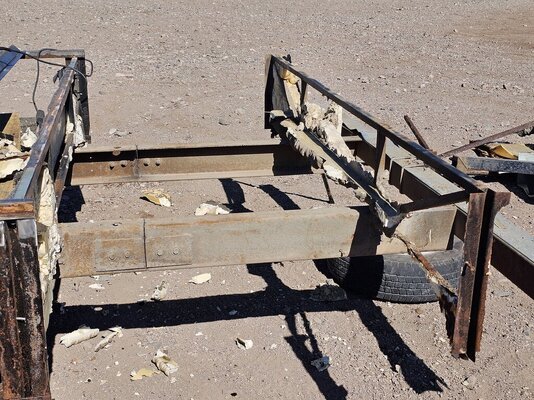
Here are a few pictures of it as demo begins, and I will update the project as develops.
 

Attachments

  • 20240203_105406.jpg
    20240203_105406.jpg
    270.3 KB · Views: 37
  • 20240203_105420.jpg
    20240203_105420.jpg
    214.8 KB · Views: 36
Here are some pictures of the first days progress.
 

Attachments

  • 20240203_150102.jpg
    20240203_150102.jpg
    313.7 KB · Views: 36
  • 20240203_105420.jpg
    20240203_105420.jpg
    214.8 KB · Views: 33
  • 20240203_174152.jpg
    20240203_174152.jpg
    237.9 KB · Views: 35
  • 20240203_174212.jpg
    20240203_174212.jpg
    179.5 KB · Views: 37
  • 20240203_174217.jpg
    20240203_174217.jpg
    185.6 KB · Views: 37
  • 20240203_174227.jpg
    20240203_174227.jpg
    235.8 KB · Views: 39
  • 20240203_175512.jpg
    20240203_175512.jpg
    201.3 KB · Views: 38
Wouldn't it be quicker just to drive it under an 8 foot bridge?

Considering there are so many Class C's where the overhead bunk rots out I could see making a business of converting them into work trucks or dedicated flat bed 5th wheel tow vehicles.

People won't touch a 15 year old Class C with 20,000 miles but they'll snap up 15 year old pickup trucks with 200,000 miles in a heartbeat. Basically the same drivetrain. There are laws about rolling back odometers but how about forward? Just roll the odometer forward to 120,000 miles to make them think they're getting a he** of a bargain.
 
Here are some pictures that show the construction of the roof and walls.

The guys used a sawsall to cut out section including the aluminum cross beams and took the material out in sections small enough to handle.
 

Attachments

  • 20240204_110847.jpg
    20240204_110847.jpg
    148.3 KB · Views: 18
  • 20240204_110849.jpg
    20240204_110849.jpg
    146.9 KB · Views: 18
  • 20240204_110854.jpg
    20240204_110854.jpg
    191.1 KB · Views: 17
  • 20240204_110906.jpg
    20240204_110906.jpg
    214.4 KB · Views: 17
  • 20240204_110912.jpg
    20240204_110912.jpg
    226.7 KB · Views: 18
We are working on this project in the BLM land south of town and will leave no trace of anything when we are done.

We are hauling the pieces to the dump on a flat bed trailer, (several loads), and it only cost $25 a load.

I guess you could say that we are remodeling on the BLM land. No problem and we do have a peanut gallery at times watching.
 

Attachments

  • 20240204_110926.jpg
    20240204_110926.jpg
    172.9 KB · Views: 15
  • 20240204_111659.jpg
    20240204_111659.jpg
    220.5 KB · Views: 16
  • 20240204_111716.jpg
    20240204_111716.jpg
    181.1 KB · Views: 16
The plywood floor will be removed and cross beams welded then covered with diamond plate.

Diamond plate will also be used to replace the under floor compartments.

All the above deck items will be either welded in place or attached like the generator and Welder.

This vehicle will be a great example of Chris's welding ability.

The removal of the rear bolt on extension common to many Class Cs will be make the receiver solid. The receiver will be welded to the solid frame with a cross frame member for strength.
 
Last edited:
Bill, Thanks for sharing the conversion.

removal of the rear bolt on extension common to many Class Cs
Please take lots of pictures of the extension removal. Maybe the only opportunity for most/many of us to see how Class C's are lengthened.

Jennifer
 
Please take lots of pictures of the extension removal. Maybe the only opportunity for most/many of us to see how Class C's are lengthened.

Jennifer
Under mine the frame is a C channel and was lengthened with 3" angle iron into a V shape to the rear. 5,000 lbs rating. Strong but not as strong.
 
Neat project, Bill! I did something similar when I was living in WA. I had a Class C motorhome on a Ford E350 with 35,000 miles on it and gave it to a friend of Cindy's uncle. In return he fabricated a tow bar baseplate for my newly purchased Bronco II. Took him a couple of hours and some scrap iron to make the baseplate and it lasted 15 years until I got rid of the car.

The motorhome came from Arizona and had numerous water leaks that became apparent as soon as I took it to rainy WA and pretty much ruined the house part before I could seal them up. The friend had a Ford pickup with a worn out drivetrain. He cut off the front part of the cab, pulled the engine and transmission out through the front as a single unit and installed them in his pickup. Then he junked the motorhome.

Back in the '90s when Cruise America started out, when it was time to refresh their rental fleet they would transplant their Class C motorhome bodies onto a new cab and chassis, then enclose the old cab with a fiberglass rear cap and sold it as a cab and chassis unit. Eventually they figured out it was simpler just to sell the complete motorhome and replace it with an entirely new unit.
 
Sunday's progress involved removing the remainder of the structure that was above the floor line.

Sections were cut out using a sawzall, and loading them on the utility trailer,

One interesting thing was the removal of the entire rear cap using a strap and the Jeep to literally pull it off the rear section of the RV in one piece.

Here are some progress pictures in the next few posts.
 

Attachments

  • 20240204_110854 - Copy.jpg
    20240204_110854 - Copy.jpg
    191.1 KB · Views: 22
  • 20240204_111716 - Copy.jpg
    20240204_111716 - Copy.jpg
    181.1 KB · Views: 20
  • 20240205_114003.jpg
    20240205_114003.jpg
    196.4 KB · Views: 20
  • 20240205_120239.jpg
    20240205_120239.jpg
    243.5 KB · Views: 22
  • 20240205_120422.jpg
    20240205_120422.jpg
    185.9 KB · Views: 23
More pictures:
 

Attachments

  • 20240205_120617.jpg
    20240205_120617.jpg
    220.8 KB · Views: 22
  • 20240205_121258.jpg
    20240205_121258.jpg
    210.2 KB · Views: 17
  • 20240205_122140.jpg
    20240205_122140.jpg
    191.3 KB · Views: 21
  • 20240205_124220.jpg
    20240205_124220.jpg
    257.4 KB · Views: 22
The next steps will involve removing all the wood flooring and welding cross members connecting and reinforcing the frame rails and then covering them with diamond plate to create the bed of the truck.

All of the below deck compartments will have diamond plate doors.

The rear frame extension will be removed, shortening the vehicle length by four feet.

A cross frame member at the rear will connect the long factory frame to support and reinforce the tow receiver.

Chris has actual experience building commercial utility work trucks.
 
Update:

Everything above the floor has been removed and taken to the dump.

Chris is in the process of adding steel reinforcement to the bed, to be followed by diamond plate.

I have watched him weld and he is very good at it . He actually worked in the production of work trucks.

The tanks are gone with the exception of the propane tank. He will keep it as a aux tanks similar to when we use a portable propane bottle with an Extend a stay.

He will remove the last section, where the extension bolts on and weld across the main frame members to create a strong rear receiver hitch.

The steps will remain to offer an easy way to access the work deck, and will be trimmed and covered.

The under deck storage compartments are metal and in good shape and will be covered with diamond plate doors.

Here are some pictures of the progress.
 

Attachments

  • 20240209_092639.jpg
    20240209_092639.jpg
    197.1 KB · Views: 25
  • 20240209_092725.jpg
    20240209_092725.jpg
    204.8 KB · Views: 25
  • 20240209_092851.jpg
    20240209_092851.jpg
    211.9 KB · Views: 24
  • 20240209_092544.jpg
    20240209_092544.jpg
    264.4 KB · Views: 25
  • 20240209_092532.jpg
    20240209_092532.jpg
    289 KB · Views: 26
  • 20240209_092639.jpg
    20240209_092639.jpg
    197.1 KB · Views: 26
  • 20240209_092734.jpg
    20240209_092734.jpg
    199.9 KB · Views: 24
  • 20240209_092843.jpg
    20240209_092843.jpg
    221.4 KB · Views: 25
Update:

Most of the deck has diamond plate. The real progress today was the removal of the rear section from the frame extension back.

It is starting to look more like a work truck.

I am posting pictures of the rear area because some of you wanted to see how the extension is usually constructed.

Chris cut the top half of the mending plate that connects the extension to the main frame rails. He then removed all the upper components out of the way.

He was able to stand next to the frame for the final cut to gently cause the extension and bumper to lower to the ground safely.

After welding a cross beam from one of the extensions to the end of the frame rails he will weld in place the receiver and then reattach the bumper.

The rear section above the frame will get diamond plate, taillights and the license plate frame.

All of the diamond plate on the deck.compartment doors. steps and rear cap will be painted with black rustoleum.
 

Attachments

  • 20240207_151921.jpg
    20240207_151921.jpg
    289.4 KB · Views: 23
  • 20240212_134633.jpg
    20240212_134633.jpg
    246.6 KB · Views: 20
  • 20240212_135352.jpg
    20240212_135352.jpg
    142.7 KB · Views: 21
  • 20240212_140037.jpg
    20240212_140037.jpg
    267.1 KB · Views: 21
  • 20240212_140637.jpg
    20240212_140637.jpg
    294.5 KB · Views: 21
  • 20240212_141252.jpg
    20240212_141252.jpg
    303.5 KB · Views: 22
  • 20240212_141611.jpg
    20240212_141611.jpg
    289 KB · Views: 24
  • 20240212_141809.jpg
    20240212_141809.jpg
    252.2 KB · Views: 24
Last edited:
There are others but this company makes different depth cab backs for various Ford, GM, Mercedes, etc Cabs. Might be an easy way to do a neat job of closing in the cab.

Ford 2" Cab Back | Blackhawk Cab Backs

269e2d_586517df090f401fa98ae7d377c4a2a6~mv2.jpg
 

Latest posts

Members online

Forum statistics

Threads
131,990
Posts
1,388,720
Members
137,736
Latest member
Savysoaker
Back
Top Bottom