djw2112
Well-known member
Hi, two weeks ago i finally built my boat dry dock so i can work on the trailer without the boat. I have included pics. Remember that i am not doing this to get my money back out of this project, i know that wont happen, its not for resale. I am doing this so that i can have a dependable boat and trailer to use the rest of my life, then when i am gone ill give it to my sons to use.
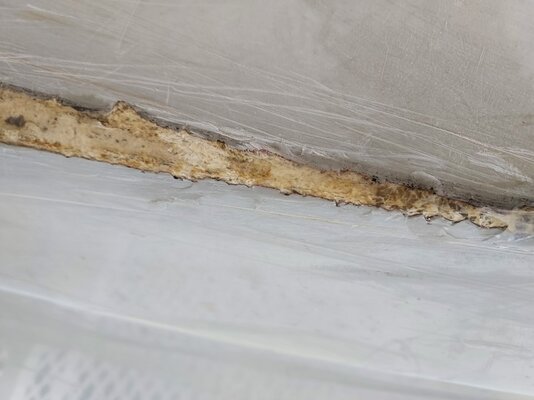
At first i only had it on the straps and the three small supports taking up some of the load. But since i will be under it sanding and stuff to fix a few places in the fiberglass i put it on 4x4 as well for my safety. Yes believe it or not its a all fiberglass basstracker. A boat body guy told me that in the early years of bass tracker before nitro was purchased basstracker had a third party build a few all fiberglass models under the basstracker name. So that means i will have to watch lots of videos about patching fiberglass. Even though i dont have any leaks i still want to fix them. I have also included pics of the bow keel where the largest damage is. It will be a learning process for sure.
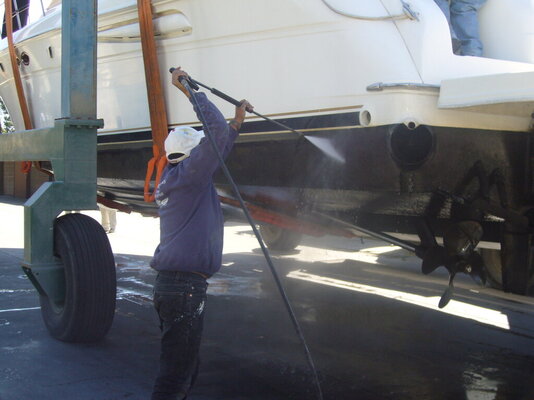
Now the trailer project I put the trailer on its side, then grinded and sanded alot of the rust off, there was a ton of it. Over the last week or so i have learned so much about rust that my brain hurts. I have also learned that it seems every professional has their own "concoction" to use on rust, it drove me nuts. So in the end what i did was i narrowed it down to 3 options to deal with the external rust, and then just picked one according to the budget.
The most expensive option was to use some stuff called por15 POR-15: Professional High Performance Vehicle Restoration Products and i wish i could afford it because it seems to be the best option as well. But i went with option number 2 which was to use the locktite extend rust neutralizer Rust Converter Spray, Extend Rust Neutralizer from Loctite Adhesives
I just knocked off the big lose flakes of the rust with a wire brush, and then put this on there, it seals and neutralizes the rust so you can paint over it. However it does not work on bare metal, so i had to use primer for those parts, and it has to be oil based primer if you choose to paint over this product. I learned that unless the paint can literally says "latex" then it is a oil based primer, i also learned that another way to tell is to look at the clean up process of the primer, if it says "clean up with mineral spirits" then it is a oil based primer. I wish i had known that i did not have to do any grinding as it would have saved me alot of work, but at the time i still did not know what i was going to use and i had not discovered this product yet.
But anyway the bottom of the trailer is rust proofed and painted now, i used a black metal flake paint so i could see where i had painted because the primer was black. The next part of the trailer project is to do something about all the rust on the inside of the trailer tubing. I found this product and its on order Eastwood Internal Frame Coating 14 oz Aerosol its an interal frame coating that you just spray inside the tube and it stops the rust and prevents more rust. I will pressure wash the inside of the tubes first, let it fully dry for a day or so. Then ill spray it, and then run the new wiring harness and put it inside a wire loom to protect it from the sharp parts of the rust inside.
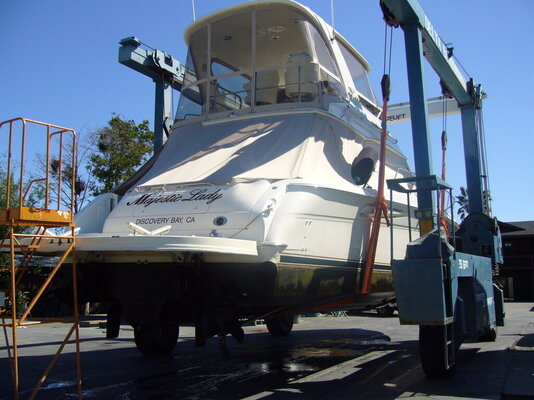
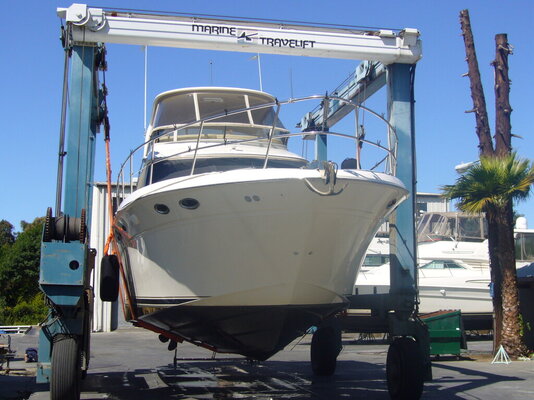
The dry doc lift worked great, the boat is 1400 lbs with the motor (400 lbs). The only thing i had to change is that you can see on the left side of the boat that the straps are not running through the upper rigging brackets. What happened is that i had that bracket bolt on the part of the bracket farthest away from the 4x4 and when i lifted the boat the first time it bent the brackets. If i had done it like the right side, bolt is against the 4x4 (first slot) im sure it would have held. So yes the boat wants to move to the left (lower side) when its lifted.
But as soon as i get done with the trailer and the fiberglass work ill lower the boat back onto the trailer, and be done with the lift for now. Then ill replace those brackets and move the bolt for the next time.
Ok here are some pics....") I will probably have to do two posts for all the pics we will see.
I will probably have to do two posts for all the pics we will see.


At first i only had it on the straps and the three small supports taking up some of the load. But since i will be under it sanding and stuff to fix a few places in the fiberglass i put it on 4x4 as well for my safety. Yes believe it or not its a all fiberglass basstracker. A boat body guy told me that in the early years of bass tracker before nitro was purchased basstracker had a third party build a few all fiberglass models under the basstracker name. So that means i will have to watch lots of videos about patching fiberglass. Even though i dont have any leaks i still want to fix them. I have also included pics of the bow keel where the largest damage is. It will be a learning process for sure.
Now the trailer project I put the trailer on its side, then grinded and sanded alot of the rust off, there was a ton of it. Over the last week or so i have learned so much about rust that my brain hurts. I have also learned that it seems every professional has their own "concoction" to use on rust, it drove me nuts. So in the end what i did was i narrowed it down to 3 options to deal with the external rust, and then just picked one according to the budget.
The most expensive option was to use some stuff called por15 POR-15: Professional High Performance Vehicle Restoration Products and i wish i could afford it because it seems to be the best option as well. But i went with option number 2 which was to use the locktite extend rust neutralizer Rust Converter Spray, Extend Rust Neutralizer from Loctite Adhesives
I just knocked off the big lose flakes of the rust with a wire brush, and then put this on there, it seals and neutralizes the rust so you can paint over it. However it does not work on bare metal, so i had to use primer for those parts, and it has to be oil based primer if you choose to paint over this product. I learned that unless the paint can literally says "latex" then it is a oil based primer, i also learned that another way to tell is to look at the clean up process of the primer, if it says "clean up with mineral spirits" then it is a oil based primer. I wish i had known that i did not have to do any grinding as it would have saved me alot of work, but at the time i still did not know what i was going to use and i had not discovered this product yet.
But anyway the bottom of the trailer is rust proofed and painted now, i used a black metal flake paint so i could see where i had painted because the primer was black. The next part of the trailer project is to do something about all the rust on the inside of the trailer tubing. I found this product and its on order Eastwood Internal Frame Coating 14 oz Aerosol its an interal frame coating that you just spray inside the tube and it stops the rust and prevents more rust. I will pressure wash the inside of the tubes first, let it fully dry for a day or so. Then ill spray it, and then run the new wiring harness and put it inside a wire loom to protect it from the sharp parts of the rust inside.
The dry doc lift worked great, the boat is 1400 lbs with the motor (400 lbs). The only thing i had to change is that you can see on the left side of the boat that the straps are not running through the upper rigging brackets. What happened is that i had that bracket bolt on the part of the bracket farthest away from the 4x4 and when i lifted the boat the first time it bent the brackets. If i had done it like the right side, bolt is against the 4x4 (first slot) im sure it would have held. So yes the boat wants to move to the left (lower side) when its lifted.
But as soon as i get done with the trailer and the fiberglass work ill lower the boat back onto the trailer, and be done with the lift for now. Then ill replace those brackets and move the bolt for the next time.
Ok here are some pics....
I will probably have to do two posts for all the pics we will see.Attachments
Last edited: