HueyPilotVN
Well-known member
New product review
I was talking with Kevin Means about Starlink and discovered that he has developed a mounting system named StaRVector that installs on the roof of a RV.
I had reservations about the existing methods for deploying the system. The setup of either the ground mount or putting up the pole on the ladder after arriving at the destination was not something that I would want to do.
I also sometimes briefly stop and certainly would not go through the setup procedure.
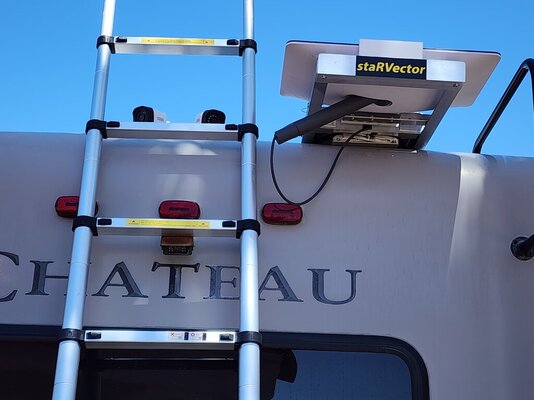
What I really appreciate about his StaRVector mount is that it does not involve any delay or setup time and work prior to being able to use the StarLink system.
The mount does allow for deploying the StarLink using the ground tripod if you ever need to.
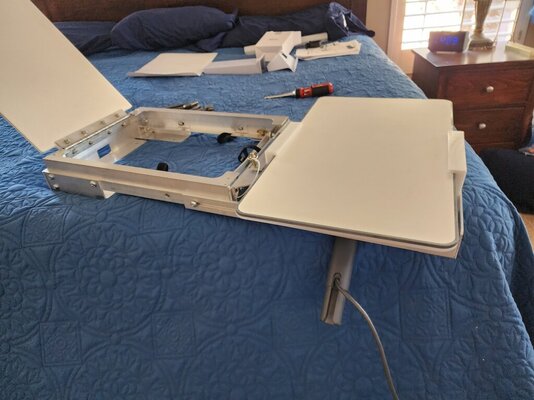
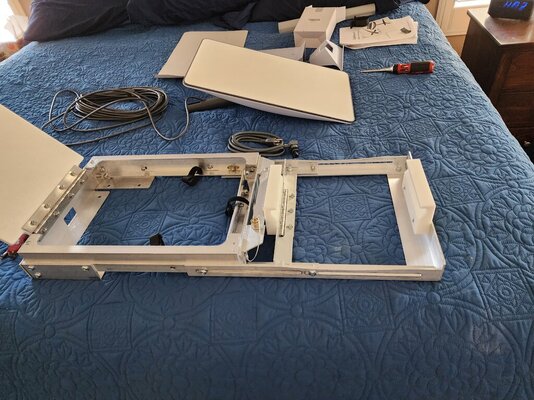
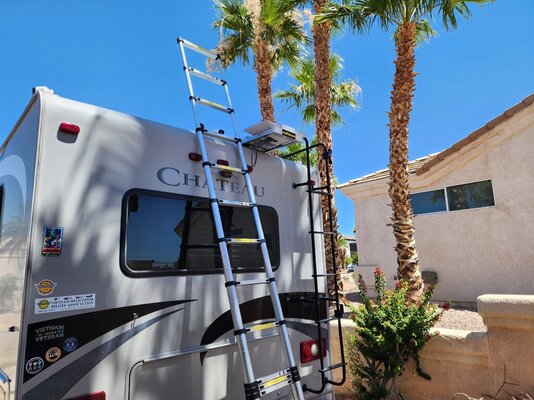
I am going to post pictures and describe the installation of my mount on the roof of my RV. It will take several separate posts to fully describe the mounting system with pictures. I like to use pictures to augment the written descriptions.
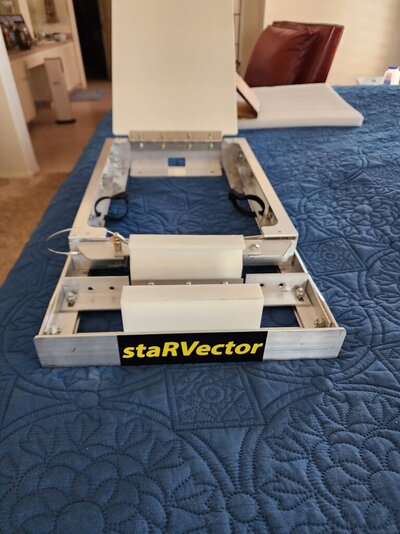
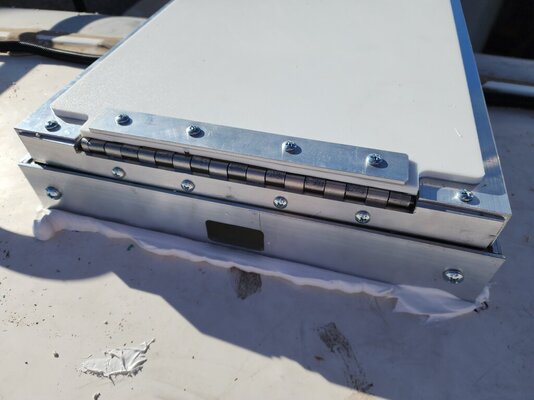
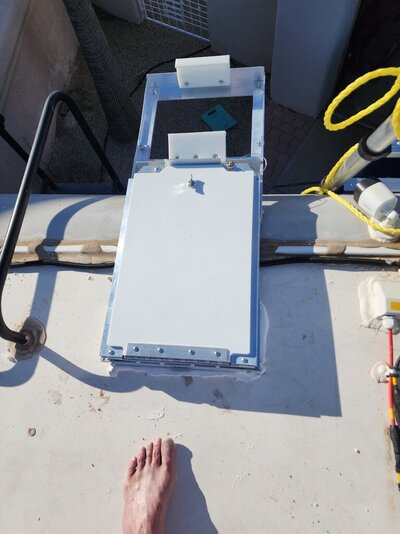
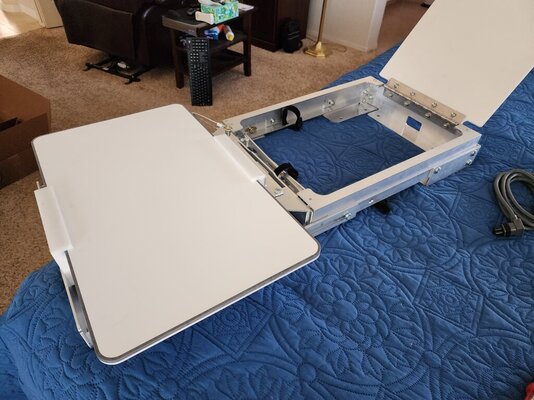
The mount is very well constructed using CNC machined aluminum and a high technology plastic material to clamp the antenna in place without any metal contact interference.
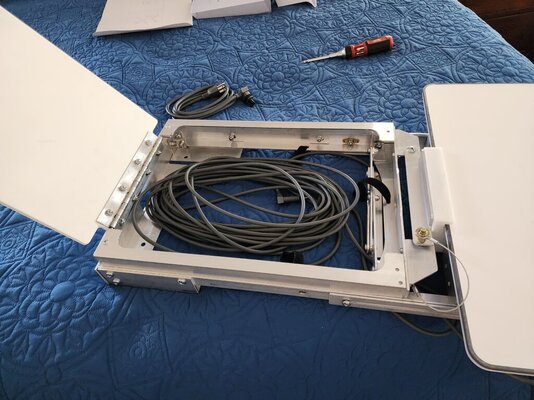
It also has a storage compartment for the excess cable that can be used for remote deployment off the roof.
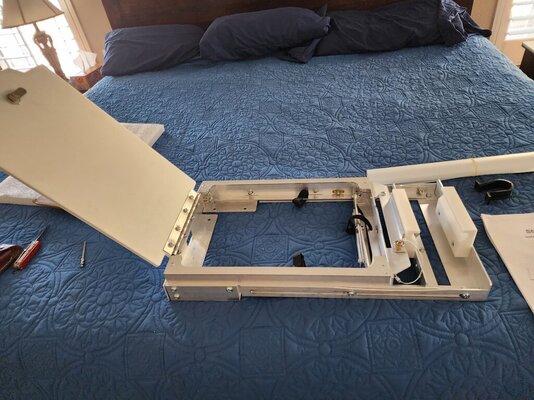
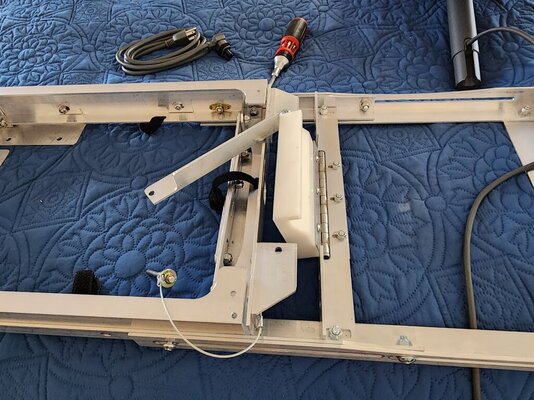
The mount uses a cantilever system similar to the Skywalk at the Grand Canyon.
The mount is secured by toggle bolts and adhesive at the forward base.
The Modem connects by bringing the cable thru the roof with a gland like when installing solar panels.
One of the really nice features of the StaRVector is that this method does not ever require the disconnecting of the cable at either end of the StarLink system even if you do deploy it on the ground.
I received the mount from Kevin over a week ago but had to wait to post this information because he was in the final stages of legal issues regarding his patent application.
I was talking with Kevin Means about Starlink and discovered that he has developed a mounting system named StaRVector that installs on the roof of a RV.
I had reservations about the existing methods for deploying the system. The setup of either the ground mount or putting up the pole on the ladder after arriving at the destination was not something that I would want to do.
I also sometimes briefly stop and certainly would not go through the setup procedure.
What I really appreciate about his StaRVector mount is that it does not involve any delay or setup time and work prior to being able to use the StarLink system.
The mount does allow for deploying the StarLink using the ground tripod if you ever need to.
I am going to post pictures and describe the installation of my mount on the roof of my RV. It will take several separate posts to fully describe the mounting system with pictures. I like to use pictures to augment the written descriptions.
The mount is very well constructed using CNC machined aluminum and a high technology plastic material to clamp the antenna in place without any metal contact interference.
It also has a storage compartment for the excess cable that can be used for remote deployment off the roof.
The mount uses a cantilever system similar to the Skywalk at the Grand Canyon.
The mount is secured by toggle bolts and adhesive at the forward base.
The Modem connects by bringing the cable thru the roof with a gland like when installing solar panels.
One of the really nice features of the StaRVector is that this method does not ever require the disconnecting of the cable at either end of the StarLink system even if you do deploy it on the ground.
I received the mount from Kevin over a week ago but had to wait to post this information because he was in the final stages of legal issues regarding his patent application.
Attachments
Last edited: