OP
OP
John Canfield
Site Team
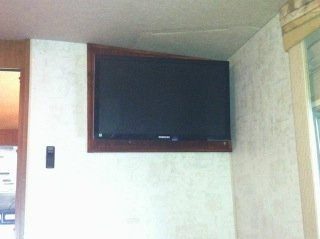
Looks good Dougie! Glad you joined us modern TV owners  .
.
..FrontrangeRVer said:I like Jeff's idea of just putting in a 32" flatscreen in the FRONT of the cutout. I haven't done it yet because I am not in a rush to throw away our perfectly good Sony 26" tube TV, as we aren't fulltiming quite yet.
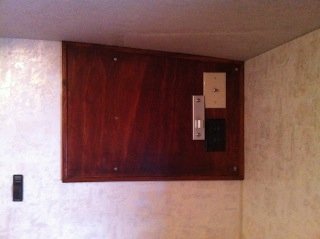
. (I seriously doubt that.) No worries - buy this inexpensive IR repeater and lower the TV back to its original position. I use this product to operate my Sony amp/DVD player and sat receiver that live in a cabinet on the coach.Steve-n-Sue said:....However, the sensor on the TV to recieve the signal from the remote control was buried behind the wood!
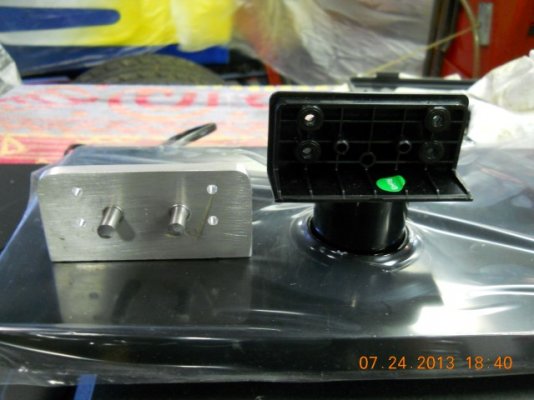
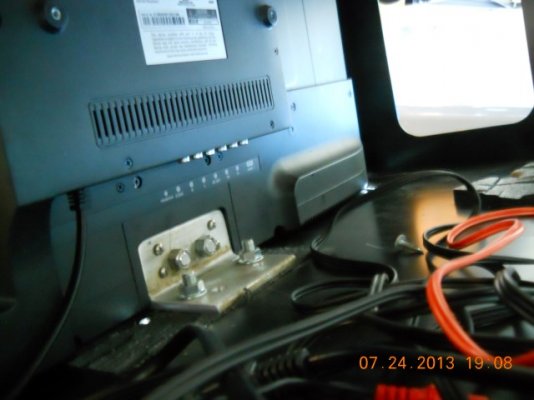
It's not quite that simple. You need to solder a couple of resistors to the speaker leads in the TV to provide a low level line out feature if the replacement TV does not have variable audio out.lwasouth said:..
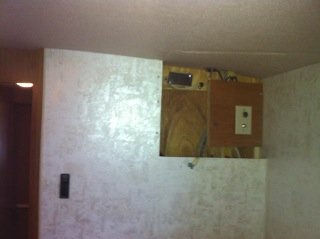
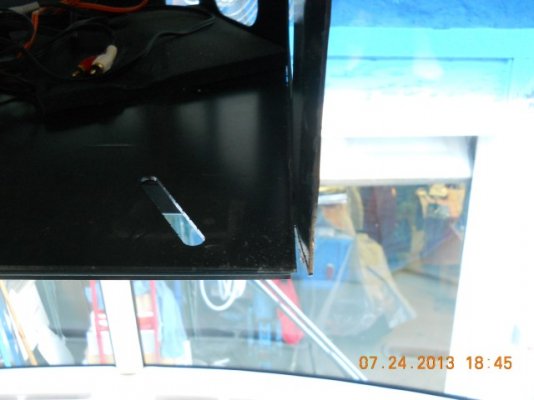
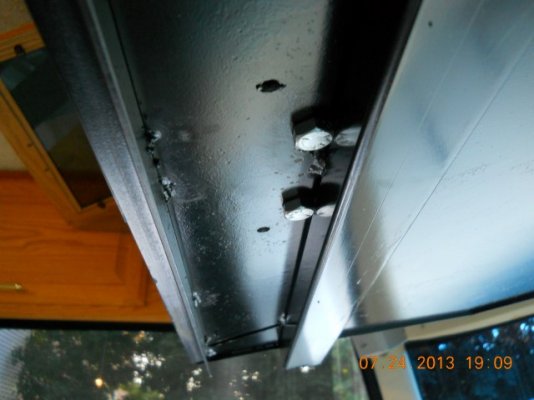
If you have a Winnebago product, or possibly some others " When you remove your existing TV, you will see 2 wires coming out of the back of the case with RCA plugs on the end. (1 ea red and white) When the TV is out lay it on its face and remove the case (Not difficult) You will see the wires to each speaker. Cut them off and pull them through the case. You will have to solder these wires in side the case of your new TV on each speaker. ..
marbilupton said:I have my old CRT ready to slide out as soon as I get an able bodied person to lend me their help. I am puzzled that I haven't found a power cord to the TV yet? Is it possible that it is a 12 volt unit?
You don't say what year and model you have, but it is extremely unlikely your TV is 12V powered.marbilupton said:I have my old CRT ready to slide out as soon as I get an able bodied person to lend me their help. I am puzzled that I haven't found a power cord to the TV yet? Is it possible that it is a 12 volt unit?