justcallfred
New member
- Joined
- Jul 10, 2012
- Posts
- 1
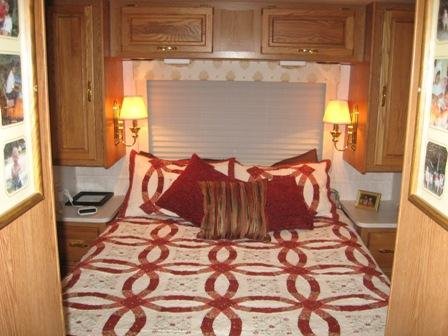
We have a 2000 Fleetwood Discovery 36' motor home. Last year we replaced all the flooring. Now it's time to redo the wall covering in the bedroom and bath. Our windows have day/night shades and a fabric covered box trim around all 4 sides. The cord for the shades attaches to the bottom of this box trim. While we are replacing the wall coverings, we would like to update these window box trims.
Has anyone had success with re-designing these window box trims? If so, please give me hints (do's and don'ts). Did you recreate them in another material (wood, re-covering) or design something entirely new?
Thanks!
Has anyone had success with re-designing these window box trims? If so, please give me hints (do's and don'ts). Did you recreate them in another material (wood, re-covering) or design something entirely new?
Thanks!

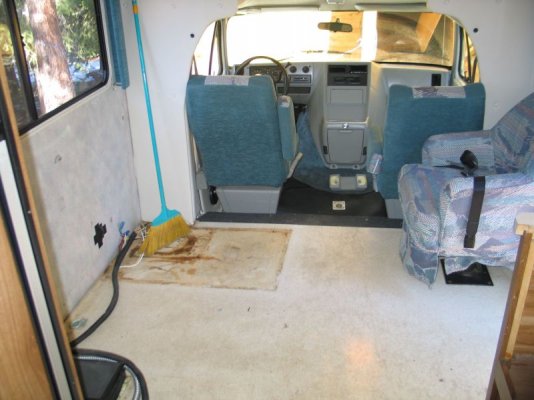
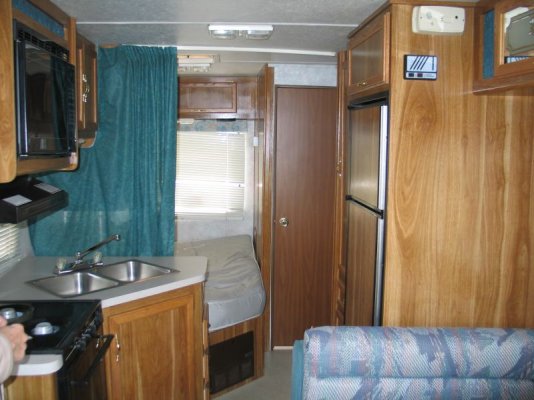
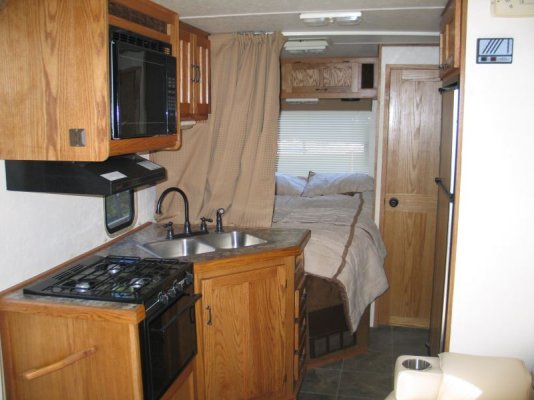
") Thanks for sharing your pics. It gives me an idea........
Thanks for sharing your pics. It gives me an idea........