'02 Skyline Aljo Scout remodel

The friendliest place on the web for anyone with an RV or an interest in RVing!
If you have answers, please help by responding to the unanswered posts.

DeckArtist

Well-known member
Joined
Jan 7, 2023
Posts
397
Location
Elmo, Texas
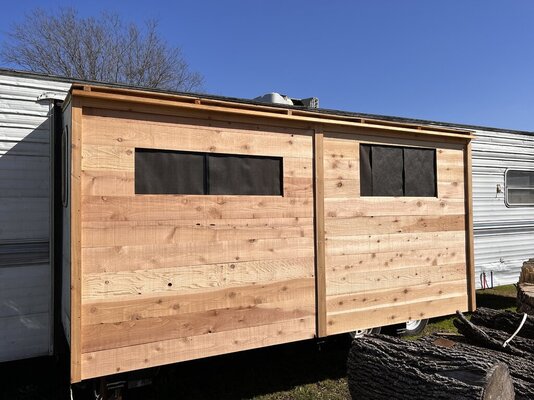
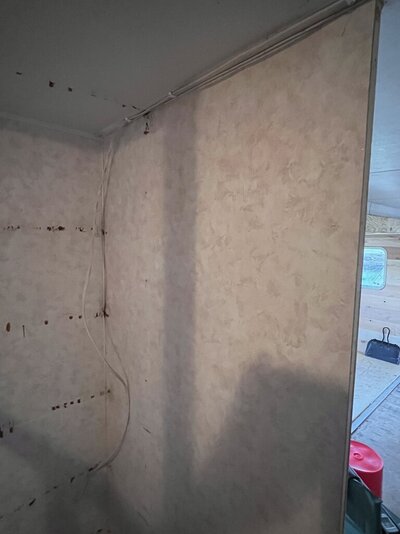
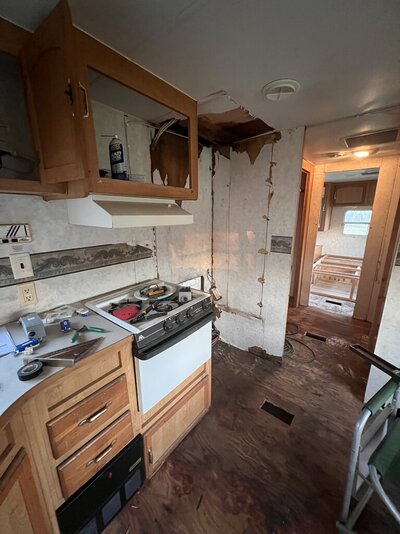
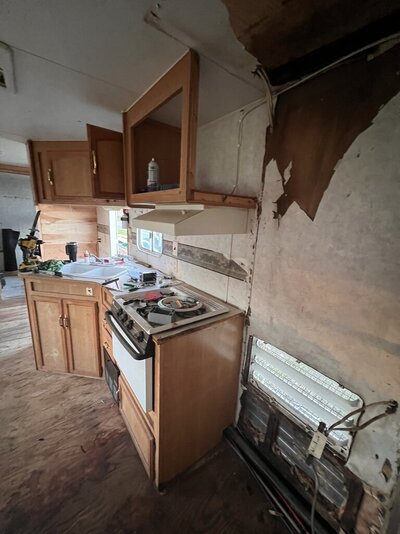
See the demo of the slide out thread here...https://www.rvforum.net/threads/demoed-the-slide-about-50-today.142143/

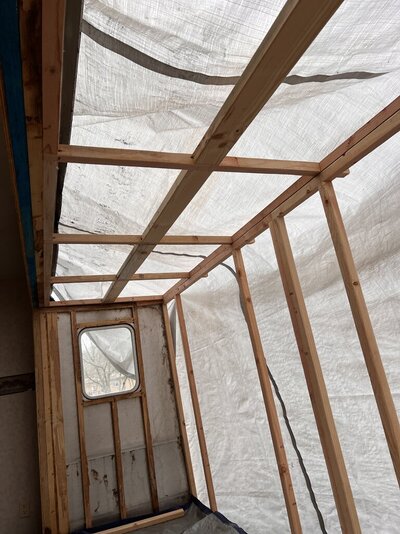
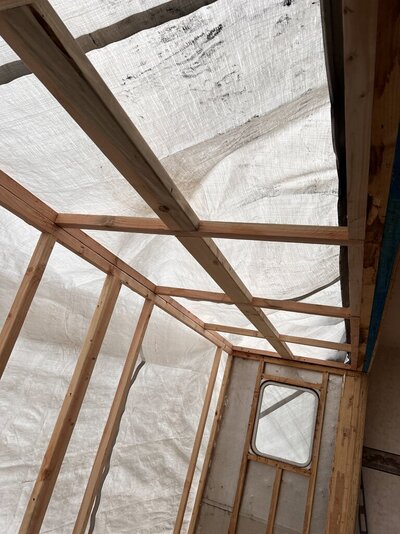
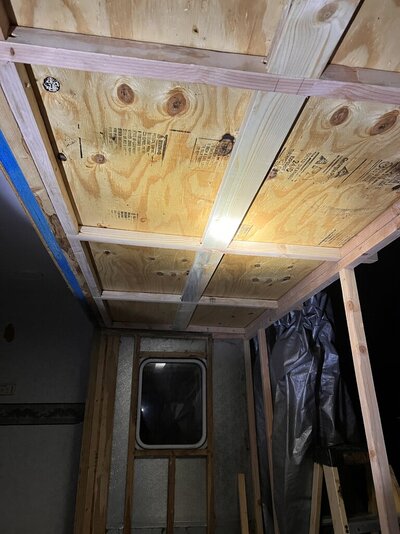
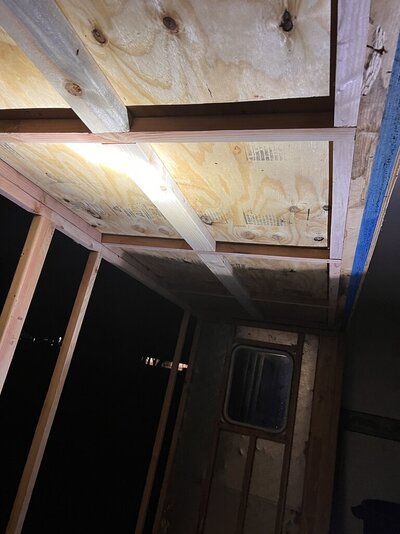
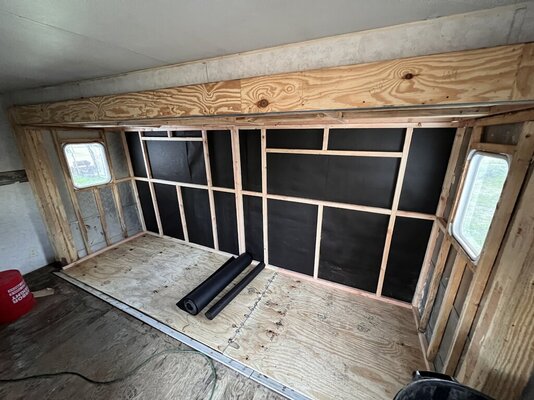
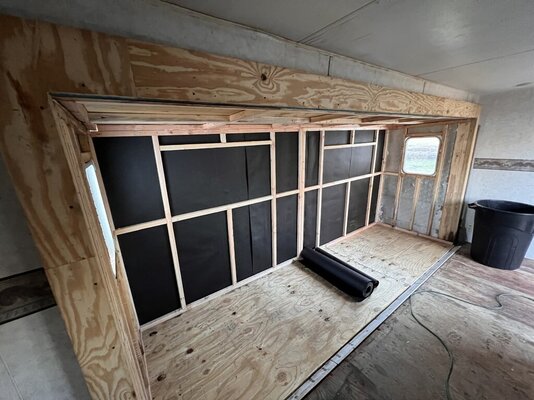
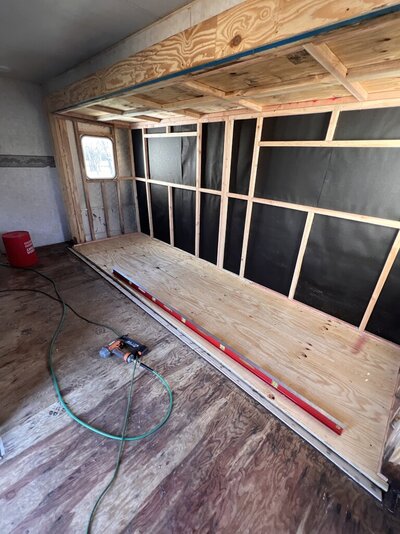
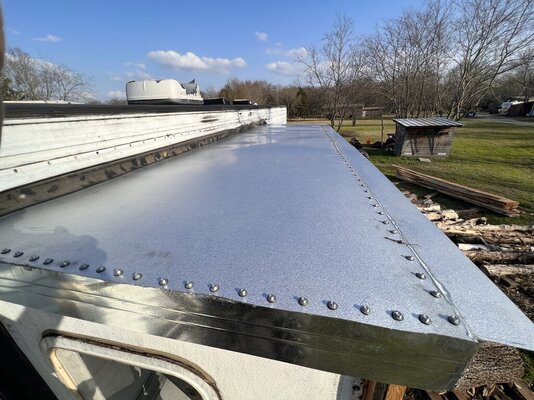
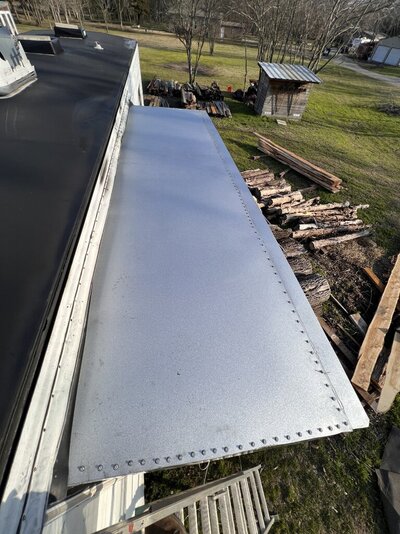
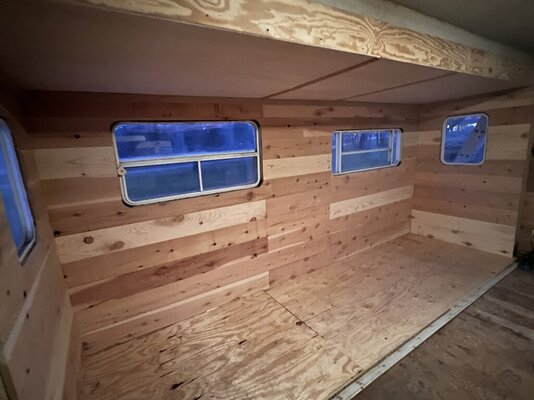
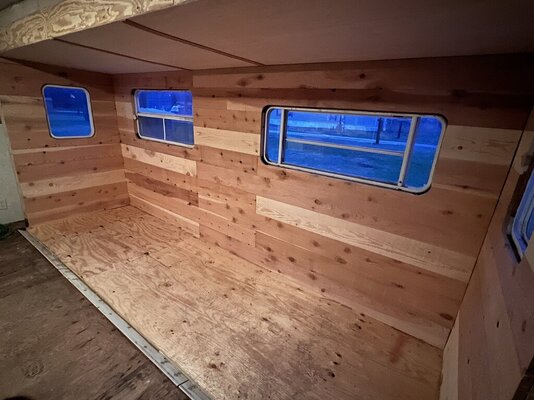
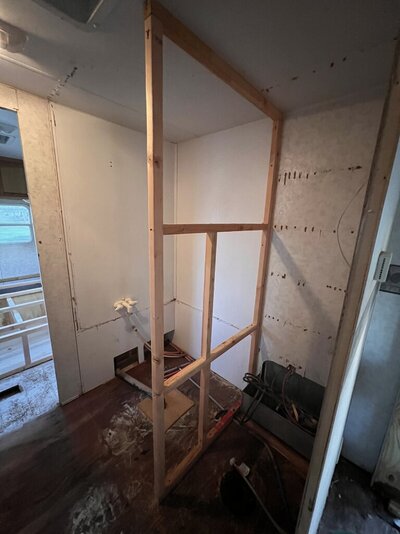
Today I got the rafters up and the grid filled in of cross rafters for the plywood decking 3/8" to be installed. I had hoped to get the plywood on it and the felt paper as well, but the rain started much earlier than the weatherman said [normal for Texas]

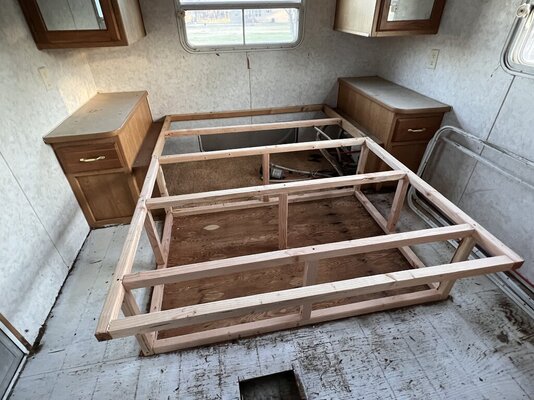
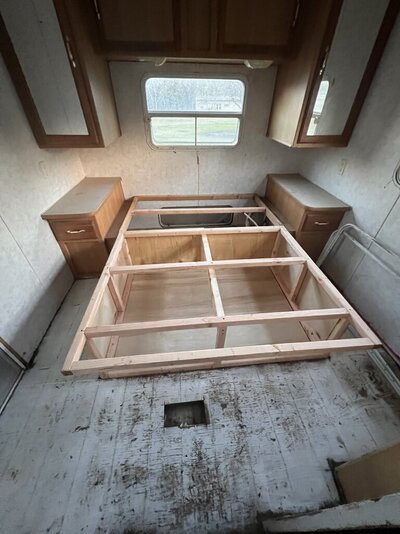
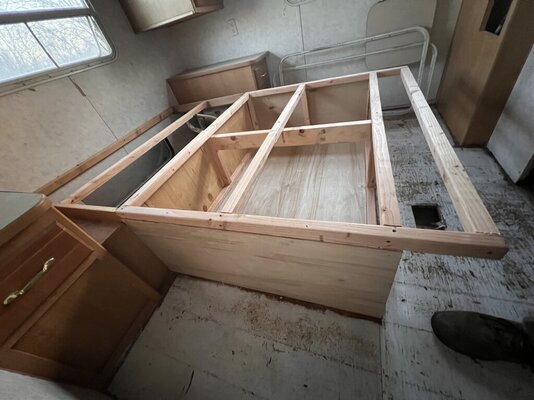
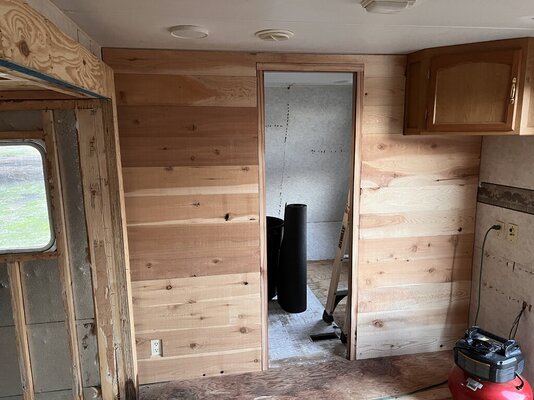
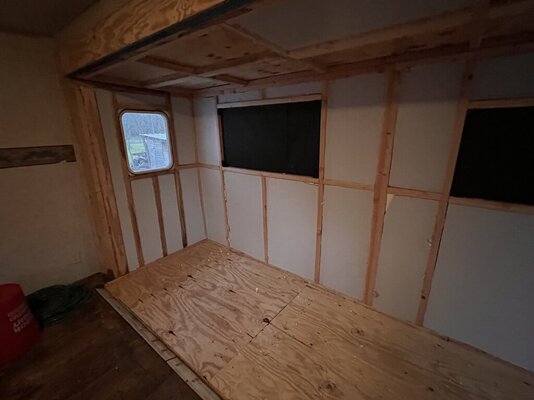
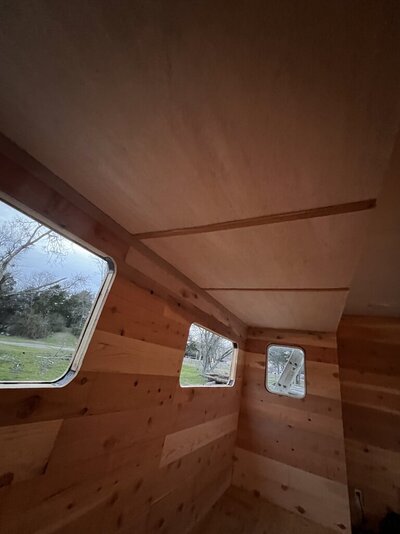
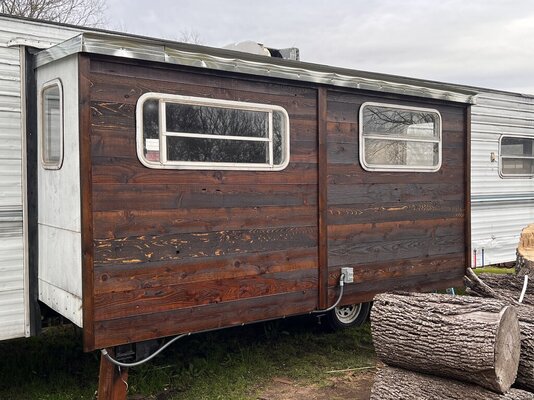
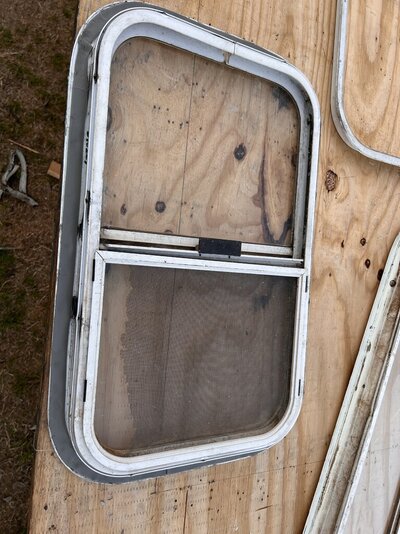
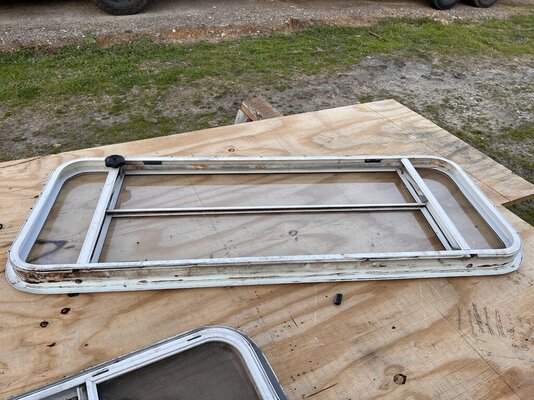
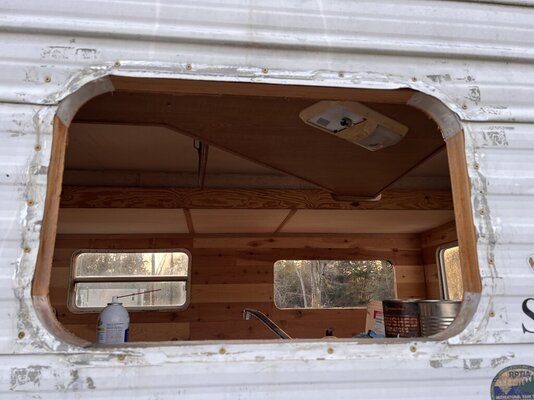
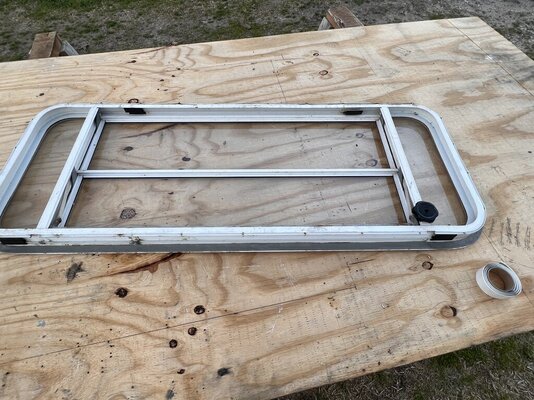
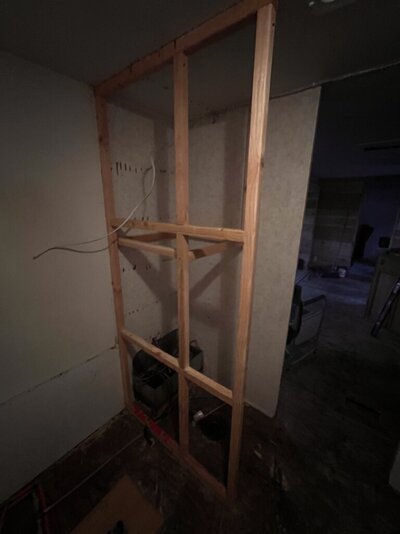
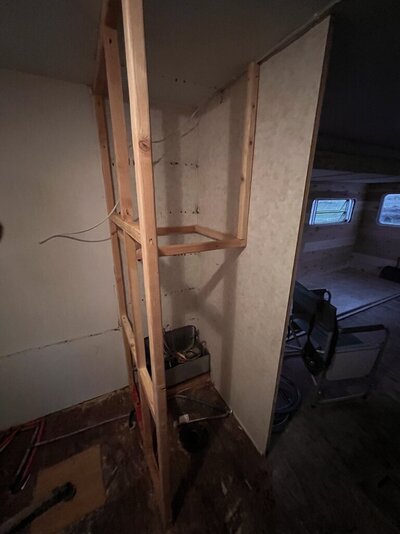
Got the rounded window corner pieces ordered and they will be here this next week. several days of rain and sleet scheduled so I won't get a lot done outside, but I may be able to work inside on the bed frame.
 

Attachments

  • CB6C2295-951C-4A12-B3A9-7F40B97E88EF.jpeg
    CB6C2295-951C-4A12-B3A9-7F40B97E88EF.jpeg
    176.1 KB · Views: 6
  • 85978F84-14F9-47CF-8202-BBB595004DDA.jpeg
    85978F84-14F9-47CF-8202-BBB595004DDA.jpeg
    185.1 KB · Views: 6
So between rain waves I did manage to get the 3/8" plywood decking up and the 30# felt tacked on. Also got the tarp back on over the slideout before the rain started again. It was dark when I got finished
 

Attachments

  • E9D02468-4FA1-4394-A6DD-0655C65A3567.jpeg
    E9D02468-4FA1-4394-A6DD-0655C65A3567.jpeg
    154.7 KB · Views: 5
  • ABEE5EBB-89E6-461F-A503-E5212CD04589.jpeg
    ABEE5EBB-89E6-461F-A503-E5212CD04589.jpeg
    119.8 KB · Views: 5
Finally the ice has melted in Texas and Friday I was able to get back to the Aljo and finish the slideout and bed framing. Yesterday, I found a good deal in FW on Cedar shiplap siding and bought enough for one interior wall and the exterior of the slide. It is virtually the same weight as the metal it is replacing and will be very unique. Not sure what stain I will be using yet. Also got my rounded corners in the mail from Affordable RV!
 

Attachments

  • B1CBB277-D21D-403E-B970-E2E50A753572.jpeg
    B1CBB277-D21D-403E-B970-E2E50A753572.jpeg
    171.3 KB · Views: 10
  • B24CBBB9-440A-434C-B0C2-10FFD5CD3A44.jpeg
    B24CBBB9-440A-434C-B0C2-10FFD5CD3A44.jpeg
    161.2 KB · Views: 9
  • 0B3D682C-B8F3-4479-BB87-D0C6351F2963.jpeg
    0B3D682C-B8F3-4479-BB87-D0C6351F2963.jpeg
    143.7 KB · Views: 10
  • E760F899-E6DE-4D32-8DDE-C2C7A961C4C8.jpeg
    E760F899-E6DE-4D32-8DDE-C2C7A961C4C8.jpeg
    179.4 KB · Views: 10
  • E0C2D83E-4054-4608-B21C-4FACC843F32B.jpeg
    E0C2D83E-4054-4608-B21C-4FACC843F32B.jpeg
    169.6 KB · Views: 11
Outside of the slide-out is clad in cedar shiplap, temporary roll roofing is on the roof [just the slide-out], Liquid Rubber sprayed on the edges where I found a few small tears in the EPDM, one interior wall has the same shiplap and ordered the flat sheet metal for the roof today. Floor has now been doubled to 1 1/4" with the joints staggered and is much better. Bed frame has been closed in on three sides, the end will remain open for a cat hiding place and business records file boxes.

Got home and the rain had begun so I was anxious to see how I did....and....no leaks! Still going to clean the EPDM and roll on Liquid Rubber or Jetcoat at some point, but it isn't imperative just yet.

More shiplap to come as I am doing all three slide-out walls as well...inside will get clear poly and outside will get Dark Walnut Ready Seal.
 

Attachments

  • 572C7527-C7BD-4610-867C-4C480AAFBBAF.jpeg
    572C7527-C7BD-4610-867C-4C480AAFBBAF.jpeg
    171.5 KB · Views: 12
  • 9ABAF010-CAAF-49CB-92B5-1665E92CDE87.jpeg
    9ABAF010-CAAF-49CB-92B5-1665E92CDE87.jpeg
    170.6 KB · Views: 11
  • F9D88751-EEA6-4B1E-8675-A718CA20FBA9.jpeg
    F9D88751-EEA6-4B1E-8675-A718CA20FBA9.jpeg
    131.9 KB · Views: 10
  • 1EF8C758-1515-4311-934F-8C554037D234.jpeg
    1EF8C758-1515-4311-934F-8C554037D234.jpeg
    119.9 KB · Views: 10
  • 46831E68-117A-48E3-86CE-5FEFDF4A12C3.jpeg
    46831E68-117A-48E3-86CE-5FEFDF4A12C3.jpeg
    158.7 KB · Views: 11
Yesterday the roofing panels went on...26 gauge R-panel base metal [flat roll], two layers to cover the whole 45". [It comes in a 43" roll width]. Doubled it up to get a 3" overhang. Since it will only get moved twice from here on out, the lack of a vertical and horizontal flange to seal against the main body of the RV is not an issue.

Today I got the majority of the foil backed R-5 insulation in. Only a few panels left to fill tomorrow in the ceiling. Tomorrow I am picking up the rest of the cedar shiplap for the inside of the walls of the slideout. Inside will get clear sealer, outside will get Dark Walnut Ready Seal stain.
 

Attachments

  • 9212B76E-588F-40A6-8CB1-BF1A271CC09A.jpeg
    9212B76E-588F-40A6-8CB1-BF1A271CC09A.jpeg
    210.2 KB · Views: 11
  • A355E6AE-13DF-4A8B-B924-C2A8B121DB60.jpeg
    A355E6AE-13DF-4A8B-B924-C2A8B121DB60.jpeg
    216.9 KB · Views: 11
  • E72B303F-6A09-4F76-82F4-A130A34A2C27.jpeg
    E72B303F-6A09-4F76-82F4-A130A34A2C27.jpeg
    87.9 KB · Views: 11
  • F732FACB-29F4-4763-AE04-2C089CD8A94C.jpeg
    F732FACB-29F4-4763-AE04-2C089CD8A94C.jpeg
    84.2 KB · Views: 11
  • A8264A7E-C493-43D9-8C7A-559993142F51.jpeg
    A8264A7E-C493-43D9-8C7A-559993142F51.jpeg
    81.1 KB · Views: 11
Should be finished with the shiplap in the slideout by lunchtime tomorrow.
 

Attachments

  • 664644F3-052E-4872-9346-2544503C4830.jpeg
    664644F3-052E-4872-9346-2544503C4830.jpeg
    144.3 KB · Views: 8
  • D18B6807-C17C-4D34-A682-C1892A0003FA.jpeg
    D18B6807-C17C-4D34-A682-C1892A0003FA.jpeg
    116.8 KB · Views: 8
The woodworking is now almost complete. Once the flooring [sheet vinyl] goes in, I will add the White Oak base molding to match the White Oak trim under the ceiling. I used Lauan plywood for the ceiling [Almost $30 a sheet?] with cedar strips over the joiner area and a second strip to match.

Staining tomorrow if the sawmill work goes quickly. Have a five log job to cut.
 

Attachments

  • 19D66796-A72F-4F1C-8A2F-D427BF93D12B.jpeg
    19D66796-A72F-4F1C-8A2F-D427BF93D12B.jpeg
    76.7 KB · Views: 9
  • 3A74D117-BB07-4929-AE62-02388EC0D95F.jpeg
    3A74D117-BB07-4929-AE62-02388EC0D95F.jpeg
    72.5 KB · Views: 9
  • A3532799-7FF7-4667-BD80-E88E93EE71D4.jpeg
    A3532799-7FF7-4667-BD80-E88E93EE71D4.jpeg
    125.5 KB · Views: 9
  • 0DB1F4CE-9D09-4CAD-9C6D-D97511EE0CCE.jpeg
    0DB1F4CE-9D09-4CAD-9C6D-D97511EE0CCE.jpeg
    148.6 KB · Views: 9
I figure i am up about 200 pounds or so. Cedar is very light, especially when it is kiln dried like the shiplap is. I doubt that will be a problem since the slide is designed to move in and out with the storage compartment full, something I have eliminated.
 
Today I ran the electrical from the corner of the slideout to the outside, then straight through the wall to the inside where the original plug was. I didn't want to run it through the wall from the corner like it had been because I am a freak for exterior plugs being on both sides of the RV.

But first I stained the exterior cedar shiplap. I couldn't decide between Dark Walnut or Burnt Hickory, so....I did two coats using both colors. First up was Dark Walnut, then Burnt Hickory. Custom color if you will.
 

Attachments

  • 1065161C-7F00-484B-B45A-8A977ED40A9C.jpeg
    1065161C-7F00-484B-B45A-8A977ED40A9C.jpeg
    206.5 KB · Views: 12
Today I reset the five windows that needed new butyl tape and got them caulked in around the perimeter. It is going to rain early this morning and I wanted it dried in. Also got another bit of FlexTape up top on the only crack in the EPDM left to cover. I had sprayed it with liquid rubber, but then I saw the label that said do not use on EPDM so I thought I better cover it.

I wish I had time to paint all the window frames black but I don't.
 

Attachments

  • C25C9511-EA70-4291-A3B8-AE6B5F3E00C4.jpeg
    C25C9511-EA70-4291-A3B8-AE6B5F3E00C4.jpeg
    196.9 KB · Views: 5
  • B7A633C6-ED61-4435-97A2-A69CA63D2CC8.jpeg
    B7A633C6-ED61-4435-97A2-A69CA63D2CC8.jpeg
    226.1 KB · Views: 5
  • 56563D7E-3D80-4EC2-9666-963F39306184.jpeg
    56563D7E-3D80-4EC2-9666-963F39306184.jpeg
    116.9 KB · Views: 5
  • 674D4056-9320-482E-BD1C-685480B6D176.jpeg
    674D4056-9320-482E-BD1C-685480B6D176.jpeg
    209.3 KB · Views: 5
Last edited by a moderator:
Today after work I got the electrical run for the new water heater and framed the shower wall and water heater shelf. Also demo'ed the wall to the left of the fridge and will leave it out of the new plan since I am going to have a different fridge, a 13.5 cu.ft. home unit.
 

Attachments

  • BA308256-1609-4E9D-A71E-8C2CA593B771.jpeg
    BA308256-1609-4E9D-A71E-8C2CA593B771.jpeg
    76.7 KB · Views: 10
  • 4937F459-FC90-4561-B328-228FB213FBEF.jpeg
    4937F459-FC90-4561-B328-228FB213FBEF.jpeg
    92.4 KB · Views: 10
  • 8AA1B527-0913-494D-81F5-1E03ADF5A3F2.jpeg
    8AA1B527-0913-494D-81F5-1E03ADF5A3F2.jpeg
    90.3 KB · Views: 10
  • B3205C01-3013-41C6-A028-8DF438A0B477.jpeg
    B3205C01-3013-41C6-A028-8DF438A0B477.jpeg
    82.7 KB · Views: 10
  • 4C75983E-30E2-47A9-85E2-6DA9B38E4ADC.jpeg
    4C75983E-30E2-47A9-85E2-6DA9B38E4ADC.jpeg
    135.3 KB · Views: 10
  • EE82D852-FF2E-47A2-9539-407BA002EBB4.jpeg
    EE82D852-FF2E-47A2-9539-407BA002EBB4.jpeg
    119.2 KB · Views: 10
  • 7C4BC3CF-3AD0-4C05-822B-DF5599371BAC.jpeg
    7C4BC3CF-3AD0-4C05-822B-DF5599371BAC.jpeg
    101.1 KB · Views: 10
  • 84046F9E-EFE0-4133-9838-BF1209ABAAC8.jpeg
    84046F9E-EFE0-4133-9838-BF1209ABAAC8.jpeg
    61.7 KB · Views: 9
  • F947D44D-BF93-4CAD-8EB9-44F57B7AB379.jpeg
    F947D44D-BF93-4CAD-8EB9-44F57B7AB379.jpeg
    82.2 KB · Views: 10

Latest posts

Forum statistics

Threads
131,990
Posts
1,388,722
Members
137,736
Latest member
Savysoaker
Back
Top Bottom