1989 Fleetwood Limited Remodel with Pictures

The friendliest place on the web for anyone with an RV or an interest in RVing!
If you have answers, please help by responding to the unanswered posts.
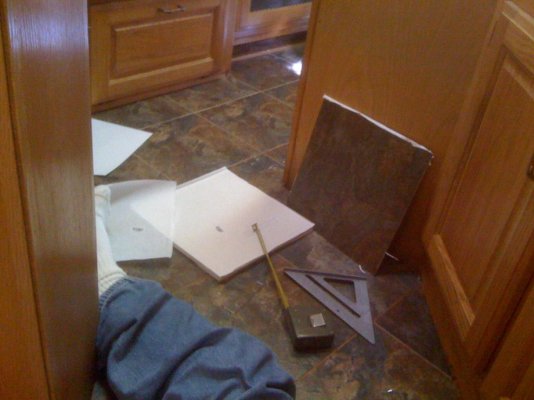
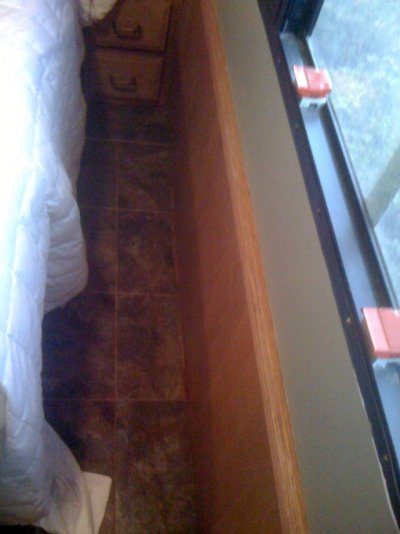
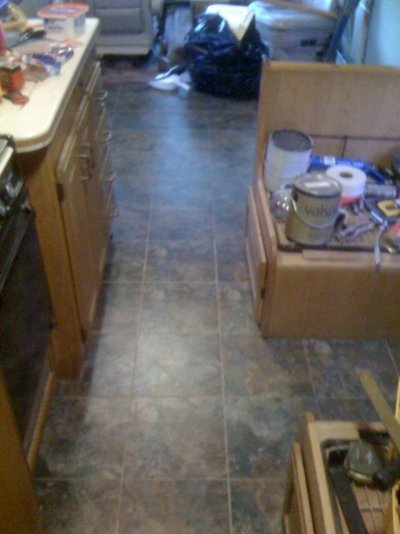
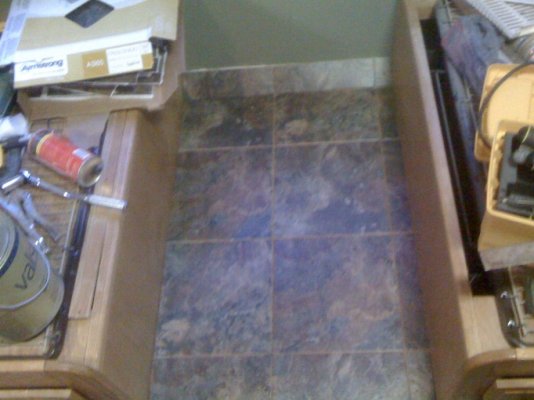
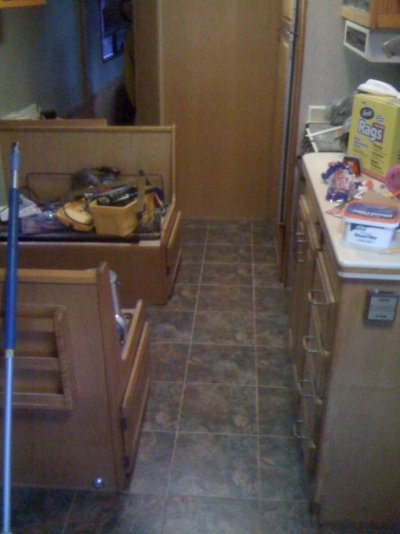
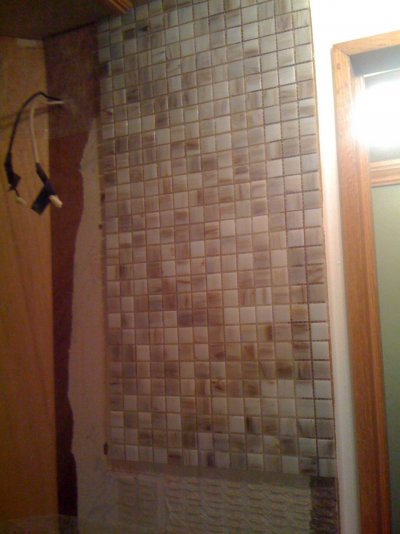
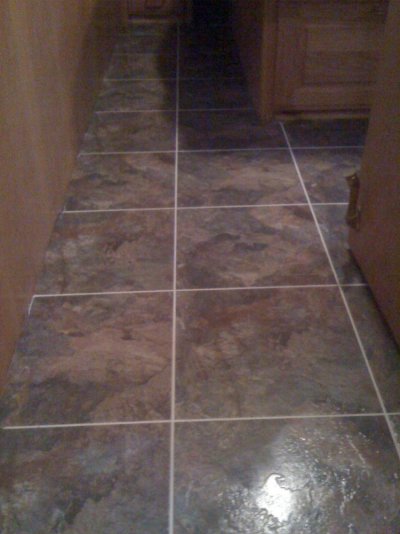
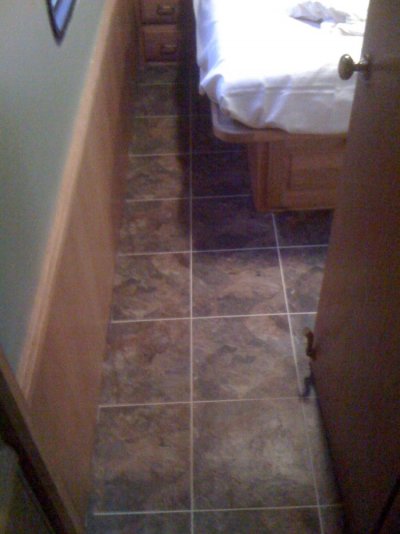
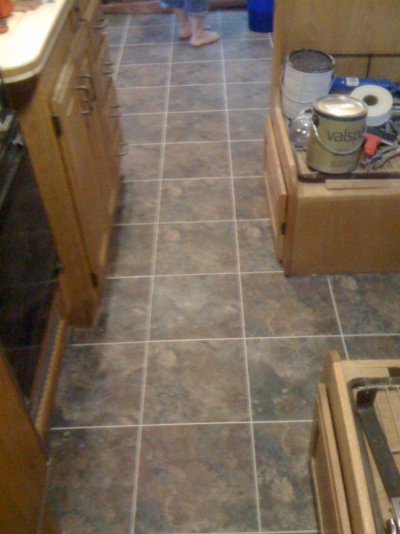
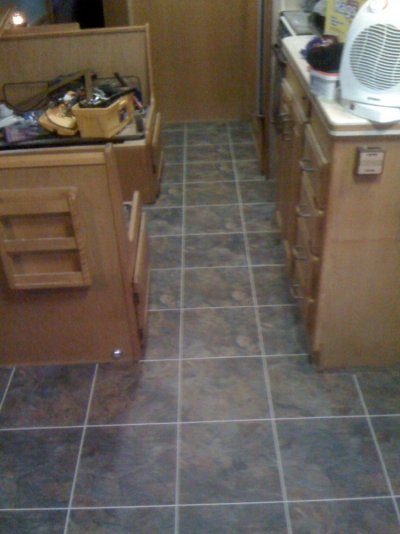
Nope. It's actually a vinyl 12x12 tile made by Armstrong. This particular tile is made to allow grouting if desired. We wanted a realistic tile look with out the added work or weight. When you feel the surface of these tiles, it even feels like a real tile. We finished everything except the bathroom today. So tomorrow we will finish off bathroom and grout the whole thing. We are on our way to home depot now to pick up a few more items. Also have to finish off entry stairs. Pics to come when I get home.
 
Heres some pictures of our work today.
 

Attachments

  • IMG_1049.jpg
    IMG_1049.jpg
    135 KB · Views: 172
  • IMG_1052.jpg
    IMG_1052.jpg
    131.2 KB · Views: 168
  • IMG_1053.jpg
    IMG_1053.jpg
    139.8 KB · Views: 151
  • IMG_1054.jpg
    IMG_1054.jpg
    111.3 KB · Views: 139
  • IMG_1055.jpg
    IMG_1055.jpg
    118.2 KB · Views: 114
  • IMG_1056.jpg
    IMG_1056.jpg
    116.8 KB · Views: 115
  • IMG_1057.jpg
    IMG_1057.jpg
    111.2 KB · Views: 138
  • IMG_1058.jpg
    IMG_1058.jpg
    119.2 KB · Views: 140
  • IMG_1059.jpg
    IMG_1059.jpg
    127.2 KB · Views: 157
  • IMG_1060.jpg
    IMG_1060.jpg
    131.4 KB · Views: 149
  • IMG_1061.jpg
    IMG_1061.jpg
    127.2 KB · Views: 168
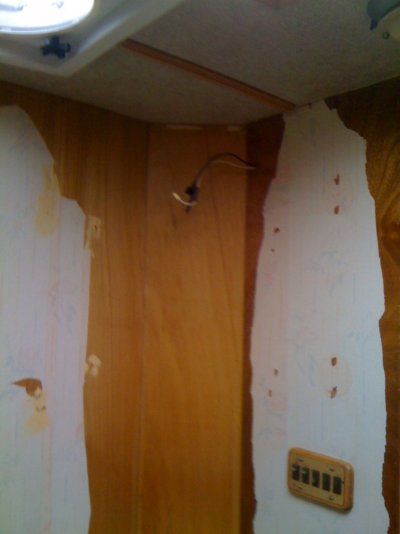
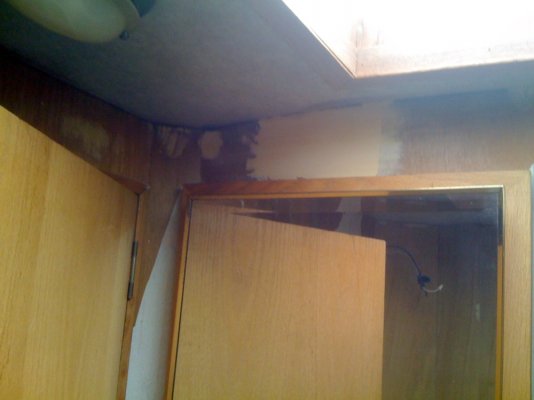
Looks like a lot of work, but it will be nice when done I am sure. I was looking at the pictures of the rv walls. How did you get the contact paper off the walls? I want to take remove our contact paper from the walls but not sure how to do it.
Any advice would be great. 
Scott
 
I really like that.  I wish I had seen it before I put the laminate in.  I'm sure its a lot of work but still has to be easier and fit a lot better then laminate. 

I have 2 more pieces to put down yet.
 
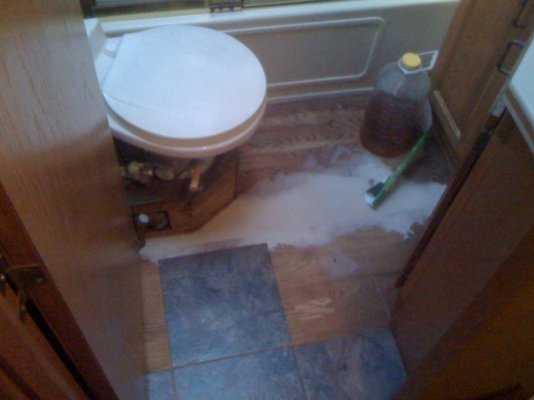
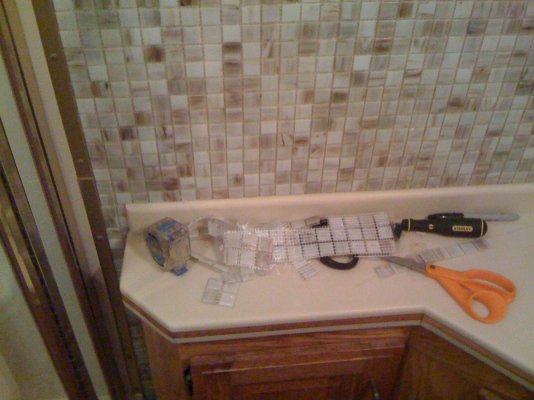
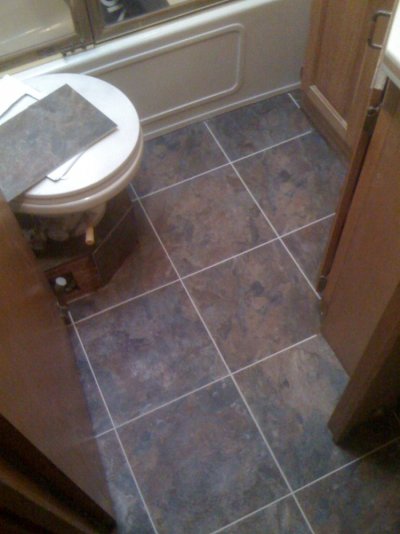
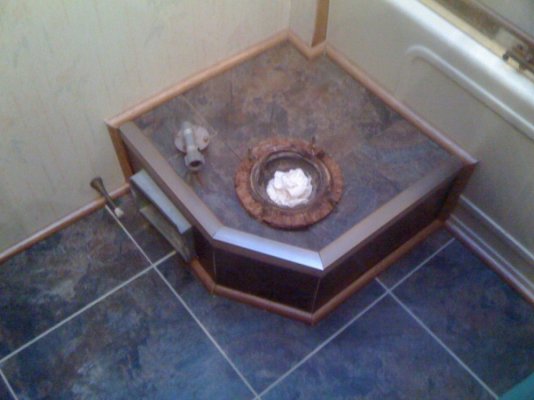
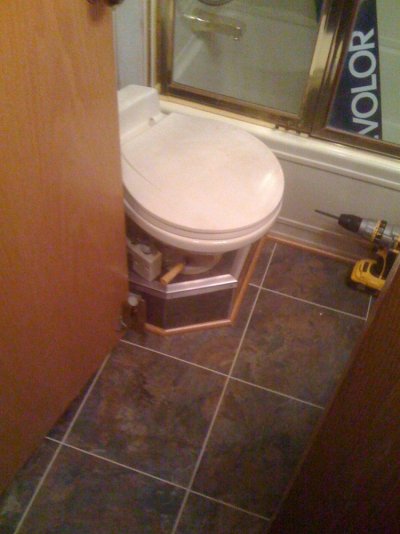
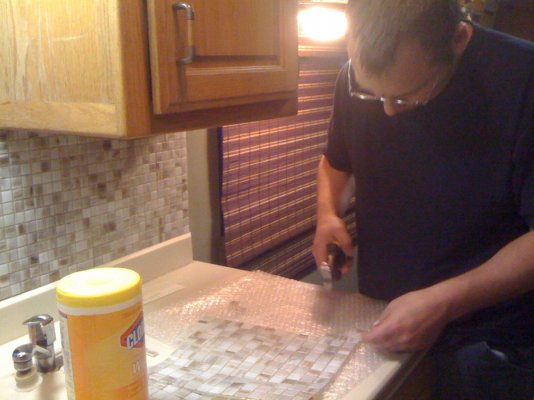
We actually didnt remove the wallpaper stuff. We sanded it and just painted over it. It turned out really nice. I have heard of people using heat gun and removing it though. As for out tile. It is really looking and feeling great. Tried finishing the bathroom today but nearly cut my thumb off with the utility knife so I am taking a break. But floor is now ready for grout. Just have to finish around the toilet and all tile is done.
 
Here are some pics of the floor, grouted.
 

Attachments

  • IMG_1075.jpg
    IMG_1075.jpg
    153.4 KB · Views: 162
  • IMG_1076.jpg
    IMG_1076.jpg
    149.4 KB · Views: 128
  • IMG_1080.jpg
    IMG_1080.jpg
    150.6 KB · Views: 103
  • IMG_1081.jpg
    IMG_1081.jpg
    140.2 KB · Views: 140
  • IMG_1083.jpg
    IMG_1083.jpg
    136 KB · Views: 88
  • IMG_1085.jpg
    IMG_1085.jpg
    146.2 KB · Views: 111
  • IMG_1086.jpg
    IMG_1086.jpg
    145.2 KB · Views: 137
Looks GREAT!

Question, do you have any fear of the grout cracking, when totally dry, from the coach movement?
 
I was curious about that too, but you did a great job and it looks beautiful.  Doesn't it give you a good feeling of accomplishment.  Hubby said the kind that is elastomeric won't crack.
 
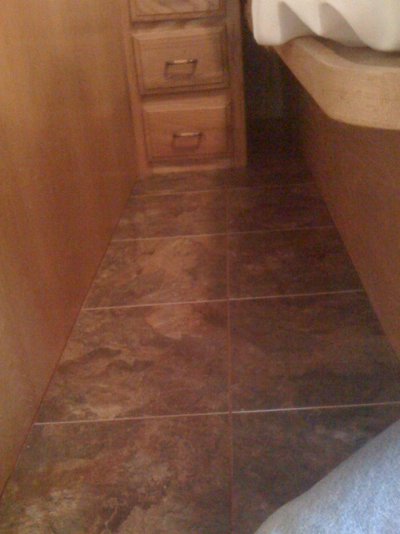
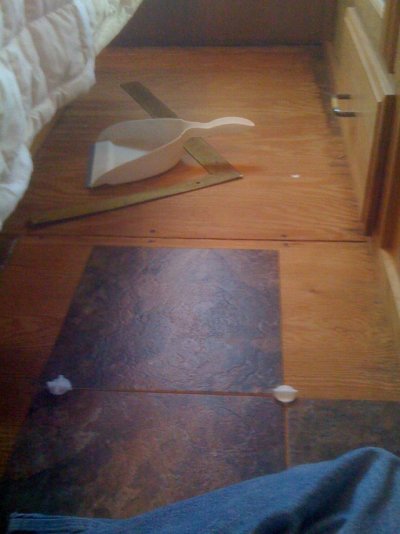
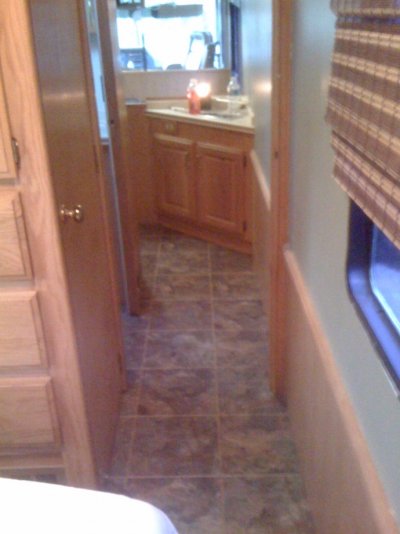
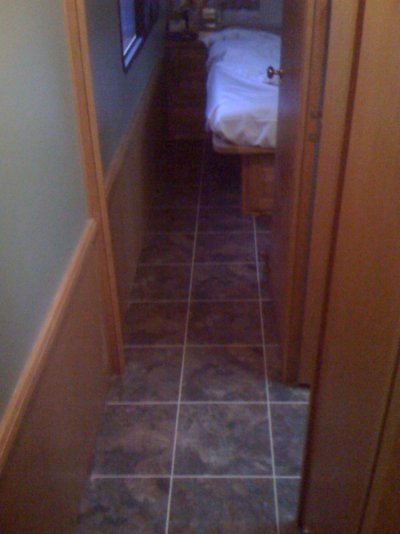
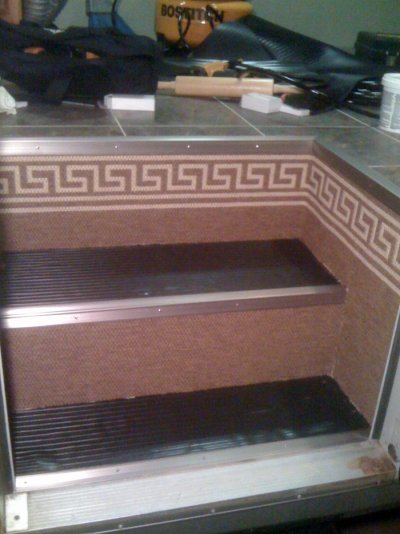
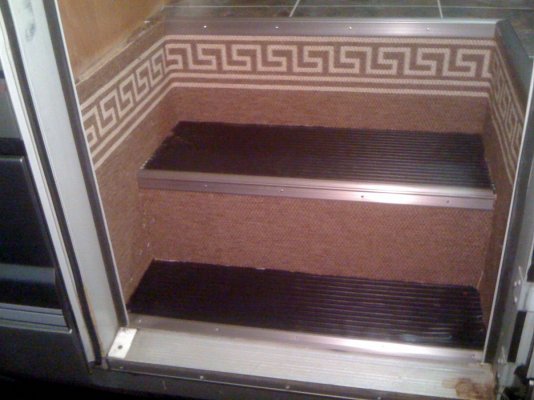
Yes this grout is specfic for this type of tyle and shouldnt crack. also its very thin, less then 0.100 inch and flexible. Here are some pictures of the entry steps.
 

Attachments

  • IMG_1087 (900 x 1200).jpg
    IMG_1087 (900 x 1200).jpg
    227.2 KB · Views: 246
  • IMG_1088 (1200 x 900).jpg
    IMG_1088 (1200 x 900).jpg
    231.1 KB · Views: 221
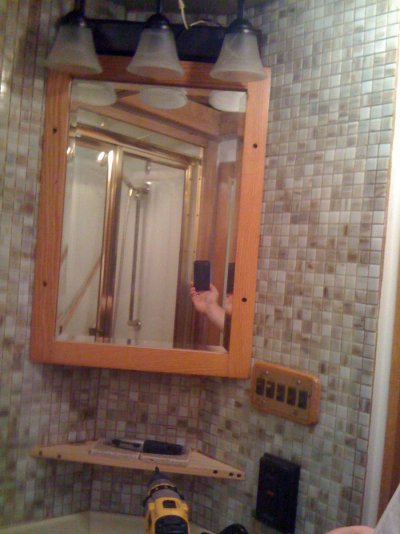
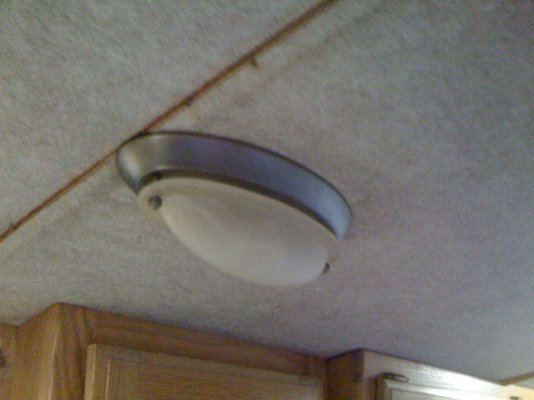
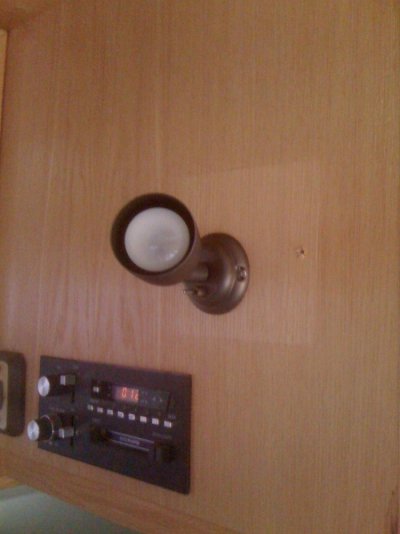
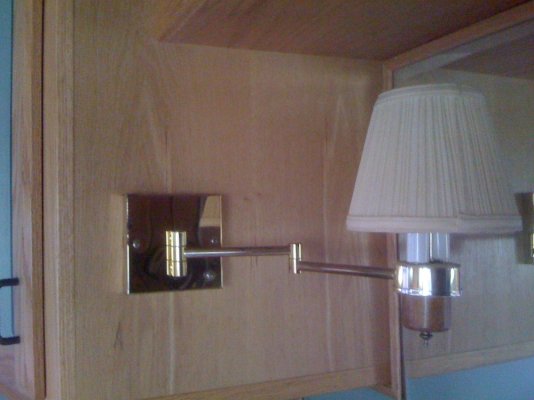
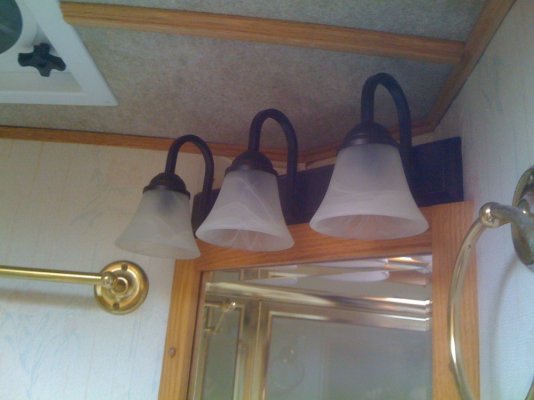
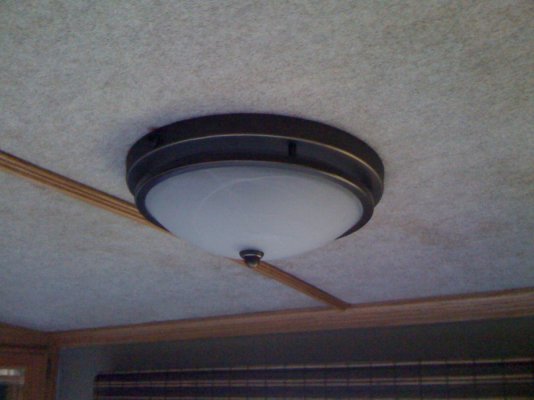
We got a batch of our lights in yesterday and got them all installed today. Also finished up the steps and started the corner molding at the floor. Heres some pictures of the new fixtures.
 

Attachments

  • IMG_1102.jpg
    IMG_1102.jpg
    144.6 KB · Views: 137
  • IMG_1113.jpg
    IMG_1113.jpg
    128 KB · Views: 116
  • IMG_1114.jpg
    IMG_1114.jpg
    153.3 KB · Views: 108
  • IMG_1115.jpg
    IMG_1115.jpg
    165.9 KB · Views: 77
  • IMG_1116.jpg
    IMG_1116.jpg
    103.7 KB · Views: 88
  • IMG_1117.jpg
    IMG_1117.jpg
    127.4 KB · Views: 124
  • IMG_1118.jpg
    IMG_1118.jpg
    146.8 KB · Views: 132
Just about finished the bath room floor today. Here are a few pictures.
 

Attachments

  • IMG_2018.jpg
    IMG_2018.jpg
    140.3 KB · Views: 155
  • IMG_2019.jpg
    IMG_2019.jpg
    172.2 KB · Views: 136
Gosh, I really like that too, looks so good.  You do good work. 
 
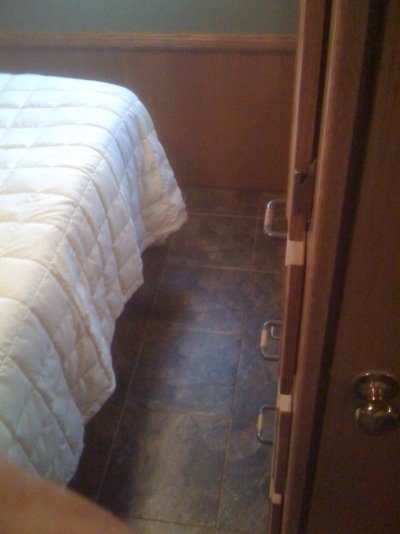
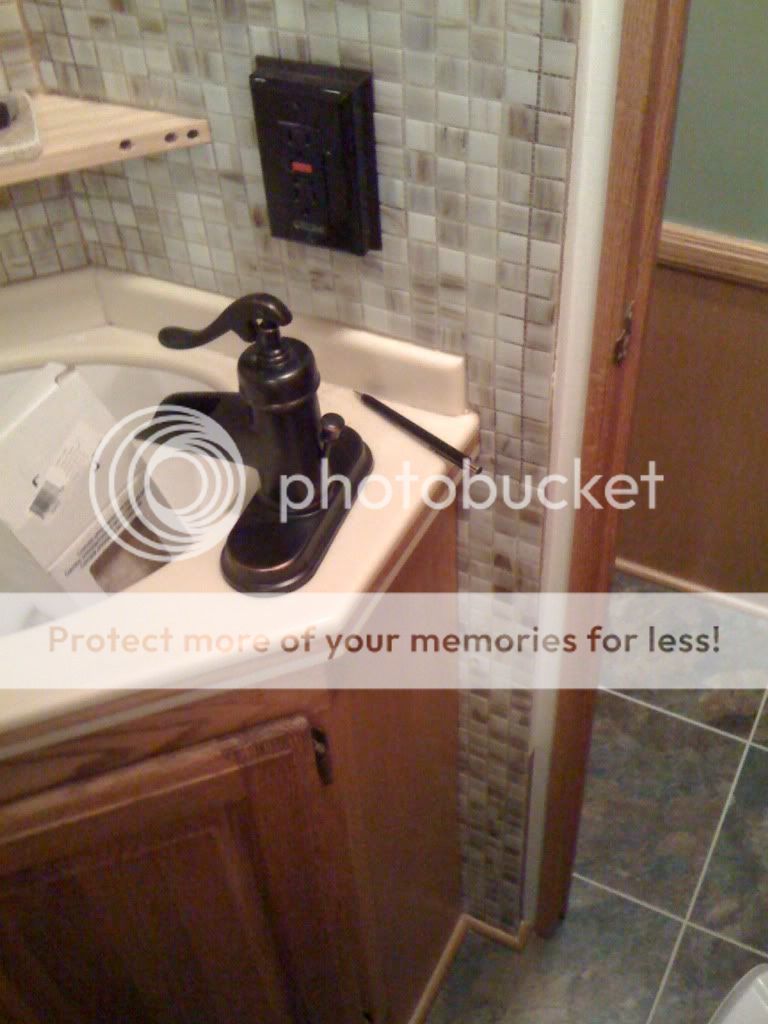
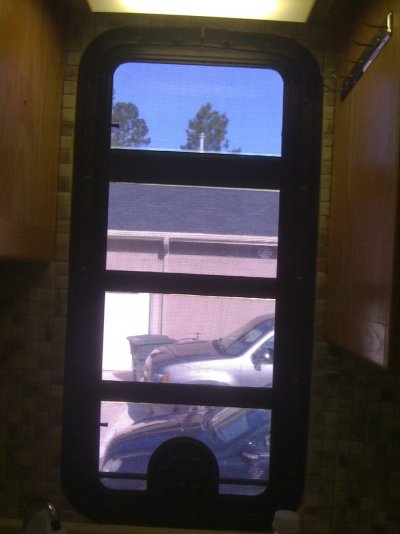
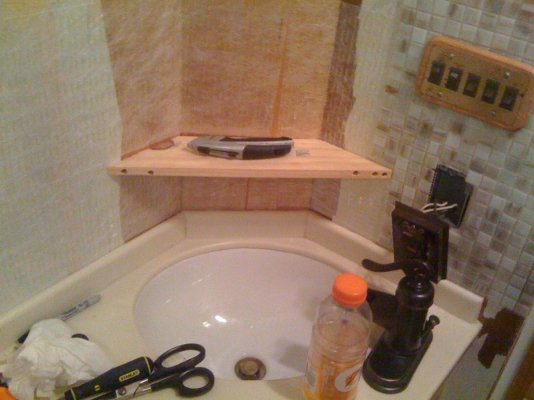
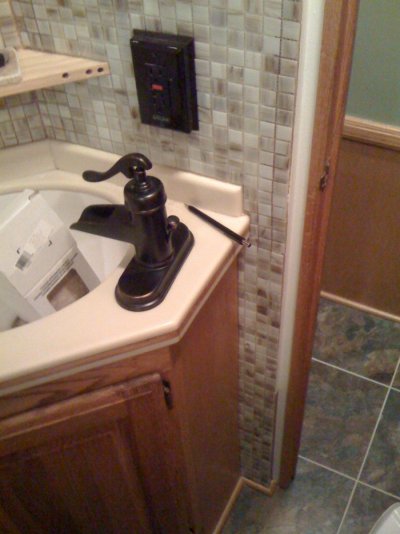
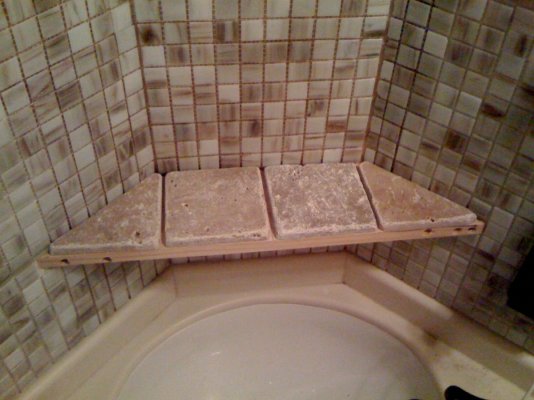
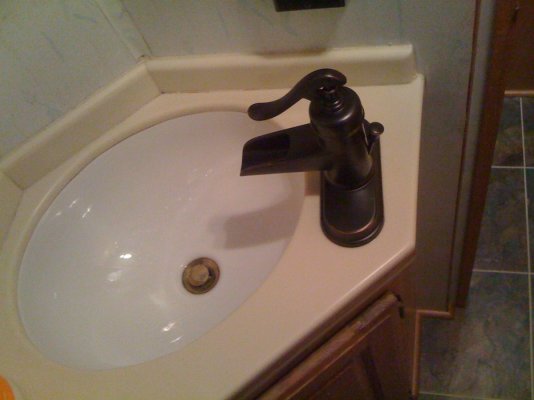
Well thank you. That was actually really hard to do and figure out how to finish it off. We just knew we didnt want the carpet around the toilet. Just seemed kind of gross. That is what we ended up with. Today we got more lighting in and our bathroom fixtures. We also put in our new bathroom faucet and all but one blind. Heres some pics
 

Attachments

  • IMG_2025 (1200 x 900).jpg
    IMG_2025 (1200 x 900).jpg
    189.7 KB · Views: 77
  • IMG_2026 (1200 x 900).jpg
    IMG_2026 (1200 x 900).jpg
    192.9 KB · Views: 111
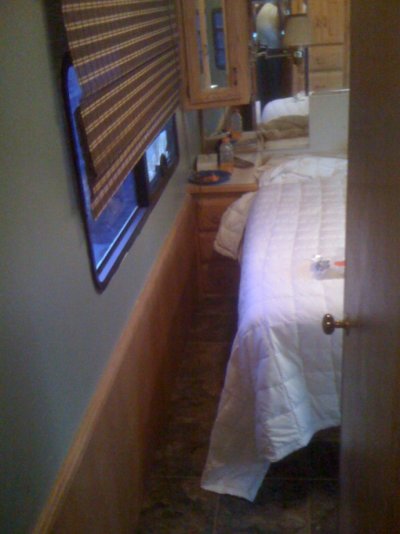
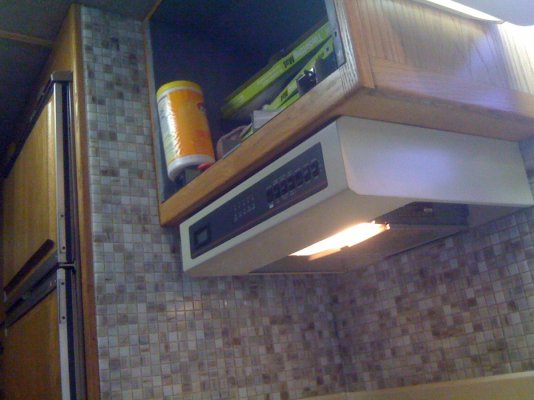
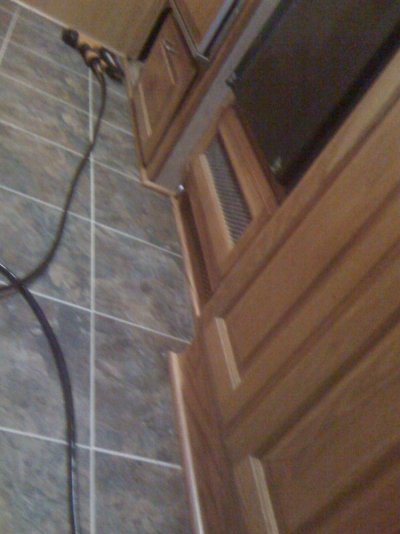
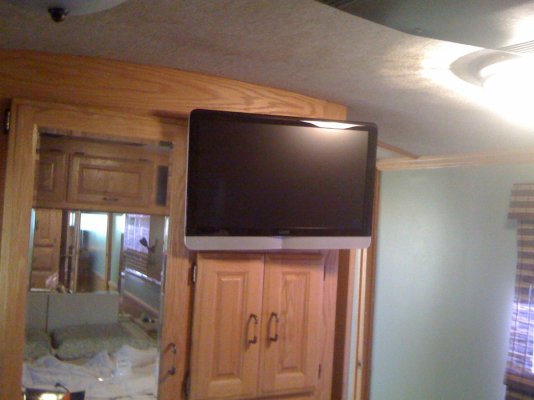
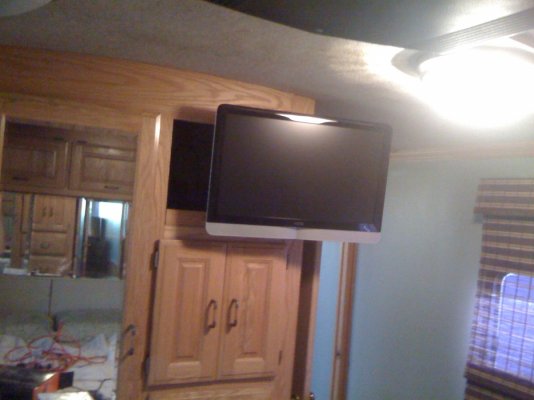
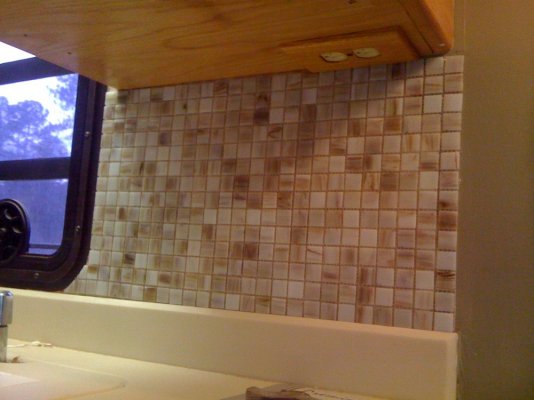
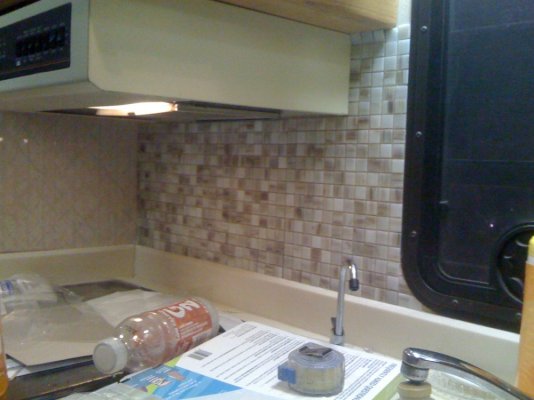
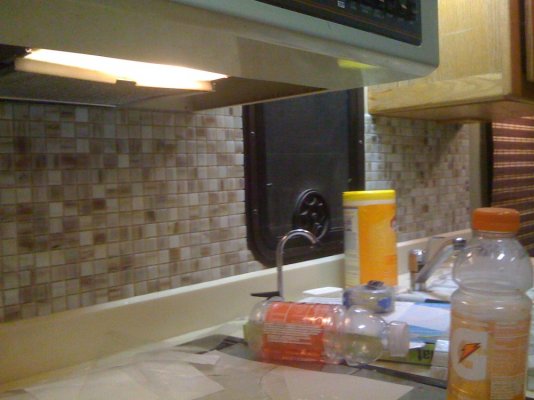
Installed our tv into our bedroom this evening and did a little cleaning to get ready to tile the kitchen backsplash and install the new faucet. Here are some pictures.
 

Attachments

  • IMG_2036 (1200 x 900).jpg
    IMG_2036 (1200 x 900).jpg
    215.8 KB · Views: 153
  • IMG_2037 (1200 x 900).jpg
    IMG_2037 (1200 x 900).jpg
    179.7 KB · Views: 117
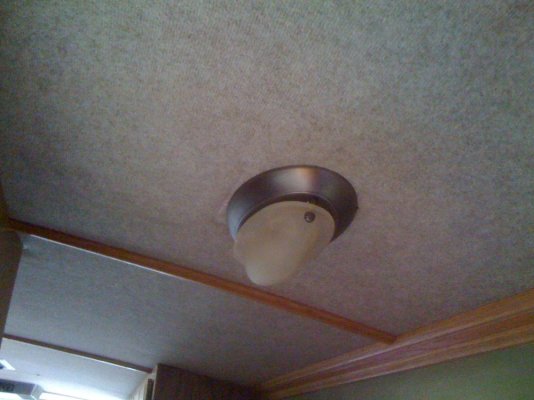
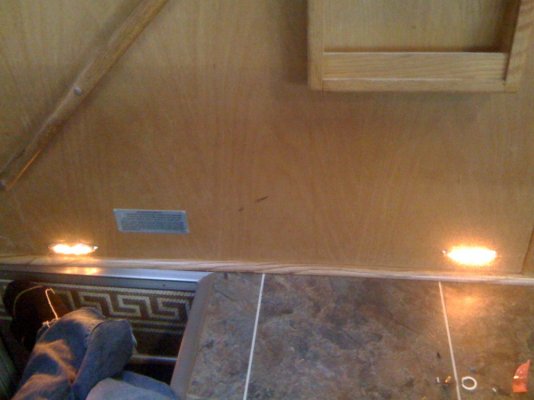
Early morning post today. Have to run to the store to pick up more supplies. We started painting bathroom and tiling kitchen backsplash last night. I also replaced and installed 2 new lights at the door on the floor. Old one was out and there was not sufficient lighting at the entry. Heres some pics.
 

Attachments

  • IMG_2074.jpg
    IMG_2074.jpg
    99.4 KB · Views: 112
  • IMG_2075.jpg
    IMG_2075.jpg
    105.6 KB · Views: 102
  • IMG_2080 (1200 x 900).jpg
    IMG_2080 (1200 x 900).jpg
    218.2 KB · Views: 130
  • IMG_2078.jpg
    IMG_2078.jpg
    152.3 KB · Views: 127
  • IMG_2081.jpg
    IMG_2081.jpg
    142.9 KB · Views: 125
  • IMG_2082.jpg
    IMG_2082.jpg
    157.2 KB · Views: 142
  • IMG_2098.jpg
    IMG_2098.jpg
    138.9 KB · Views: 139
Heres some updates, we havent posted in awhile but still been busy.

IMG_4008.jpg
 
Ok try this again
 

Attachments

  • IMG_2100 (1200 x 900).jpg
    IMG_2100 (1200 x 900).jpg
    246.4 KB · Views: 122
  • IMG_2115 (900 x 1200).jpg
    IMG_2115 (900 x 1200).jpg
    176.6 KB · Views: 98
  • IMG_2123 (900 x 1200).jpg
    IMG_2123 (900 x 1200).jpg
    201.1 KB · Views: 107
  • IMG_2127 (1200 x 900).jpg
    IMG_2127 (1200 x 900).jpg
    249.3 KB · Views: 95
  • IMG_4008 (900 x 1200).jpg
    IMG_4008 (900 x 1200).jpg
    208.1 KB · Views: 95
  • IMG_4009 (1200 x 900).jpg
    IMG_4009 (1200 x 900).jpg
    240.6 KB · Views: 94
  • IMG_4011 (900 x 1200).jpg
    IMG_4011 (900 x 1200).jpg
    245.6 KB · Views: 98
  • IMG_4028 (1200 x 900).jpg
    IMG_4028 (1200 x 900).jpg
    225.9 KB · Views: 123

Latest posts

Members online

Forum statistics

Threads
132,010
Posts
1,389,087
Members
137,756
Latest member
anewvisionllc
Back
Top Bottom