It's roof time!

The friendliest place on the web for anyone with an RV or an interest in RVing!
If you have answers, please help by responding to the unanswered posts.
This project isn't abandoned, just very slow moving. Life and weather has been conspiring...

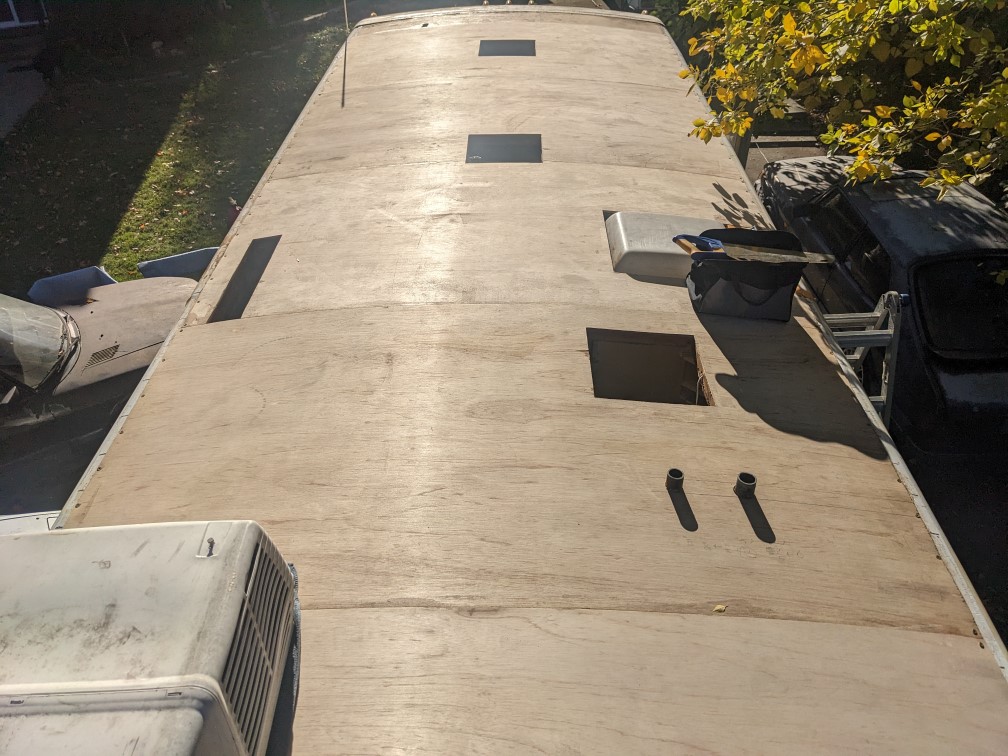
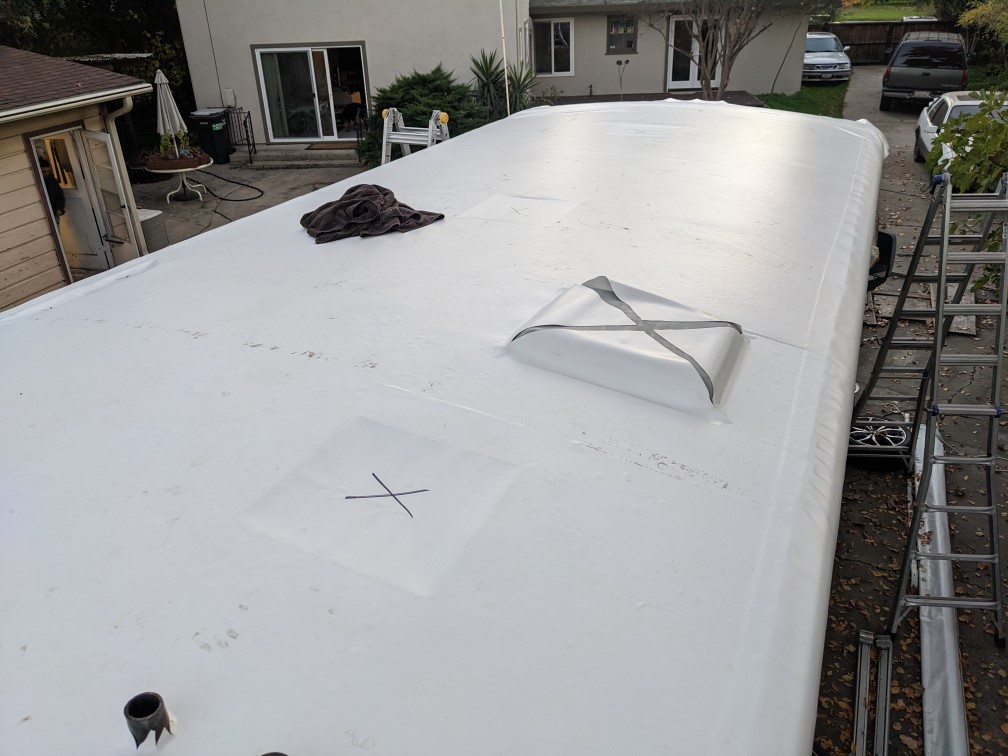
But, got the second section stripped and subsequently repaired...

southwind_bareroof3.jpg


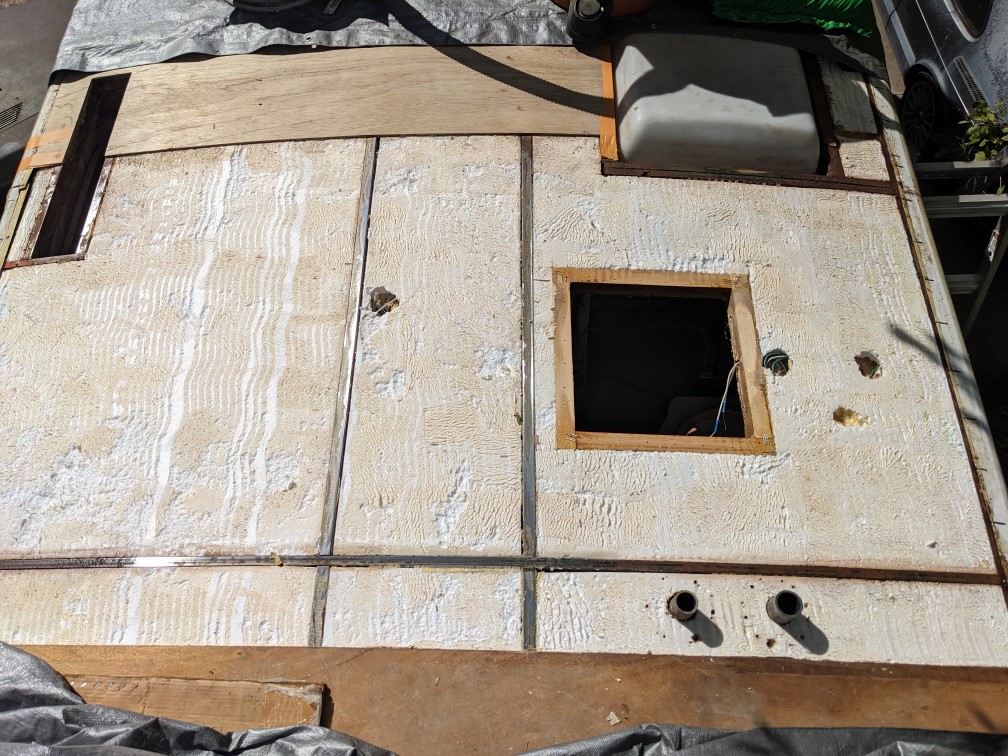
Unfortunately, I do not have pictures of the repairs, because I've been having to move back and forth between weight to get the pieces glued together and tarps to protect from rain...

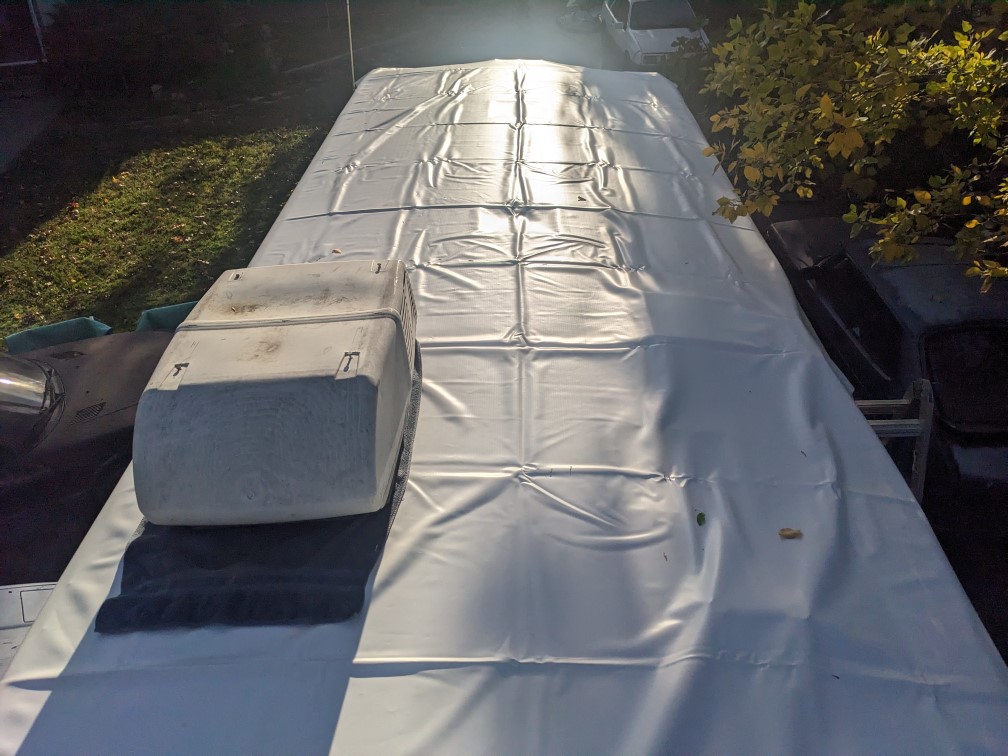
Right now, the roof is "back together," and I've prepped enough plywood to put a third layer down across the whole thing. Hopefully, I will be able to do that this weekend. At least most of it.

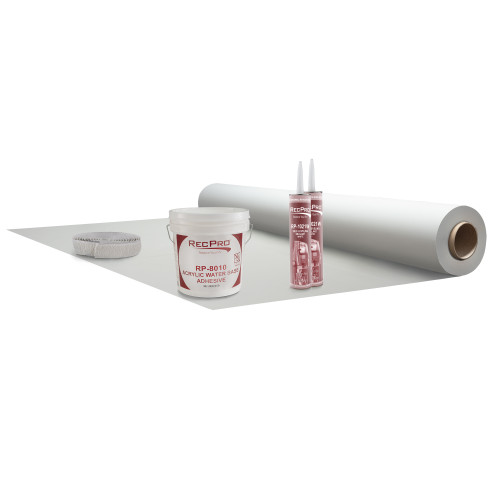
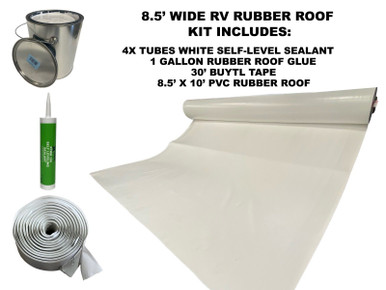
Assuming it goes well - and I feel confident it will, I'll order in the membrane (which, right now, is definitely going to be PVC).

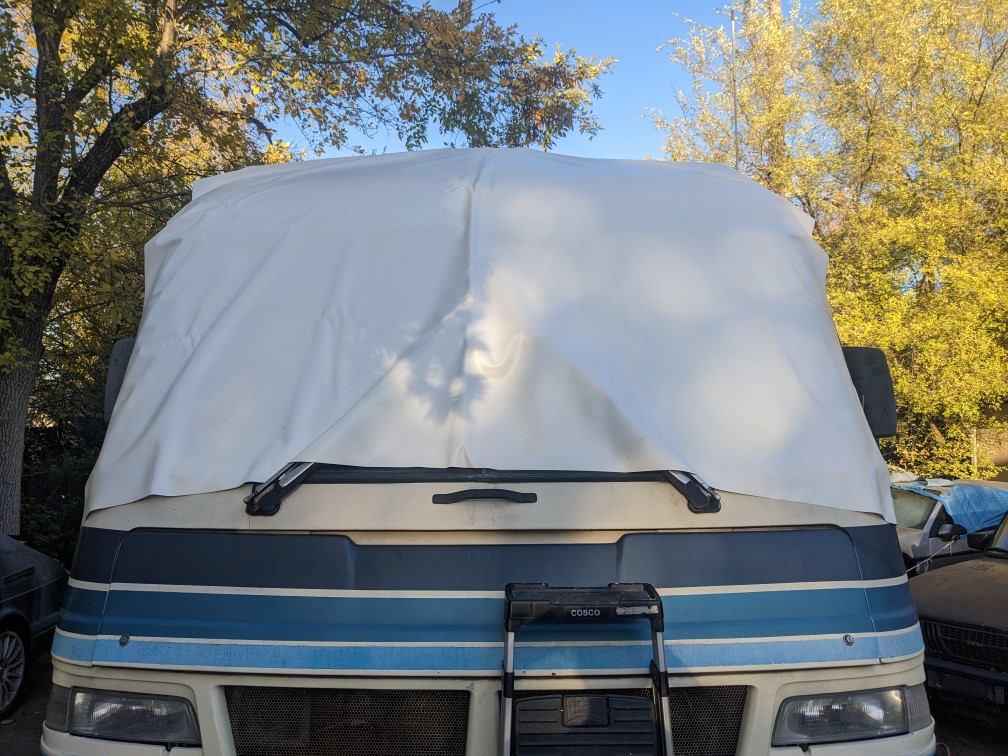
So far, the real surprise of this project is how bloody expensive 3M Fastbond is... $150/gallon. Ouch. So far, the real thing I'm actually fearing is getting the PVC tucked under the front & rear caps. But, I won't know for sure until I get there. :)
 
In case anyone wonders down the road, here's the tools so far:

1. Drill to remove rivets
2. (Screw)driver to remove all the fixtures... there has been a lot of cautiously applied penetrating oil as well
3. Dremel with a cutoff wheel. Some screws ain't coming out voluntarily.
4. Putty knife to remove the wood from itself and from the styrene
5. Sanding block & 80 grit to clean the steel structure of rust (to some degree) and to remove glue from areas of wood framing
6. Heavy duty masking tape to hold the edges of replacement wood panels down.. eventually, it will be screwed down, but only once the final third layer of wood is there... in between, it's 3M heavy duty masking tape to be sure the edges are secure
7. Surprisingly, I've found bags of garden soil to be fantastic sources of weight. They're heavy and flat and conform to the curve of the roof. Just so happens I have a use for a lot of it, so when this is done it'll just go into the yard.
8. The garden soil isn't quite enough weight, so I've used spare wheels I have as well. The takeaway is that you need a couple hundred pounds of weight per 4' section to get good adhesion.
9. I tried a couple approaches to cutting wood. A big, sharp, heavy duty utility knife ("Olfa") works best in combination with a 4' t-square from Harbor Freight (all of $20).

The big challenges in demolition have been:

1. The side awning. What. A. Pain.
2. The rooftop AC. I don't have a good way to get it down or back up, so I just keep moving it around the roof. Not sure that's a durable solution yet.

Everything else has just been time. Very little actual hard work. I could have gotten this far in five somewhat casual days if I had five contiguous days to work.
 
Oh, finally, anticipating the final layer of wood, I went shopping for screws. What's in there right now is #8 self-drilling screws about 1.25" long. Quality '90s tech. I looked at a bunch of options from a bunch of high tech brands, like Teks and Power Pro. I want something specific: A fat wafer head, epoxy-coated, self-boring, Torx-drive screw. I can't find all of those features in one screw... and none of them in a #8. I think I've settled on these:


It's #10, so a little larger, and it's not self-boring, but it's otherwise a fantastic (looking) fastener. It's got a wide head, Torx drive, good coating (rust proofing), and an aggressive drill tip. So, I'm trying it first.

Nobody will ever see it, but I'll know it's there. :)
 
The problem is I need metal screws... The screws go through the decking into the steel structure.
 
Finally managed to get the wood done... sorry no photos, but rain has been intermittent and there's been zero opportunity to reveal the work en totale.

Moving onto the membrane, I realized I made a minor - maybe inconsequential - error. I had been planning to use Lasalle's "XTRM" PVC, however it's only available in the more modern 9.5' widths. Turns out Dicor's Tufflex is the same. The only 8.5' PVC roofing I've bee able to find is whatever RecPro sells (which they rebrand...):


When it all boils down to it, I'm not looking to get 15 years out of this investment. Maybe not even 5 years, so probably, I don't actually care one iota. Anything I buy is going to get me where I want to be.

Given that, anyone have any opinion on RecPro

vs. Alpha (which I assume is TPO)

Ha! Crap, found the XTRM in 8.5' ... hopefully it's actually in stock!

 
Had some more time, and more clear weather.... completed roof:

southwind_bareroof4.jpg


Pro Camp had the XTRM "kit" in stock, and I ordered a 30' kit. I only need about 24' but I wanted some fudge room and the step up to 30' included a fair amount of additional supplies with very little cost. They were great to deal with, would recommend.

The rubber ships folded in a box, and it needs to be laid out to flatten out, so did that.

southwind_rubber2.jpg


The PVC is a decidedly different texture than the old roof, and it seems a fair amount thicker. It also makes the entire area smell like an air mattress - whether that's a pro or a con is up to you. :)

They supplied a pretty hefty amount of extra, beyond the 30' ordered... I probably could have done the 25' kit still had plenty to mess with.

southwind_rubber1.jpg


Seems like when it's all said and done I'm going to have to come up with a project that needs an 8x8 section of PVC. ;)

Plan this weekend is to glue the rubber down... I'm supposed to be researching some sort of roller tool right now, but got sidetracked. :)
 
On a side note, I think it's conventional to start at one end and work your way to the other, but because I have a lot of extra materal, and getting the rubber centered on the roof is not trivial, and I need to manage the AC, my plan is to start somewhere near the middle and work in both directions. I'll a practice run before the adhesives come out, though. ;)
 
Looks like you're doing a great job so far! I did one a few years ago and as I remember I carefully rolled it up to one end and then unrolled it as went along. You could start in the middle too doing the same thing. I would move the A/C to where you have it in the 3rd picture back so you have a nice empty space to move it to after you glue the roofing down. Also mark the holes as you glue past them so you don't accidentally step on them later. It would be good to have a helper if possible to keep the length even on the sides and help move the A/C when you get down to it. Good luck!
 
What I did on a much shorter roof of a 20 ft trailer, was to lay out the rubber, get it right where I wanted it and then took one end and pulled it back, like pulling a bed sheet back getting ready for bed. then we coated that half, and very carefully pulled the sheet forward onto the glue. We were able to do this with no wrinkles and then we use paint rollers just like the ones we put the glue down with, to roll down the rubber. Some people suggest a floor push broom and I tried that but the rollers worked better. Then we pulled the other end back over what we had just done, applied the adhesive and walked that sheet down, stopping to slit it at the vent pipes. Same thing, rolled it down smooth. I let it sit for several days before I got around to pulling it snug on the sides and using a fine awl to locate the existing screw holes in the sides to re-attach the trim. I applied a strip of butyl under the membrane, and another strip of butyl on top of it underneath the retainer strip. Everything went back in the original holes perfectly, with the new screws.

I was working inside my shop and have a scissor lift to run back and forth down the sides. I also had help to get the A/C off the roof (and cleaned it thoroughly while it was down, and bought a new shroud to replace the cracked one) I also replaced the awning fabric while it was off.

My roof job photos

Charles
 
That's all super helpful, thank you both!

High hopes we can at least get the rubber glued on next weekend... If that's done then the rest can be dealt with without constant fear. ;)
 
The job looks great. I don't think you have to worry about it lasting. Looks like it will last longer than the original.
 
I'm aiming for three years.... at that point I'd feel totally comfortable parking it somewhere, leaving the keys on the seat, and walking away.
 
Rubber'd!

southwind_rubber3.jpg


If I'm honest, it turned out less good than I hoped, but better than I expected. :p

The only actual issue is "ridges" between a couple plywood panels, which you can see plainly in the photo. I'm pretty sure this tells me I didn't use the right tape across panel joints. :/ I think it's more of an aesthetic issue than a functional issue... the PVC is very secure on both sides of the joint. But, only time will tell.

There are a couple other imperfections - dimples you can't even see in the photo - that are a direct result of having to walk on the rubber to roll it out... it was unavoidable without either my own scissor lift or building a scaffolding - neither of which were options. I knew that risk going in, and it turned out far less impactful than I'd imagined. I'm satisfied there. I did regret not having a clean pair of "roof shoes" to do this, though, because I left dirty footprints etc. everywhere. I never got my ultra-clean RV roof moment. Supposedly PVC cleans up really easily, so I'll give that a shot when I'm done.

The XTRM glue was applied using the same roller as the 3M stuff. Started at the middle and worked towards the front, then reset at the middle and worked towards the back. There was PLENTY of time to work with the PVC, to make sure it was taut (Lasalle's word) over the plywood. The glue actually took over a day to cure! Weather is mid 60s during the day but 40s at night right now. It surely would have cured faster in warmer weather, but more time to work was wonderful.

They supplied 2 gallons of glue. It's very hard to know what "15-30mil wet" actually means, but it felt like the right amount. Looking at the site, they supply one gallon for roofs up to 19' and two gallons for roofs 20'-40', so it seems like we used about the right amount for a 23' roof... just over a gallon. So, uh, I've got 3 quarts of acrylic water borne adhesive designed for wood, steel, glass, EPDM, TPO, and PVC to go with my ~8' of extra PVC. :D

They recommended a grey squeegee to get air out from under the rubber, and cautioned against a black one as it might streak. The only thing I could find locally was a yellow one, and I think we all know that the color of the squeegee has sod all to do with anything. I think what they meant was "don't use rubber, use something synthetic." Who knows? Anyway, the yellow squeegee was WAY too grippy. It would actually stretch and distort the rubber, so that was discarded. What seems to have worked very well is a foam squeegee - this specifically


It was firm enough to drive air out and JUST grippy enough to tug the PVC and stretch it out flat without pulling and distorting it.

This weekend I will install the bathroom skylight and tuck the ends under the caps. Oh, I guess I'll use a little more of that glue. ;) After that, it's the part I'm dreading, which is reinstalling the trim bars. Like, I really don't want to do that part, at all.
 
On the subject of glue, you can see the relief of the tape over the side caps very clearly, which to me tells me it was the right amount of glue, and that membrane ain't going anywhere. ;)
 
The breakdown thus far:

$200 plywood (8 sheets)
$300 3M Fastbond (2g)
$100 "paint supplies" (tray, liner, rollers, etc. for glue)
$100 bathroom skylight exterior dome
$350 cordless tools (because my air tools were a PITA ;)
$ 25 special screws for plywood
$ 50 Eternabond tape for side caps
$600 XTRM 30' roof kit
$300 22' ladder*

* I had two tall ladders, borrowed a third, bought a fourth ... I'm cheating here, because I actually need that new/fourth ladder for a home ceiling project this winter... I bought it now, as having that fourth ladder made laying down the rubber much easier.

The remaining cost is a bunch of rivets, three roof vents, the AC gasket, two pipe vent caps, and the cap for the fridge chimney. I'm definitely gonna blow past my $2k estimate, but I scored $650 in new tools, so that's a win. :D
 
Nice craftsmanship. Great post. I have a soft spot on my roof that will need to be address in the near future. Your post is very informative and will be the foundation of my restoration plan.

One question, why did you wrap the edges with eternal bond tape as opposed to just gluing and wrapping the PVC over the edge?
 
That's the way I found it, so that's the way I left it. :) I'm not sure what function the tape serves there, but the factory saw fit for it to be there and I didn't want to mess with their recipe.
 
Man, just a surprising amount of rain so far so zero progress. Put the tarps back on the roof just to be sure!

It did give me time to think about the horror of applying what's gotta be 100' of caulk coming up, so I ordered this:


I really wanted to buy the Milwaukee version that uses the same batteries as the other cordless tools I bought, but there was a $170 premium for doing it. :/ I couldn't stomach that for a tool I might never touch again. But, $60 (it was on sale last week...) to (hopefully) lay down a nicer bead with less fatigue was an equation I was comfortable with. :)
 

Latest posts

Forum statistics

Threads
131,990
Posts
1,388,715
Members
137,736
Latest member
Savysoaker
Back
Top Bottom