Merlin and Cindi's 1984 Itasca Sunflyer 22rc rebuild.

The friendliest place on the web for anyone with an RV or an interest in RVing!
If you have answers, please help by responding to the unanswered posts.

Merlin TC

Well-known member
Joined
Nov 14, 2023
Posts
96
Location
Greensboro N.C.
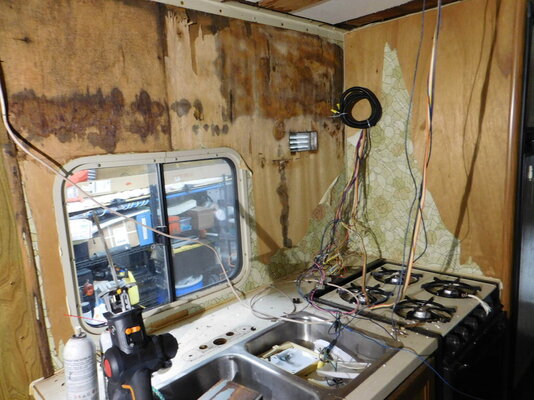
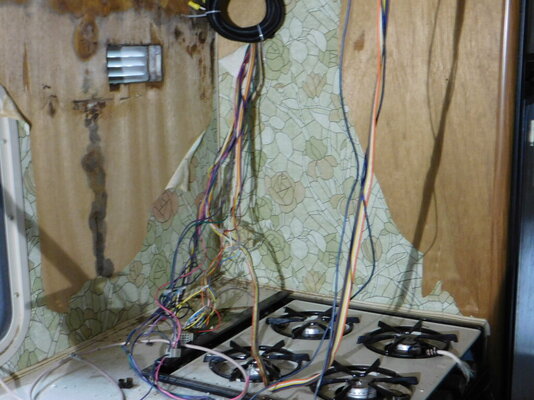
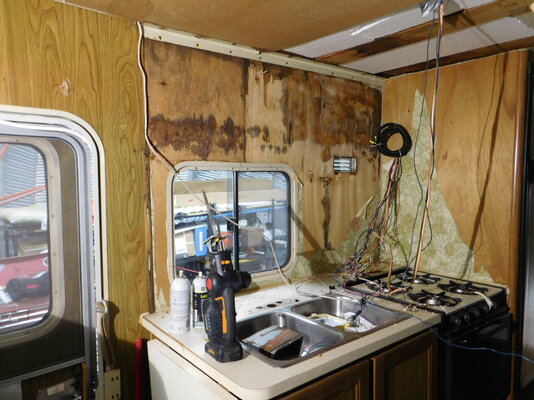
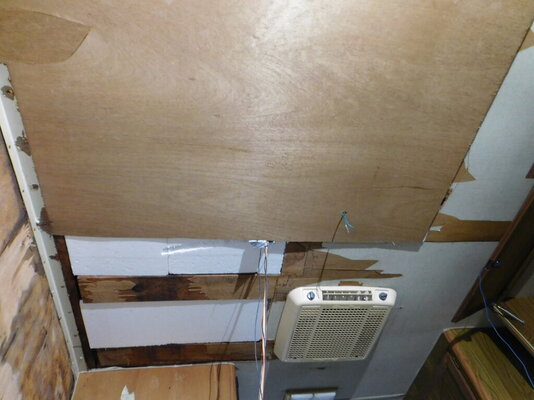
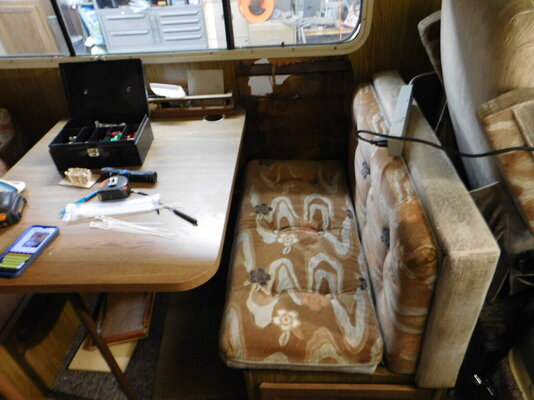
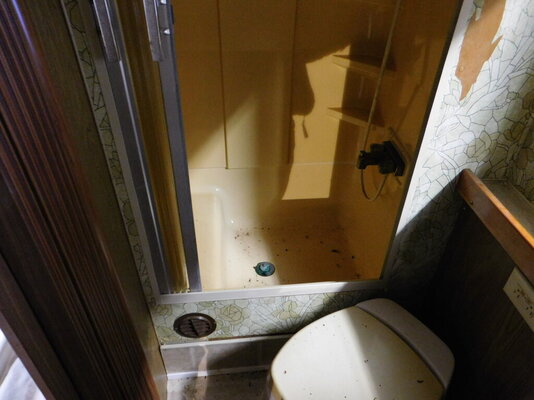
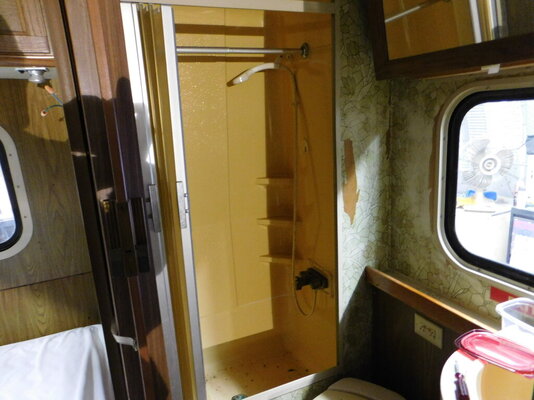
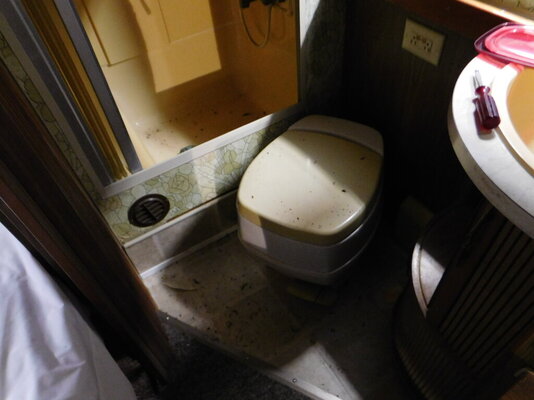
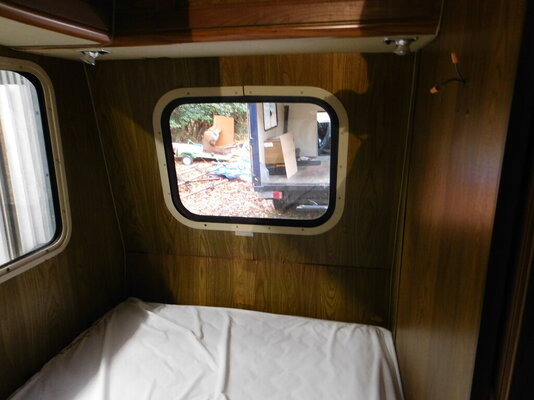
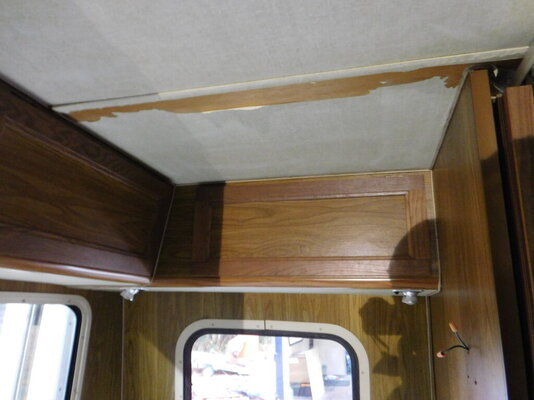
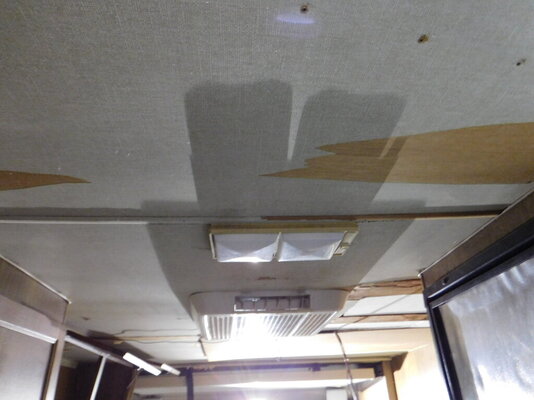
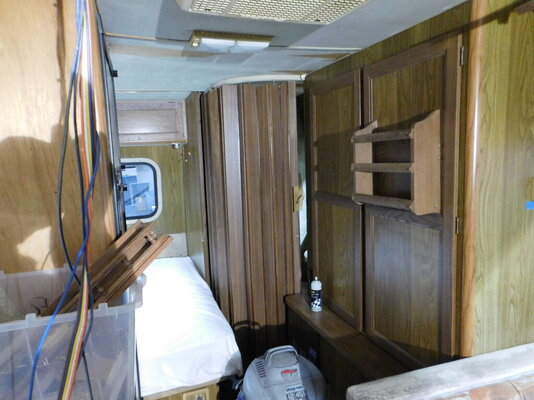
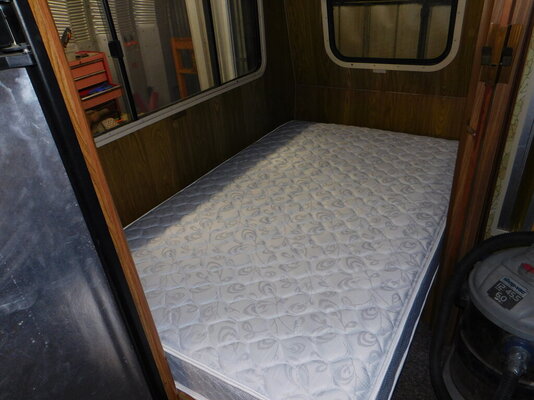
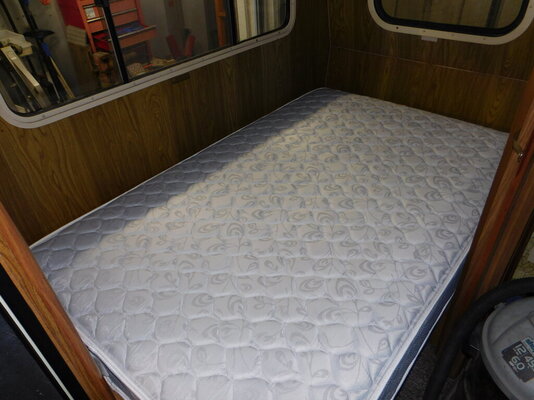
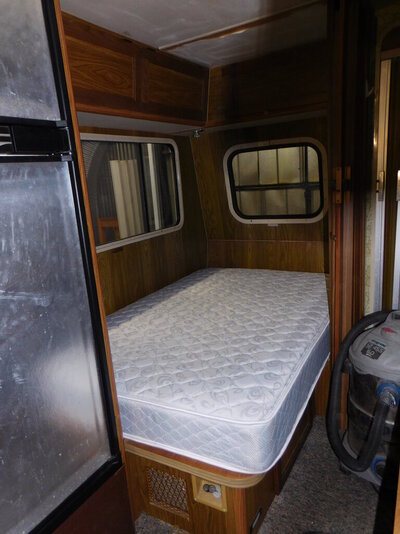
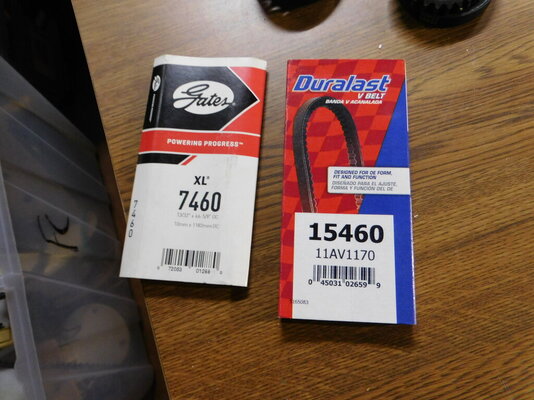
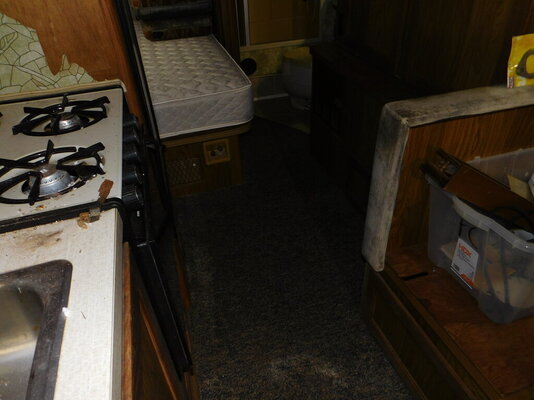
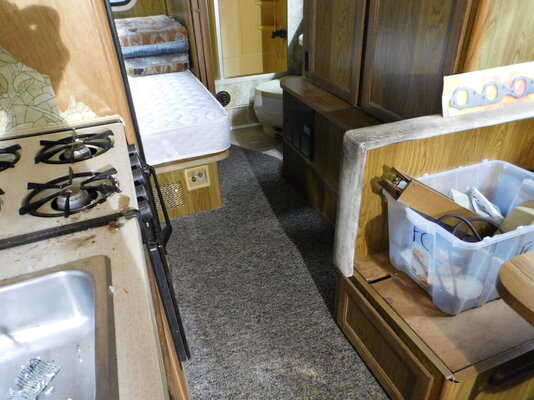
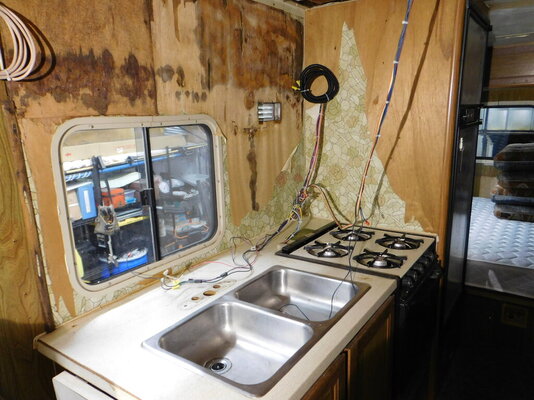
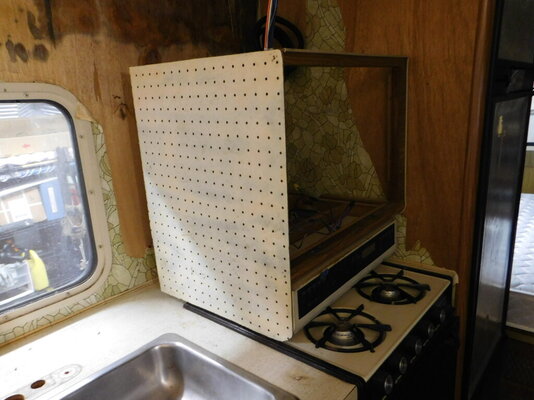
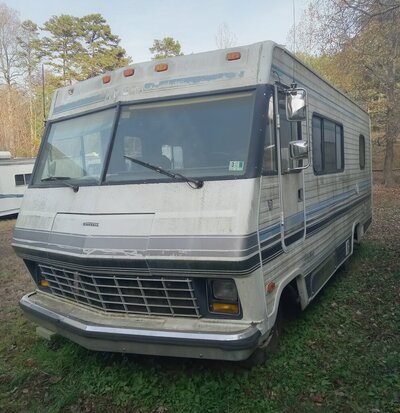
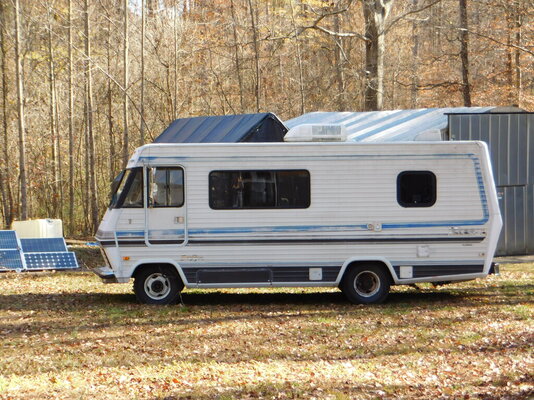
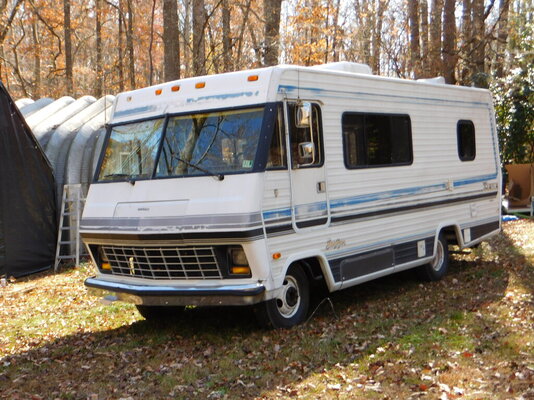
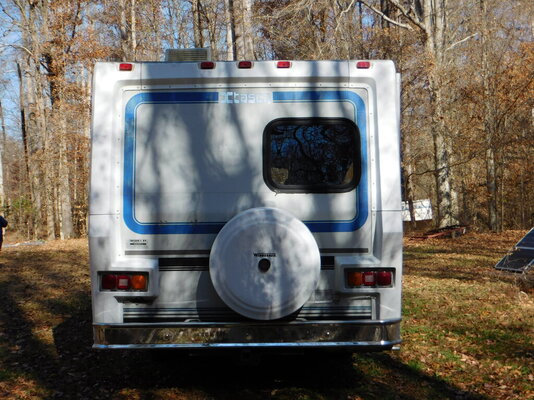
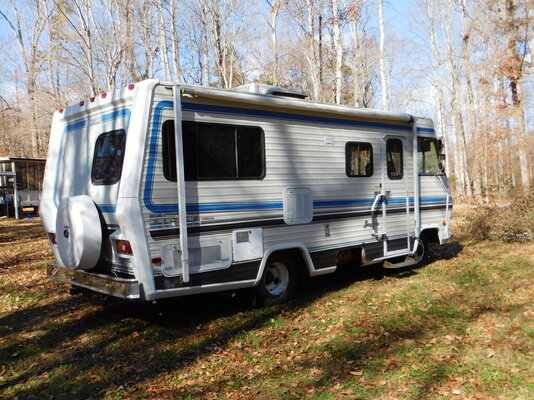
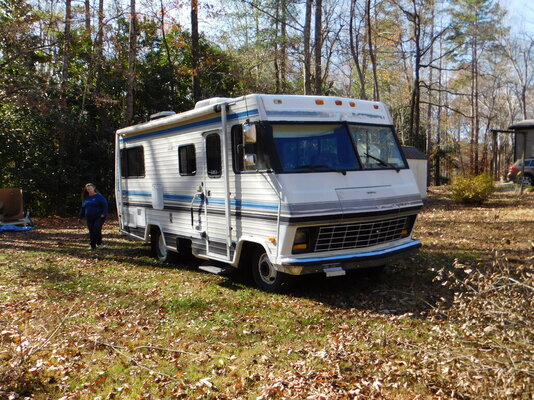
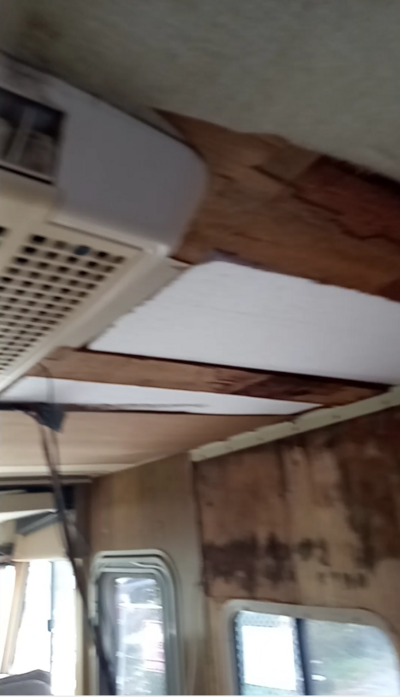
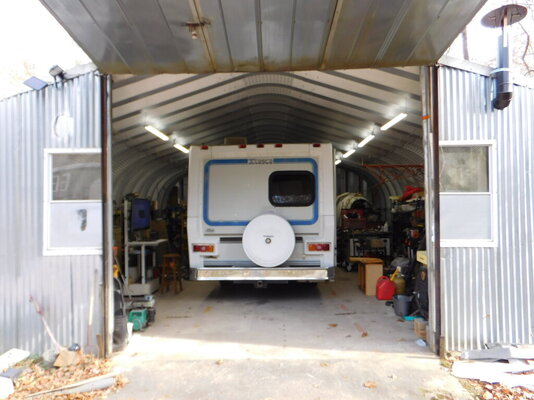
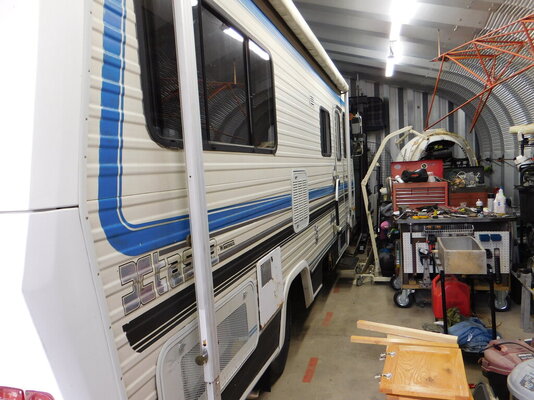
Well we got the Sunflyer home Saturday Nov. 18th. it has been sitting several years in an R.V. Salvage yard in Staley N.C. and we drove it home 17 miles back to Greensboro n.c. only issue with driving it so far is the brakes pulling to the right some when you hit them at speed. I am sure they need some service. the engine is a Chevy 454 and we just learned it has a Jasper Transmission in it. it has duel exhaust with new mufflers. Tires are ok, date code 4115 , but we plan to get new ones before we go very far with it. I run a hose over the roof and no leaks, but it has a lot of previous water damage we will have to repair. anyway as I go along I will post rebuild pics and Videos. here is the Video I made of the whole drive home with it. and some photos to start.
 

Attachments

  • 20231114_154140.jpg
    20231114_154140.jpg
    221 KB · Views: 17
  • DSCI0156.JPG
    DSCI0156.JPG
    282.8 KB · Views: 15
  • DSCI0157.JPG
    DSCI0157.JPG
    221 KB · Views: 14
  • DSCI0158.JPG
    DSCI0158.JPG
    225.3 KB · Views: 14
  • DSCI0159.JPG
    DSCI0159.JPG
    258.7 KB · Views: 14
  • DSCI0160.JPG
    DSCI0160.JPG
    327.5 KB · Views: 19
  • Screenshot from 2023-11-17 19-19-14.png
    Screenshot from 2023-11-17 19-19-14.png
    521.8 KB · Views: 18
  • Screenshot from 2023-11-17 19-31-07.png
    Screenshot from 2023-11-17 19-31-07.png
    373.6 KB · Views: 19
  • DSCI0167.JPG
    DSCI0167.JPG
    127.1 KB · Views: 18
  • DSCI0168.JPG
    DSCI0168.JPG
    177.8 KB · Views: 18
I wish you all the best. I hope the water damage is less than it appears. If it has a rebuilt trans, it might have the same of the motor. This would not surprise me as 454s did not do all that well in RV service. It has HEI, so do not let the plugs get open or you will loose the module. If you plan to go far from home, get a spare module from a US supplier, the Asian version suck. You are right that those tires are right at the edge. Just be careful. It is probably a P30 chassis, but identify it as soon as you can.
Matt_C
how do i find out if it's the P-30, are there issues with that chassie I need to look for?
 
Look inside all the cabinets for data stickers. Also one of my stickers was right behind the drivers seat next to the jackknife, shielded by the curtains.

Another clue will be the title and or registration. Mine actually says Chev P-30 on the title.
 
The VIN will identify the chassis. Since it's a GM engine, the chassis is almost surely a Chevy but not necessarily one of the P-series motorhome chassis. There will actually be a P3 near the front of the VIN. There are lots of Chevrolet VIN decoders online, but some have more explanation detail than others on the P-series chassis. Here's one.
 
well, Thankful to have the R.V. in my shop and out of the weather, cold rainy day here today, but I was able to get a bunch of stuff done. got a lot of clean up done and zip tyed the wire harness that was a rats nest over the stove. the wife orded the FRP sheets today that we will use to repair the walls and ceiling. I don't know why the former owner gave up on it and the damage is not really as bad as I thought .
What is really cool is when I looked under one of the Dinnette benchs, I found a new starter still in the box and several other items, new belts, ex. manifold gaskets, and some kind of metal cone things that I guess are plug wire protectors. let me know if you can I.D. what they are. found the old Onan parts that have been replaced, so that tells me the former owner was doing a lot of work on it or planned to. anyway those are great extras to find.
 

Attachments

  • DSCI0173.JPG
    DSCI0173.JPG
    175.5 KB · Views: 25
  • DSCI0174.JPG
    DSCI0174.JPG
    155.2 KB · Views: 24
  • DSCI0175.JPG
    DSCI0175.JPG
    171.7 KB · Views: 24
  • DSCI0176.JPG
    DSCI0176.JPG
    113.5 KB · Views: 22
  • DSCI0177.JPG
    DSCI0177.JPG
    86 KB · Views: 23
  • DSCI0178.JPG
    DSCI0178.JPG
    127.6 KB · Views: 24
  • DSCI0179.JPG
    DSCI0179.JPG
    179 KB · Views: 23
  • DSCI0180.JPG
    DSCI0180.JPG
    191.2 KB · Views: 23
  • DSCI0181.JPG
    DSCI0181.JPG
    165.5 KB · Views: 23
  • DSCI0182.JPG
    DSCI0182.JPG
    163.7 KB · Views: 24
here are some more photos of the clean up work, I vaced out the cabnets and repaired the switch for the bathroom vent fan. took the screen loose and got all the leafs and debris out of it. vacumed the floor and the top of the stove and counter top. pulled the dirty cover off the mattress, it looks brand new.
 

Attachments

  • DSCI0183.JPG
    DSCI0183.JPG
    112.9 KB · Views: 15
  • DSCI0184.JPG
    DSCI0184.JPG
    116.3 KB · Views: 15
  • DSCI0185.JPG
    DSCI0185.JPG
    128 KB · Views: 15
  • DSCI0186.JPG
    DSCI0186.JPG
    96.7 KB · Views: 14
  • DSCI0187.JPG
    DSCI0187.JPG
    113 KB · Views: 14
  • DSCI0188.JPG
    DSCI0188.JPG
    104.2 KB · Views: 14
  • DSCI0189.JPG
    DSCI0189.JPG
    102.4 KB · Views: 14
  • DSCI0190.JPG
    DSCI0190.JPG
    104.5 KB · Views: 13
  • DSCI0191.JPG
    DSCI0191.JPG
    140.7 KB · Views: 12
  • DSCI0192.JPG
    DSCI0192.JPG
    137.1 KB · Views: 14
worked on the windows and got them to slide again, but the felt that they ride in just fell apart. anyone know where to get new felt from that the glass slides in. This set of photos shows those cone things, am I guessing right that they are plug wire heat sheilds?
 

Attachments

  • DSCI0193.JPG
    DSCI0193.JPG
    132 KB · Views: 9
  • DSCI0194.JPG
    DSCI0194.JPG
    135 KB · Views: 10
  • DSCI0195.JPG
    DSCI0195.JPG
    108.9 KB · Views: 10
  • DSCI0196.JPG
    DSCI0196.JPG
    137.6 KB · Views: 13
  • DSCI0197.JPG
    DSCI0197.JPG
    156.9 KB · Views: 13
  • DSCI0198.JPG
    DSCI0198.JPG
    113 KB · Views: 13
  • DSCI0199.JPG
    DSCI0199.JPG
    89.2 KB · Views: 11
  • DSCI0200.JPG
    DSCI0200.JPG
    129.1 KB · Views: 9
  • DSCI0201.JPG
    DSCI0201.JPG
    144.3 KB · Views: 10
  • DSCI0202.JPG
    DSCI0202.JPG
    134.7 KB · Views: 10
So the plan is going to be to remove the whole side window frame from over the counter top, glue the new FRP sheets to the wall, mark and cut the window opening from the out side in to get the right shape, then reinstall the window and frame with new sealant. also some of the rubber molding around the inside of the window frame has shrunk up and pulled loose from the frame, do you think heating it with a heat gun would make it stretch back in place or do I need new molding and if so, where can I get it?
 

Attachments

  • DSCI0203.JPG
    DSCI0203.JPG
    147.6 KB · Views: 4
  • DSCI0204.JPG
    DSCI0204.JPG
    120.1 KB · Views: 4
  • DSCI0205.JPG
    DSCI0205.JPG
    173.2 KB · Views: 4
  • DSCI0206.JPG
    DSCI0206.JPG
    168.7 KB · Views: 4
The VIN will identify the chassis. Since it's a GM engine, the chassis is almost surely a Chevy but not necessarily one of the P-series motorhome chassis. There will actually be a P3 near the front of the VIN. There are lots of Chevrolet VIN decoders online, but some have more explanation detail than others on the P-series chassis. Here's one.
Ok it shows it's a P-30, is that good or bad? anything I need to look out for?
 
So the plan is going to be to remove the whole side window frame from over the counter top, glue the new FRP sheets to the wall, mark and cut the window opening from the out side in to get the right shape, then reinstall the window and frame with new sealant. also some of the rubber molding around the inside of the window frame has shrunk up and pulled loose from the frame, do you think heating it with a heat gun would make it stretch back in place or do I need new molding and if so, where can I get it?
I'm curious why you're not papering the walls? Not that the FRP isn't as good a choice as well.
 
Here is a link to the Chev P30 manual.


For parts I have had a lot of luck with Rock Auto. I think this link goes to 1996 (my year)


I definitely would call those cones heat shields and best guess is they are for the spark plug boots. I reckon the bolt holes go into the exhaust manifold bolts/studs. With what appears to be a new gasket you might suspect there is an unrepaired exhaust manifold leak.
 
I'm curious why you're not papering the walls? Not that the FRP isn't as good a choice as well.
walls have some bad spots, not bad enough to replace the whole wall, plus i did a 75 winnebago I did with the frp, it looks good and easy to keep clean. and of course is water proof. we plan to paint the whole inside white as well, so it will look brighter inside when done.
 
No new pics today, but we did pick up our FRP sheets today, so maybe tomorrow we will get some work done on it. one of my plans is to transfer my shop solar power system to the R.V. do you think the roof mounted A/C will run off a 3000 watt pure sine wave inverter? I have 5 solar batterys connected to it. but have no idea how many watts the A/C unit pulls, my panels are putting 79 to 80 volts into the charge controller. this is video of the system running my shop.
 
do you think the roof mounted A/C will run off a 3000 watt pure sine wave inverter?
I'm running a 9k btu mini-splits off a 2000W inverter in my trucks, but that's not a good comparison. Those are year or two old ultra high efficiency units that pull 750W max when running. Depending on the age of your a/c unit, you might be better off pulling the inside grill and clamping on an ammeter to see actual, then plan off of that. A soft start will likely be required if not already equipped. The most common spec I see on 15k btu rv units is 15 amps running, 40 starting. So on a 120V line, that's 1800W running and 4800W start.

Also worth mentioning is that 3000W inverter at capacity is pulling 250A off the battery bank at 12.0V, so make sure your battery supply cabling is adequate to support that.

You really need to know the wattage in and out to tell if you have enough for a particular use case. If your charge controller won't read input watts, clamp an ammeter on a battery lead to see actual. Do the same on the battery leads feeding the inverter to see what you're consuming. Then convert to watts to get apples to apples. PV voltage doesn't really tell us anything. It's half the equation to get to watts. If we knew the amp-hour capacity of your battery set, it would then be possible to make an educated guess how long your a/c will run before exhausting the batteries, or if your PV array outputs enough to balance that out.
when I pull he batterys this week out of the shop i will check the amp-hours on them. I never have really looked, I have them fed with #2 cables. they are huge agm deep cycle batterys.
 
when I pull he batterys this week out of the shop i will check the amp-hours on them. I never have really looked, I have them fed with #2 cables. they are huge agm deep cycle batterys.
I used 2/0 for the 8 foot run connecting my truck batteries to the 2kW inverter. There's many wire gauge calculators on the internet. I plugged in 12V 250A with no more than 2% voltage drop to get this table. The first calculated value is the voltage at the endpoint, the second is the maximum length. Presuming your wire run is short enough, the 2 AWG may be fine.

Screenshot 2023-11-22 at 10.46.58 PM.png
 
I used 2/0 for the 8 foot run connecting my truck batteries to the 2kW inverter. There's many wire gauge calculators on the internet. I plugged in 12V 250A with no more than 2% voltage drop to get this table. The first calculated value is the voltage at the endpoint, the second is the maximum length. Presuming your wire run is short enough, the 2 AWG may be fine.

View attachment 169282
I was looking at things today, if i mount the inverter in the closet behind the Dinette, I can install the batterys under the rear dinette bench, this would give me less then 3 feet to have to run the cables, since the R.V.'s battery charger/12 volt power supply and breaker box are mounted under the closet, it will only take about 3 feet of the wire from the inverter to the breaker box. this inverter can be hard wired, so plan is to wire a stand alone breaker inline from the inverter to the Rv's breaker box, so when not on shore power, just flip the breaker. would need to put another breaker in to break the shore power line so as to not back feed into it when on battery/ solar power.
 
So today was pretty cold and I didn't get out to the shop until late in the afternoon. the former owner had cut up the over head cabinets that hold the vent fan/ control panel. so I cut it even shorter and made a side panel for it. after I get it installed I will cut a section of FRP to cover the end so it matches the walls when done. there is a place over the front bunk that the foam was cut out of, under closer inspection, I noticed it's right where the front fiberglass top cap attaches to the roof. it has about 1/2" foam glued to it and a flat board about 6" x 1/2" that spans the width of the cab. that board is a bit flexable, so I am going to get some 1/2" aluminum angle and screw to the front of it all the way across. this will do two things. it will reinforce the board from flexing and it will give me a lip to slide the FRP ceiling panel into and give it a nice clean look. here is a pic of what I did today.
 

Attachments

  • DSCI0210.JPG
    DSCI0210.JPG
    127.3 KB · Views: 13

Latest posts

Forum statistics

Threads
131,990
Posts
1,388,717
Members
137,736
Latest member
Savysoaker
Back
Top Bottom