Ex-Calif
Well-known member
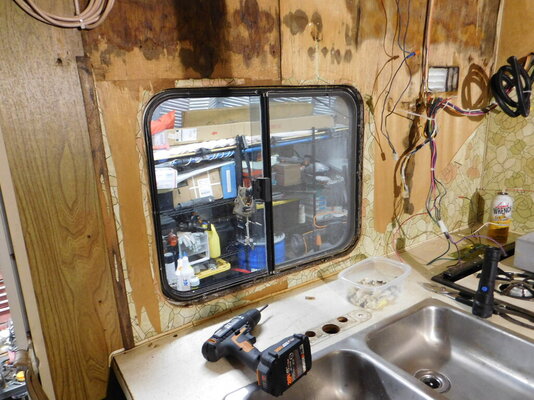
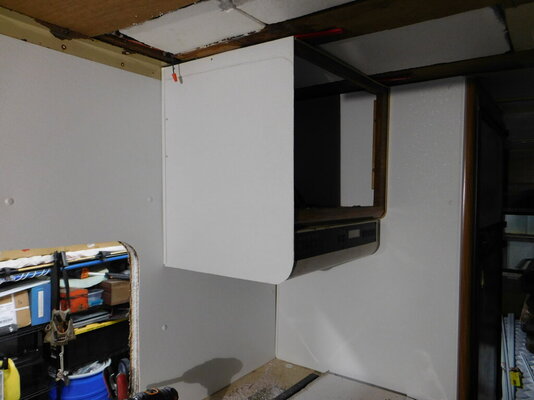
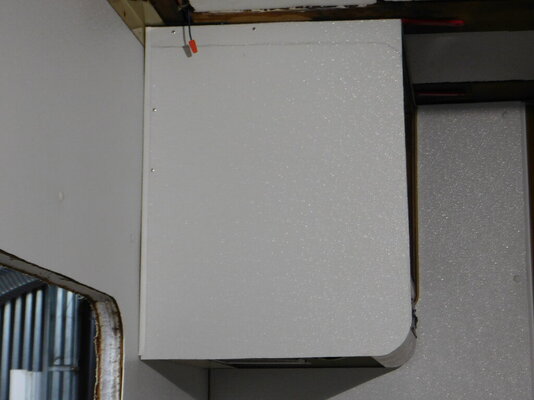
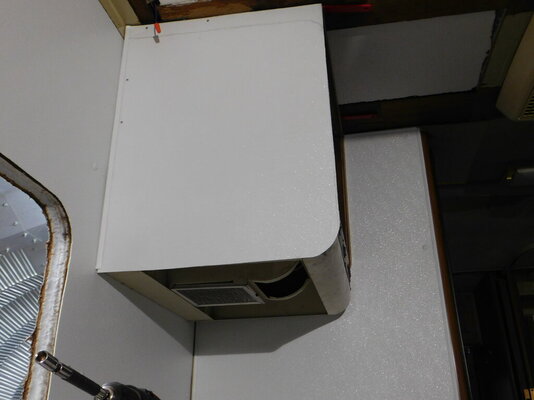
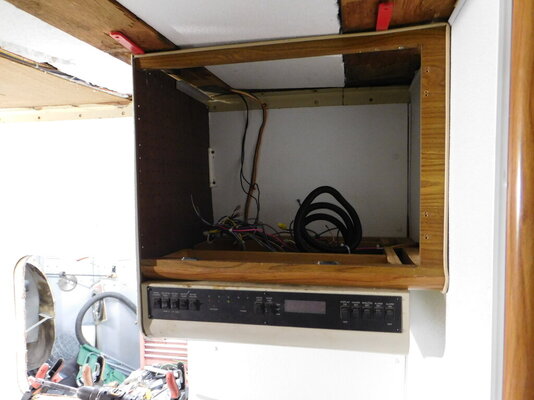
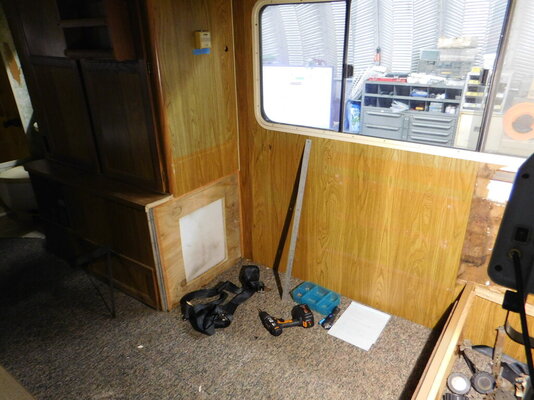
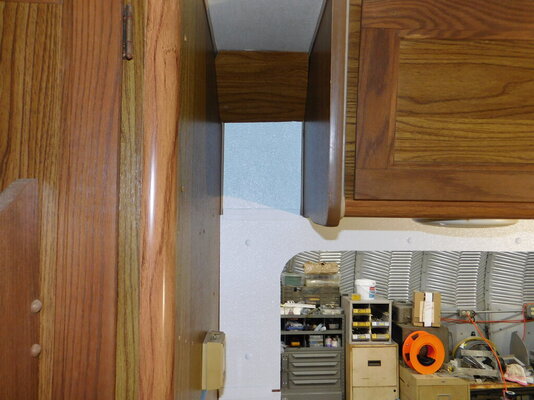
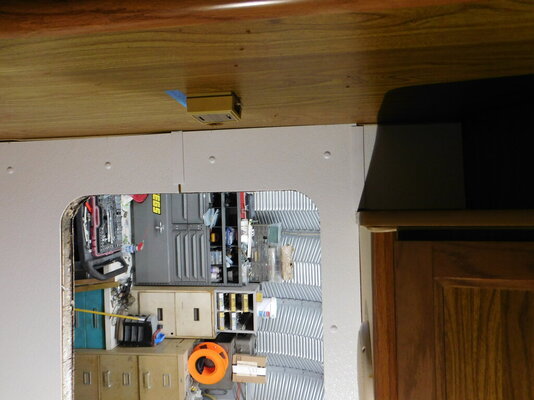
I was looking at things today, if i mount the inverter in the closet behind the Dinette, I can install the batterys under the rear dinette bench
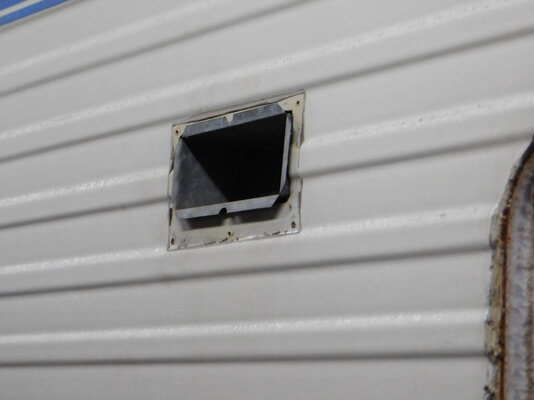
Don't forget to consider venting if installing the batteries in the living space. Also any heat consideration for an inverter and battery charging.
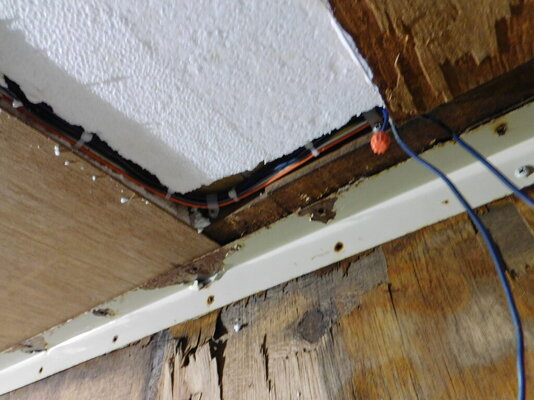
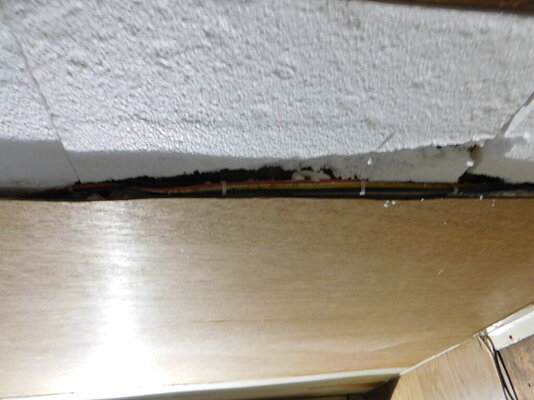
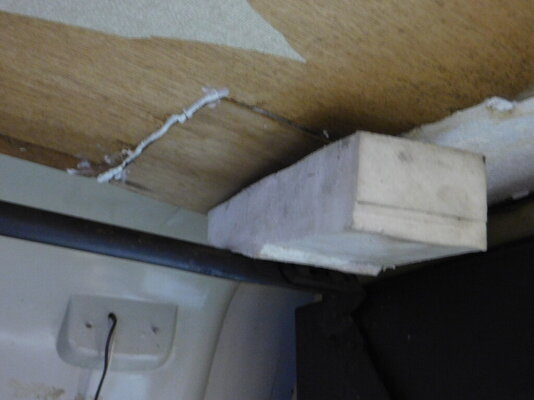
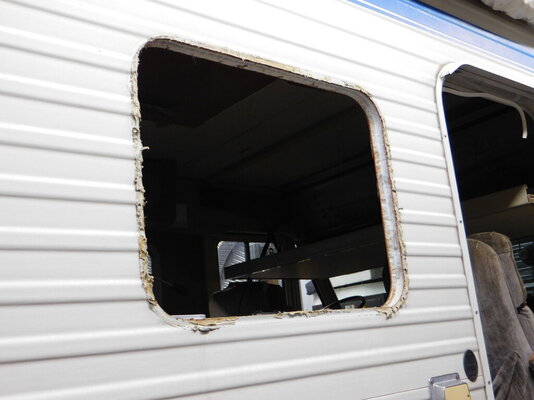
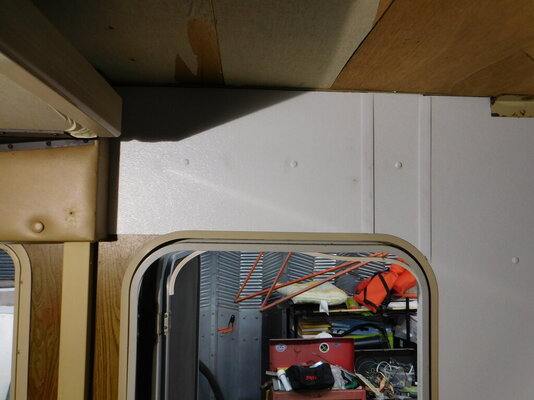
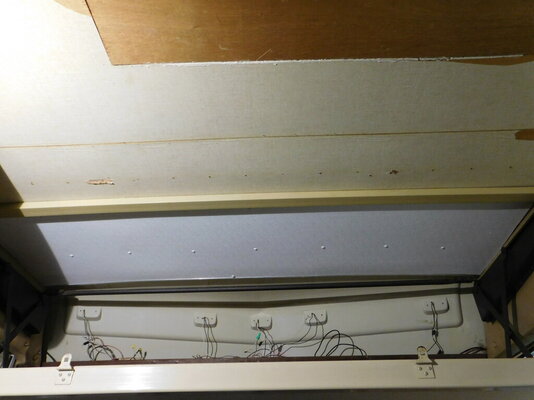
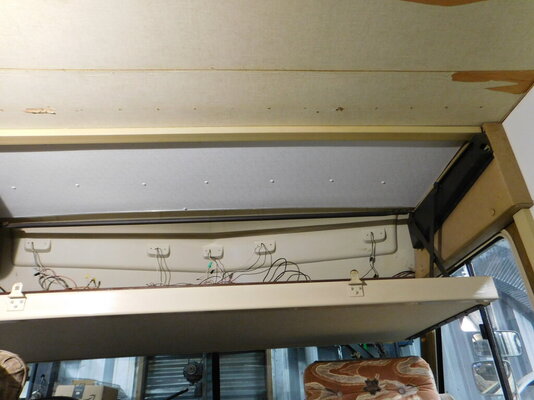
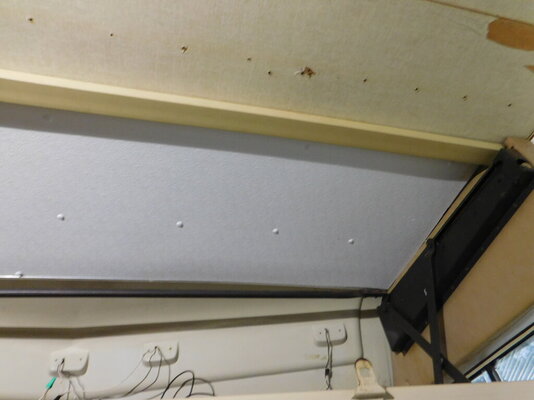
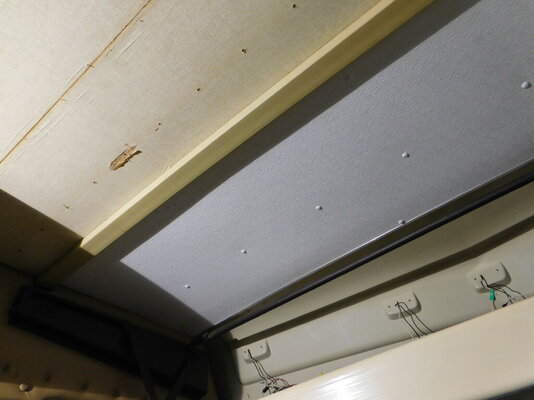
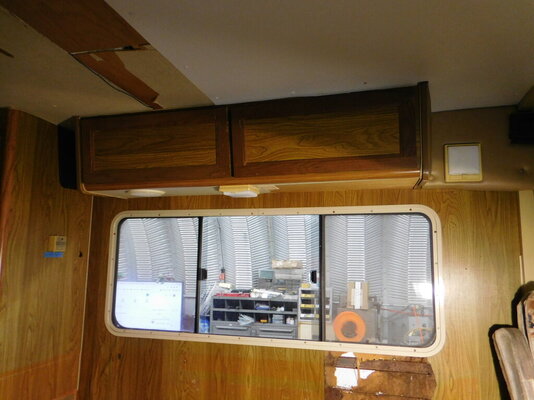
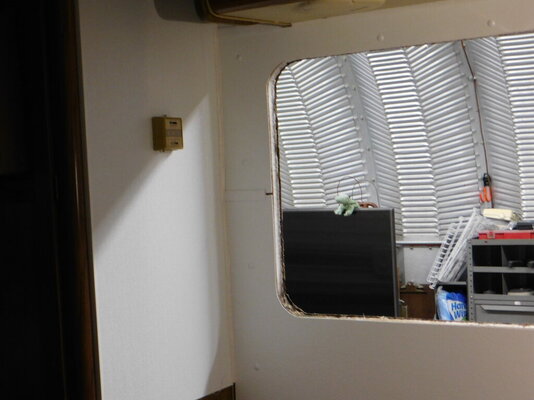
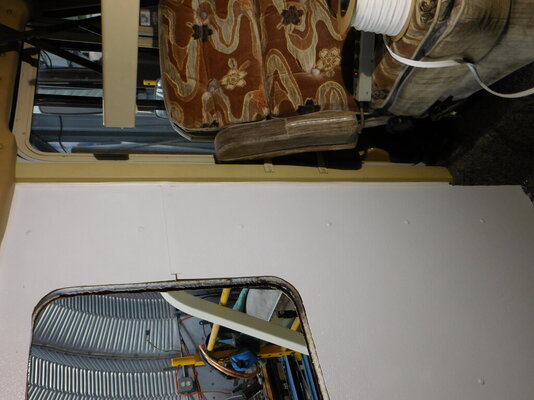
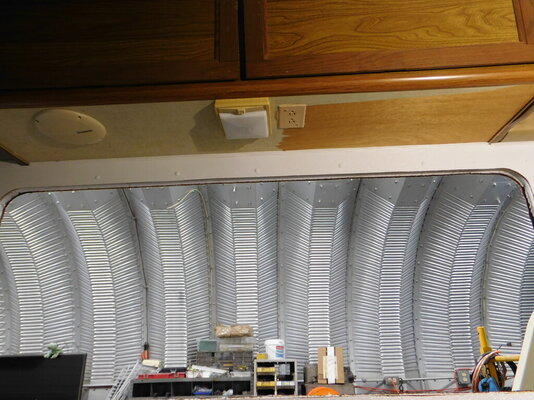
front bunk that the foam was cut out of, under closer inspection, I noticed it's right where the front fiberglass top cap attaches t
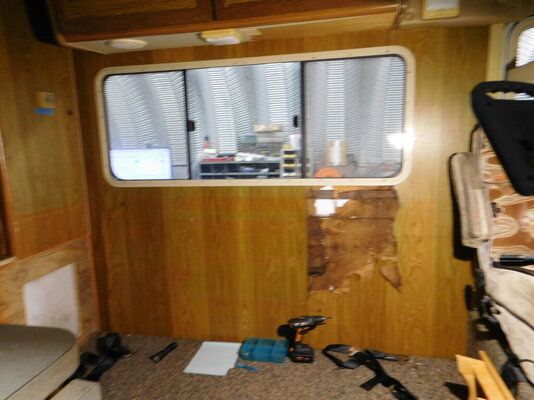
I am sure you know this but the joints are the most likely areas for leak. I know you sprayed the roof but I would definitely double check after getting the insulation down.
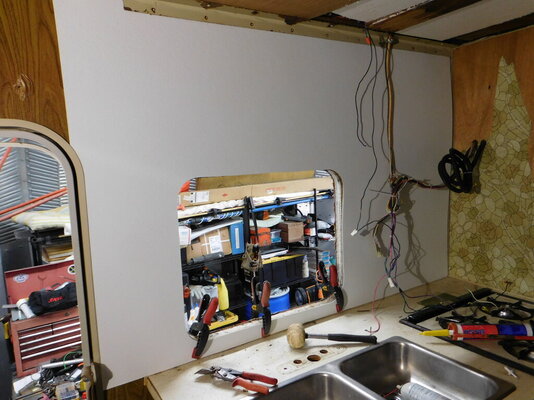
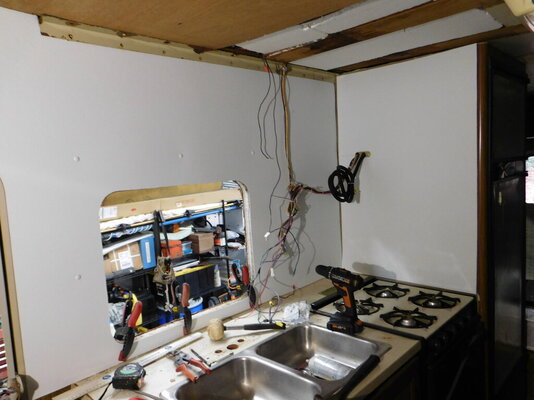
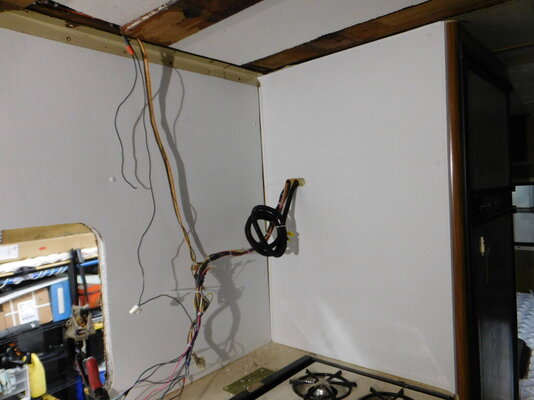
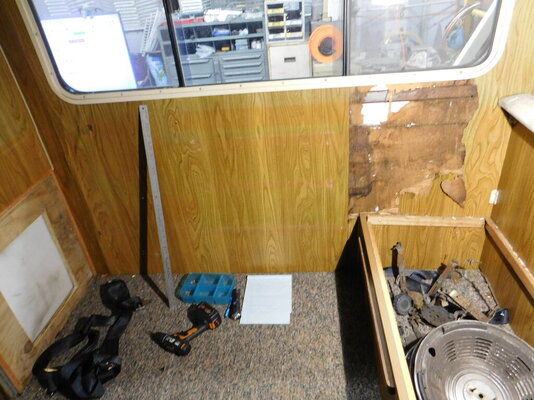
This is what killed the slide in I was working on. After I pulled the panels and insulation away from the overhead corner the wooden framing was completely shot. It was likely repairable but I spent $100 on the slide in so I cut my losses.